Inter-VLAN Routing (Router on a Stick)

Virtual LANs (VLANs) are logical groupings of devices within a single broadcast domain, regardless of their physical location. While VLANs provide excellent segmentation and security benefits, devices in different VLANs cannot communicate with each other by default. This is where Inter-VLAN routing comes into play.
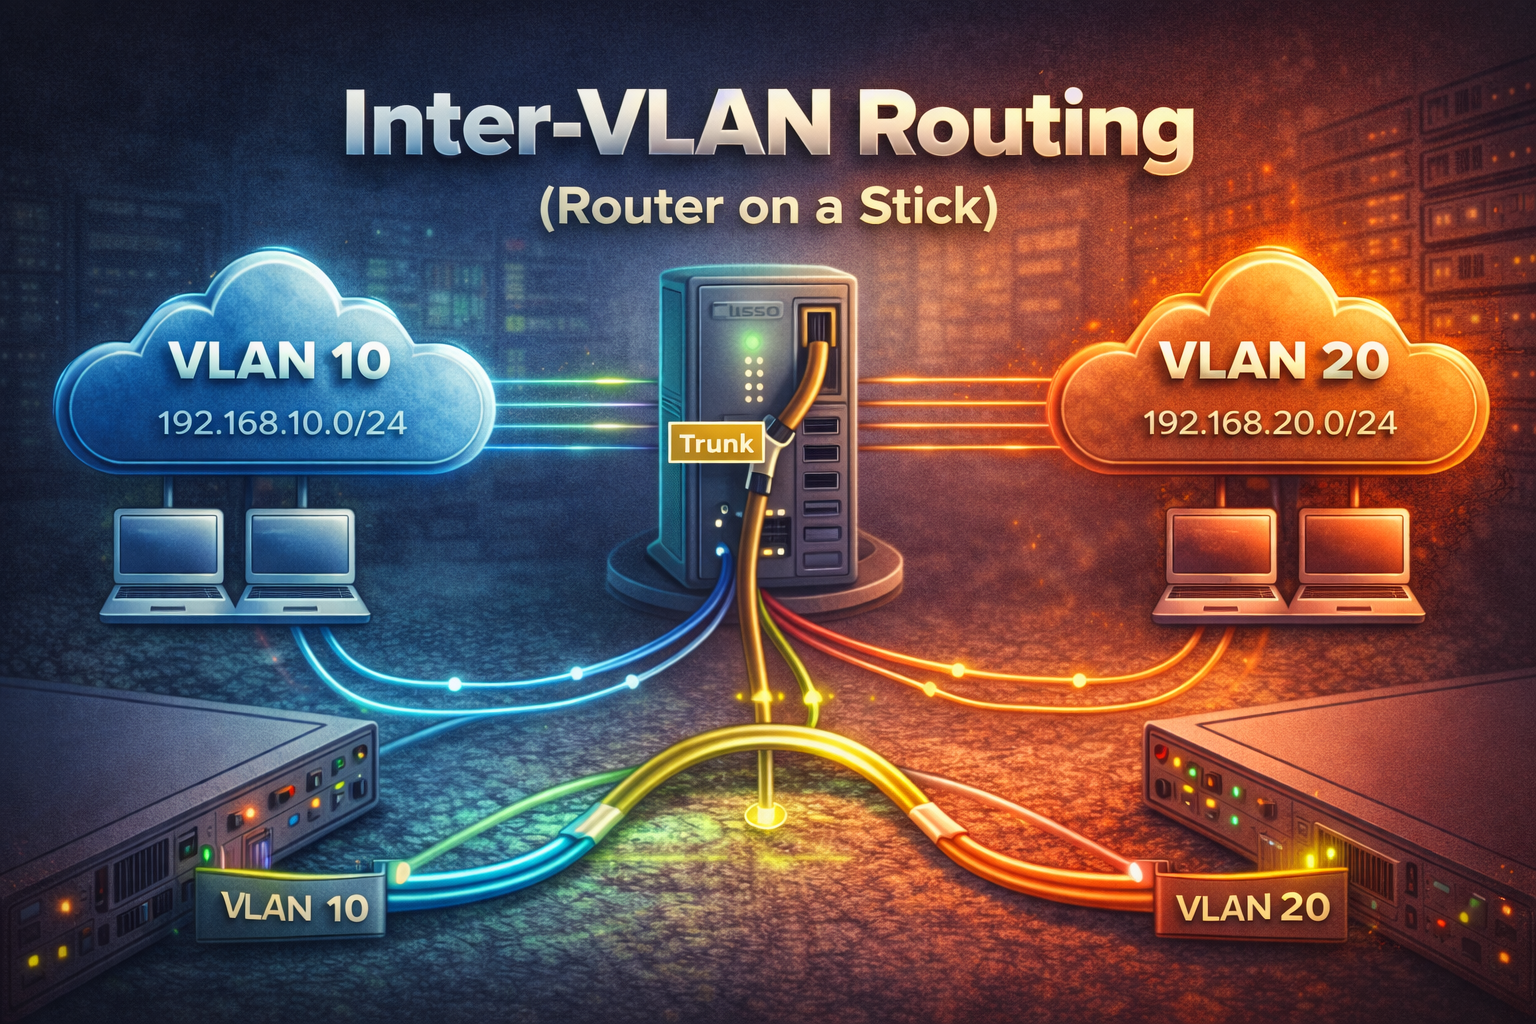
Inter-VLAN routing enables communication between different VLANs by using a router or Layer 3 switch to route packets between VLAN subnets. One common method is called "Router on a Stick," where a single physical interface on a router is configured with multiple sub-interfaces, each associated with a different VLAN.
Understanding the Router on a Stick Topology
In a Router on a Stick configuration, one physical router interface connects to a switch trunk port. The router interface is divided into logical sub-interfaces, with each sub-interface configured for a specific VLAN. The switch trunk port carries traffic for multiple VLANs using 802.1Q tagging.
Configuration Steps
Switch Configuration
First, configure the switch with VLANs and assign ports:
Switch(config)# vlan 10
Switch(config-vlan)# name Sales
Switch(config-vlan)# exit

Switch(config)# vlan 20
Switch(config-vlan)# name Engineering
Switch(config-vlan)# exit

Switch(config)# interface range fa0/1-10
Switch(config-if-range)# switchport mode access
Switch(config-if-range)# switchport access vlan 10

Switch(config)# interface range fa0/11-20
Switch(config-if-range)# switchport mode access
Switch(config-if-range)# switchport access vlan 20
Configure the trunk port connecting to the router:
Switch(config)# interface fa0/24
Switch(config-if)# switchport mode trunk
Switch(config-if)# switchport trunk allowed vlan 10,20
Router Configuration
Configure the router with sub-interfaces for each VLAN:
Router(config)# interface fa0/0
Router(config-if)# no shutdown

Router(config)# interface fa0/0.10
Router(config-subif)# encapsulation dot1q 10
Router(config-subif)# ip address 192.168.10.1 255.255.255.0

Router(config)# interface fa0/0.20
Router(config-subif)# encapsulation dot1q 20
Router(config-subif)# ip address 192.168.20.1 255.255.255.0
Key Configuration Points
- The physical interface (
fa0/0) must be enabled withno shutdown - Sub-interfaces use the format
interface.vlan_number - Each sub-interface requires
encapsulation dot1qwith the VLAN ID - Each sub-interface gets an IP address that serves as the default gateway for that VLAN
- The switch trunk port must allow the VLANs being routed
Verification Commands
Use these commands to verify your Inter-VLAN routing configuration:
Router# show ip interface brief
Router# show interfaces fa0/0.10
Router# show interfaces fa0/0.20

Switch# show vlan brief
Switch# show interfaces trunk
Switch# show interfaces fa0/24 switchport
Advantages and Disadvantages
Advantages:
- Cost-effective solution using a single router interface
- Simple to implement and configure
- Supports multiple VLANs with one physical connection
Disadvantages:
- Single point of failure at the router interface
- Bandwidth limitations as all Inter-VLAN traffic shares one physical link
- Potential performance bottleneck in high-traffic environments
Troubleshooting Tips
Common issues and solutions:
- Ensure the physical interface is up with
no shutdown - Verify VLAN IDs match between switch and router sub-interfaces
- Check that the trunk port allows the required VLANs
- Confirm devices have correct default gateway addresses
- Use
pingandtracerouteto test connectivity
Router on a Stick is an excellent method for implementing Inter-VLAN routing in smaller networks where cost and simplicity are priorities. Understanding this concept is essential for CCNA candidates and provides a foundation for more advanced routing scenarios.