NAT (Network Address Translation)

NAT (Network Address Translation)
NAT stands for Network Address Translation. It's one of those concepts that you need to understand if you want to pass your CCNA. Not only do you need to understand how it works, but you also need to know how to configure it.
First let me explain to you what NAT is and why we use it, then I'll show you how to configure it.
Why do we use NAT?
The reason we use NAT is simple...we ran out of IPv4 addresses! In 1981 when IPv4 was introduced nobody could predict that we would have billions of computers, smartphones, tablets and other devices that would need an IP address.
IPv4 uses 32-bit addresses which means we have about 4.3 billion IP addresses, and that seemed like more than enough back in the 1980s...
We have different solutions to deal with the IPv4 address exhaustion:
- CIDR (Classless Inter-Domain Routing): instead of only using class A, B or C networks we are now able to use subnet masks like /26 or /27. This helps us to use the available IPv4 addresses more efficiently.
- Private IP addresses: RFC 1918 describes the private IP address ranges that we can use on our LANs. Everyone is allowed to use these private IP addresses on their own local networks.
- NAT (Network Address Translation): this allows us to use private IP addresses on our LAN and translate them to public IP addresses.
- IPv6: the long term solution, IPv6 uses 128-bit addresses so we have more than enough IP addresses.
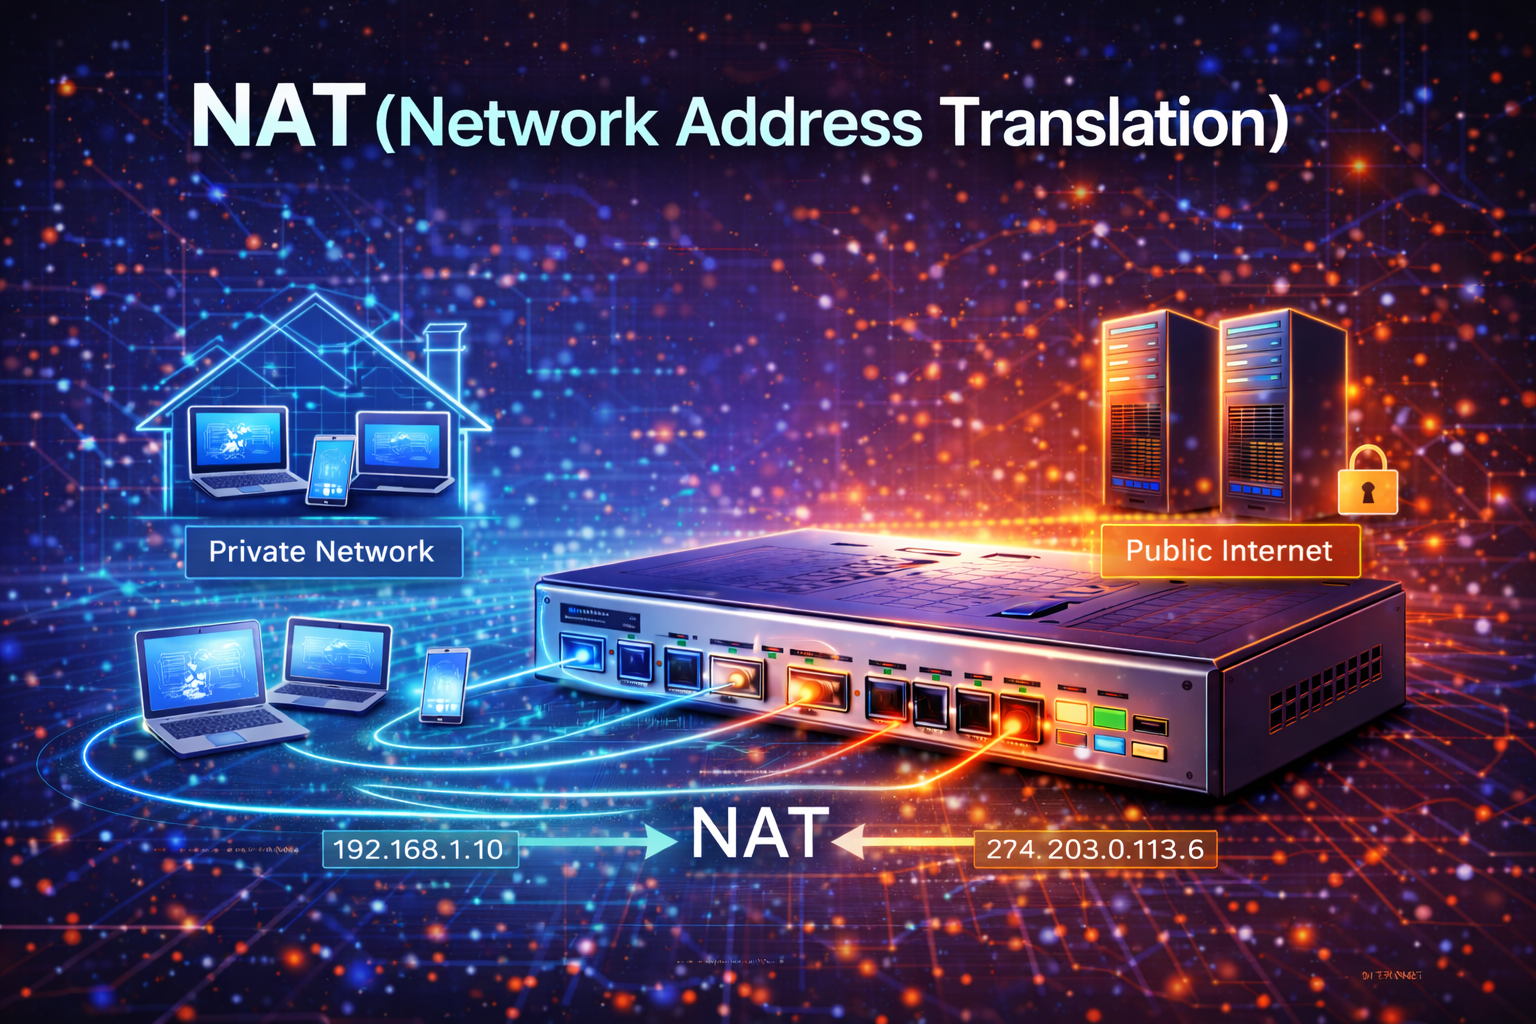
When you are at home, you probably have a cable modem or DSL line with a wireless router/access point attached to it. Your ISP will give you a single public IP address and your wireless router will give your computers private IP addresses (probably something like 192.168.1.x). NAT is used to translate the private IP addresses to the single public IP address.
Here's an example:
In the picture above you can see that on the LAN side we use private IP addresses. The router in the middle will use NAT to translate private IP addresses to the public IP address so we can reach the server on the Internet.
How does NAT work?
Let me show you step-by-step how NAT works:
Host A has private IP address 192.168.1.1 and wants to reach the server at 8.8.8.8. It will send an IP packet with:
- Source: 192.168.1.1
- Destination: 8.8.8.8
Our router receives the IP packet on its LAN interface and checks the routing table where to forward this packet to. It finds an entry that this packet should be forwarded to the Internet.
Just before the router forwards the packet on its WAN interface it will change the source IP address:
- Source: 1.2.3.4 (public IP address)
- Destination: 8.8.8.8
The router will save the original source IP address 192.168.1.1 in its NAT table so it can remember this translation.
The server at 8.8.8.8 receives the IP packet and sends a reply back:
- Source: 8.8.8.8
- Destination: 1.2.3.4
Our router receives this packet on its WAN interface. It will check the destination IP address (1.2.3.4) and looks in the NAT table to see if there's a match. It will find an entry and translates the destination IP address back to the private IP address:
- Source: 8.8.8.8
- Destination: 192.168.1.1
The packet with private IP addresses is then forwarded on the LAN to our host.
That's how NAT works! Above I explained "basic NAT" but there are different types. Let me walk you through the different types of NAT.
Types of NAT
There are different "flavors" of NAT. Let me show you the different types:
Static NAT
Static NAT is a one-to-one mapping where one private IP address is mapped to one public IP address. The translation will always be the same.
Here's an example where the private IP address is always translated to the same public IP address. This type of NAT is useful when you have a server on your LAN that should be reachable from the Internet.
Dynamic NAT
Dynamic NAT uses a pool of public IP addresses which are given to hosts on a first come, first served basis. When a host is done with the translation (no traffic for a certain amount of time) then the public IP address will be returned to the pool.
Here's an example where we have a pool of two public IP addresses. When the hosts send traffic they will get a public IP address from the pool.
PAT (Port Address Translation)
PAT stands for Port Address Translation and is also called "NAT Overload". Instead of assigning a public IP address to each host, we will use one public IP address for all hosts but we'll use a different port number for each translation.
Here's an example:
Above you can see that both hosts are translated to the same public IP address (1.2.3.4) but they both use a different port number. This is the most popular method since you only require one public IP address for all of your hosts.
NAT Configuration
Now you have an idea what NAT is and the different types. Let me show you how to configure NAT. I'll show you how to configure static NAT, dynamic NAT and PAT.
I'll use the following topology for my configuration examples:
Above we have three hosts on the LAN side and a server on the WAN side. Our router will be configured for NAT.
Static NAT Configuration
Let me start with a static NAT example. Let's say that H1 should always be translated to public IP address 1.2.3.4. Here's how to configure it:
Router(config)#ip nat inside source static 192.168.1.1 1.2.3.4
Router(config)#interface FastEthernet 0/0
Router(config-if)#ip nat inside
Router(config-if)#interface Serial 0/0
Router(config-if)#ip nat outside
First we configure the translation. We tell the router to translate 192.168.1.1 to 1.2.3.4. The inside and outside might be a bit confusing at first. Here's how you should remember it:
- Inside: this refers to the private IP address
- Outside: this refers to the public IP address
Next we have to configure our interfaces. The interface connected to the LAN is configured as ip nat inside. The interface connected to the WAN is configured as ip nat outside.
Dynamic NAT Configuration
Now let me show you how to configure dynamic NAT:
Router(config)#ip nat pool MYPOOL 1.2.3.1 1.2.3.10 netmask 255.255.255.0
Router(config)#access-list 1 permit 192.168.1.0 0.0.0.255
Router(config)#ip nat inside source list 1 pool MYPOOL
Router(config)#interface FastEthernet 0/0
Router(config-if)#ip nat inside
Router(config-if)#interface Serial 0/0
Router(config-if)#ip nat outside
The configuration above is a bit more complex. Let me walk you through it:
- First I create a pool called "MYPOOL" with public IP addresses 1.2.3.1 up to 1.2.3.10.
- The access-list is used to specify which private IP addresses are allowed to be translated. In this case 192.168.1.0 /24.
- The
ip nat inside source list 1 pool MYPOOLcommand tells the router to translate IP addresses that match access-list 1 to an IP address from the pool called "MYPOOL". - Don't forget to configure the interfaces for inside and outside.
PAT Configuration
Last but not least, let me show you how to configure PAT:
Router(config)#access-list 1 permit 192.168.1.0 0.0.0.255
Router(config)#ip nat inside source list 1 interface serial 0/0 overload
Router(config)#interface FastEthernet 0/0
Router(config-if)#ip nat inside
Router(config-if)#interface Serial 0/0
Router(config-if)#ip nat outside
PAT is even simpler to configure than dynamic NAT:
- The access-list specifies which private IP addresses we want to translate.
- Instead of using a pool we will use the IP address on interface serial 0/0. The
overloadkeyword enables PAT. - Don't forget to configure the interfaces.
NAT Verification
There are some useful commands to verify and troubleshoot your NAT configuration. Let me show them to you:
Router#show ip nat translations
Pro Inside global      Inside local       Outside local      Outside global
--- 1.2.3.4             192.168.1.1        ---                ---
The show ip nat translations command shows you the current translations in the NAT table. In the example above you can see that 192.168.1.1 is translated to 1.2.3.4.
Here's what the different fields mean:
- Inside local: the private IP address of the inside host.
- Inside global: the public IP address that the inside host is translated to.
- Outside local: the IP address of the outside host as it appears to the inside network.
- Outside global: the IP address of the outside host.
Another useful command is show ip nat statistics:
Router#show ip nat statistics
Total active translations: 1 (1 static, 0 dynamic; 0 extended)
Peak translations: 2, occurred 00:02:37 ago
Outside interfaces:
  Serial0/0
Inside interfaces:
  FastEthernet0/0
Hits: 41  Misses: 0
CEF Translated packets: 41, CEF Punted packets: 0
Expired translations: 1
Dynamic mappings:
This command shows you information about the number of active translations, interfaces used for NAT, hits, misses and more.
You can also use some debug commands:
Router#debug ip nat
Router#debug ip nat detailed
These debug commands will show you in real-time what NAT is doing. Use them with caution on production networks since debug commands require a lot of CPU power.
Conclusion
That's all I wanted to show you about NAT. You have learned what NAT is, why we need it, the different types and how to configure it on Cisco IOS routers. If you have any questions feel free to ask!