
How to Configure DHCP Relay on Your Network
This post explains why DHCP relay is necessary in multi-subnet networks and walks through configuring the ip helper-address command on a Cisco router step by step. It covers prerequisites, the core configuration, verification commands, and key considerations like multiple helper addresses and Layer

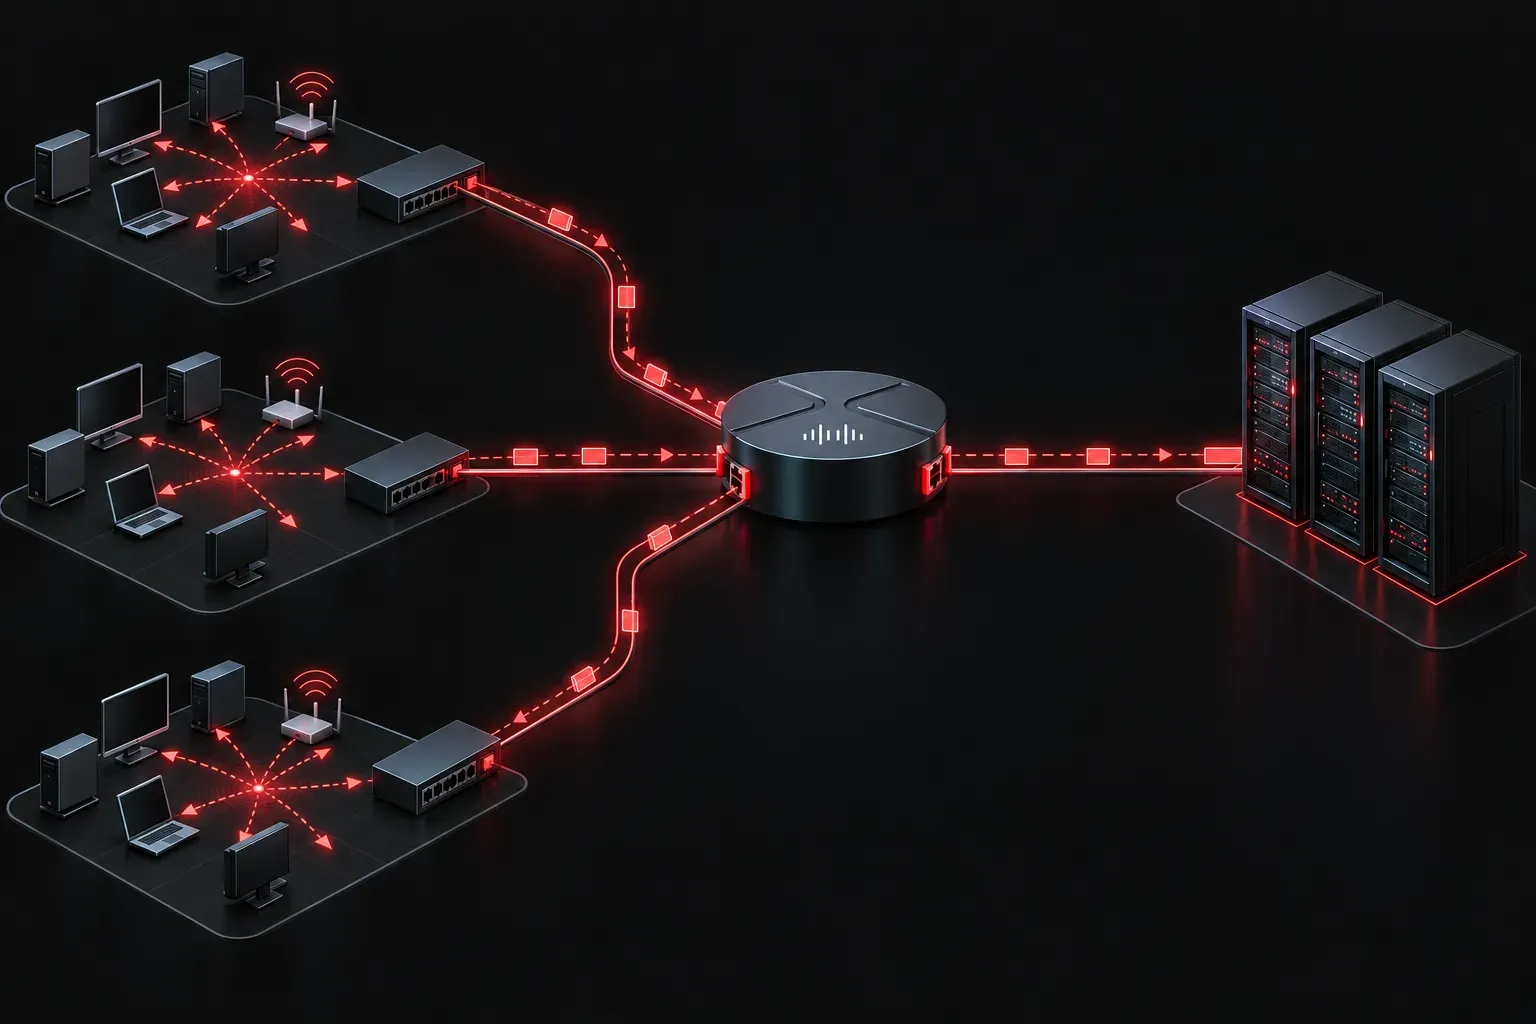
When a device boots up and needs an IP address, it sends a DHCP broadcast. Broadcasts are great for local communication, but they have one major limitation: routers do not forward them. This means if your DHCP server lives on a different subnet than your client devices, those clients will never receive an IP address unless you configure something called a DHCP relay agent.
This post walks you through exactly how to configure DHCP relay on a Cisco router so that devices across different network segments can communicate with a centralized DHCP server.
Why DHCP Relay Exists
Imagine a network with multiple VLANs. You have a DHCP server sitting on the server VLAN at 10.0.10.5, and you have client devices on a separate user VLAN using the 192.168.1.0/24 subnet. When a client boots and sends a DHCP Discover broadcast, that broadcast only reaches devices on the same local network. It stops dead at the router.
DHCP relay solves this problem. The relay agent, which is typically the router or Layer 3 switch closest to the client, intercepts that broadcast and converts it into a unicast packet addressed directly to the DHCP server. The server responds, the relay agent forwards the response back to the client, and the client gets its IP address. The whole process is transparent to the end user.
What You Need Before You Start
- A working DHCP server: The server needs a scope configured for the client subnet you are supporting.
- IP connectivity between the router and the DHCP server: The router must be able to reach the DHCP server via unicast before relay will work.
- Access to the router interface facing the clients: This is where you apply the relay configuration.
Configuring DHCP Relay on a Cisco Router
The command you need is ip helper-address, applied to the interface that faces the client devices. Here is the step-by-step process.
Step 1: Enter Interface Configuration Mode
Navigate to the interface that connects to the client subnet. In this example, clients are on the 192.168.1.0/24 network, connected through GigabitEthernet0/1.
Router# configure terminal
Router(config)# interface GigabitEthernet0/1
Router(config-if)# ip address 192.168.1.1 255.255.255.0
Router(config-if)# no shutdown
Step 2: Apply the Helper Address
Now add the ip helper-address command, pointing it at your DHCP server's IP address.
Router(config-if)# ip helper-address 10.0.10.5That single line is the core of DHCP relay configuration. The router will now intercept DHCP broadcasts on this interface and forward them as unicast packets to 10.0.10.5.
Step 3: Verify the Configuration
After saving your configuration, verify the setup using the following commands.
Router# show running-config interface GigabitEthernet0/1You should see output similar to this:
interface GigabitEthernet0/1
 ip address 192.168.1.1 255.255.255.0
 ip helper-address 10.0.10.5
You can also check DHCP relay statistics to confirm traffic is being forwarded:
Router# show ip interface GigabitEthernet0/1A Few Things to Keep in Mind
- Multiple helper addresses: You can point to more than one DHCP server by adding multiple
ip helper-addresslines on the same interface. This provides redundancy. - What ip helper-address actually forwards: By default, the helper address forwards several UDP broadcast types beyond just DHCP, including TFTP and DNS. In most enterprise environments this is fine, but it is worth knowing.
- Layer 3 switches: The same
ip helper-addresscommand applies to SVI (Switched Virtual Interface) configurations on multilayer switches, not just physical router interfaces.
What's Next
Now that you understand how to configure DHCP relay and keep your clients talking to a centralized DHCP server, the next logical topic is understanding the DHCP message exchange process in depth, specifically the DORA sequence (Discover, Offer, Request, Acknowledge). Knowing what happens at each step will help you troubleshoot relay issues when clients are not receiving addresses as expected. We will cover that in the next post.
Tools and resources for this topic
- CCNA Official Cert Guide (Wendell Odom) — The definitive CCNA study resource. Both volumes cover the 200-301 exam blueprint in full.
- Wendell Odom CCNA Vol 1 — Covers networking fundamentals, switching, and routing basics.
- Wendell Odom CCNA Vol 2 — Covers advanced routing, WAN, infrastructure services, and security.