
Step-by-Step Guide: Constructing Your First REST API Request
This beginner-friendly guide walks through every step needed to construct a REST API request, covering HTTP methods, endpoint URLs, headers, and response handling. It includes a working Python example using the Cisco DevNet IOS-XE sandbox to make the concepts immediately practical. By the end, read

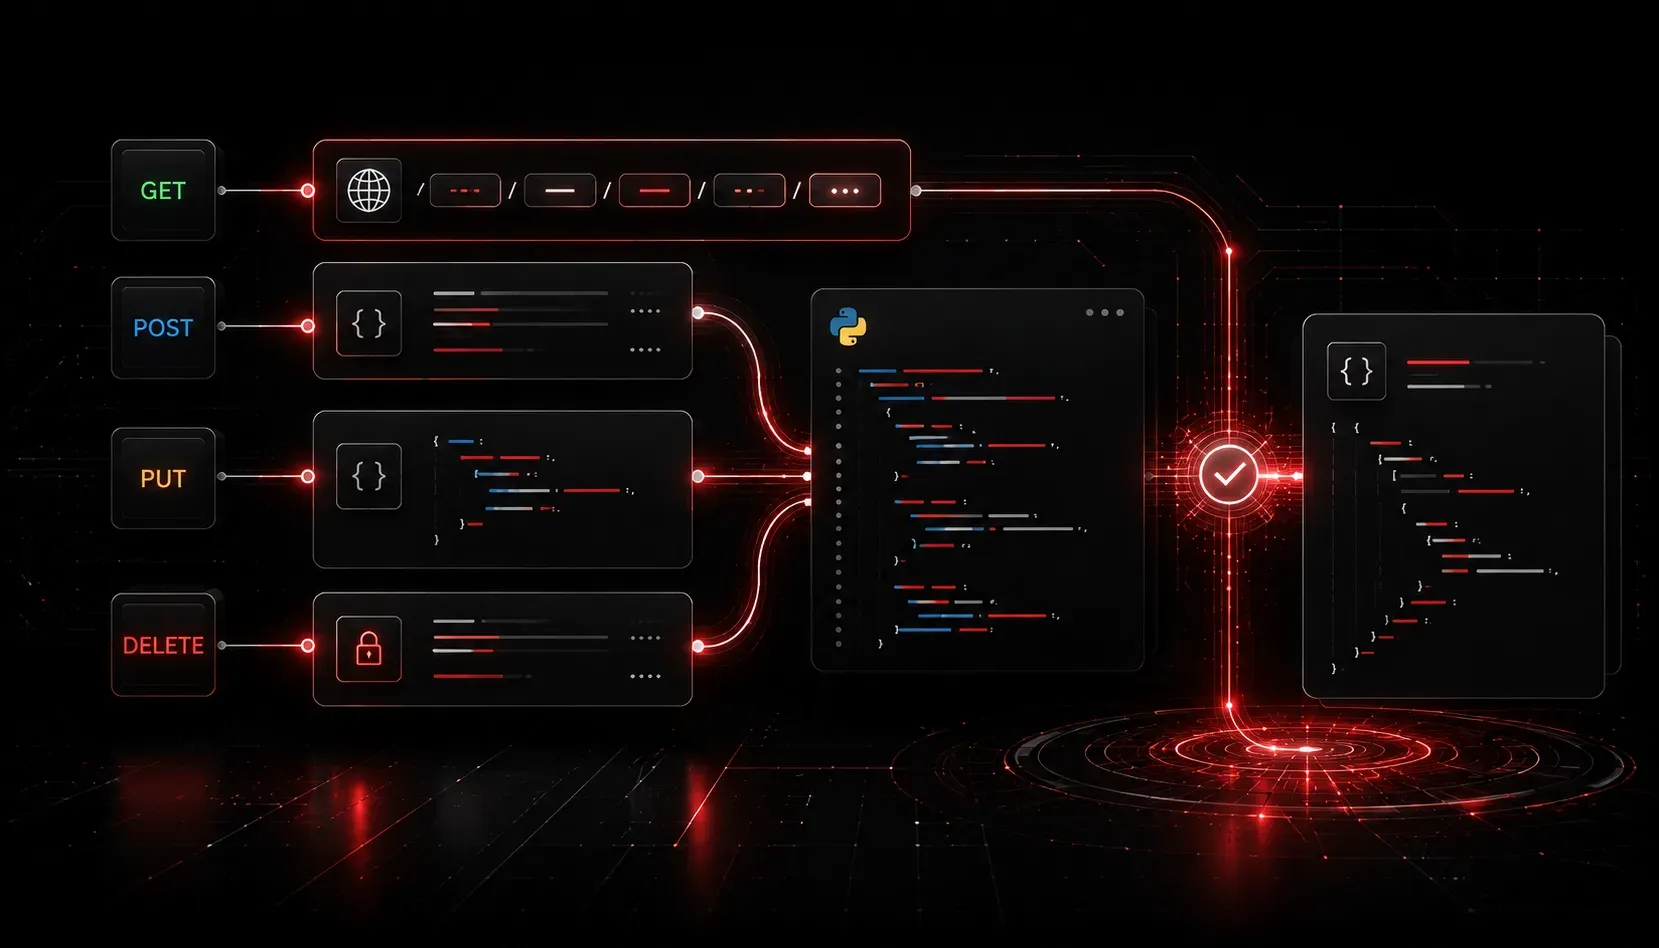
Making your first REST API request can feel intimidating, but once you understand the structure of a request, it clicks surprisingly fast. Think of it like sending a very precise letter: you need the right address, the right format, and the right content. This guide walks you through every part of constructing a REST API request from scratch.
What Makes Up a REST API Request?
Every REST API request has four core components. Miss one, and your request either fails or returns something unexpected. Here is what you need to know before writing a single line of code or clicking a single button:
- HTTP Method: tells the server what action to take (GET, POST, PUT, DELETE)
- URL (Endpoint): the address of the resource you want to interact with
- Headers: metadata about the request (content type, authentication tokens)
- Body: data you send with the request (required for POST and PUT; GET requests typically do not include a body, though some APIs may accept one)
That's it. Every REST API request you ever construct will be built from these four pieces.
Step 1: Choose Your HTTP Method
The HTTP method tells the server what you want to do. For beginners, focus on these four:
GET: retrieve data (read-only; a body is not standard practice, though some APIs may accept one)POST: create a new resource (requires a body)PUT: update an existing resource (requires a body)DELETE: remove a resource
For your very first API request, you will almost certainly use GET. It is the safest; it reads data without changing anything.
Step 2: Identify the Endpoint URL
The endpoint is the full URL that points to the specific resource you want. It typically looks like this:
https://api.example.com/v1/devicesBreaking this down: the base URL is https://api.example.com, the version is /v1, and the resource is /devices. Some endpoints also accept query parameters appended after a ? to filter results:
https://api.example.com/v1/devices?location=ChicagoFor this tutorial, we will use a free public API called the Cisco DevNet Always-On Sandbox. The base URL for the RESTCONF interface on the always-on IOS-XE device is:
https://sandbox-iosxe-latest-1.cisco.com/restconf/data/ietf-interfaces:interfacesWhat is RESTCONF? RESTCONF is a network management protocol defined in RFC 8040 that exposes YANG-modeled network device data over a REST-like HTTP interface. It is commonly used in network automation to query and configure routers and switches programmatically, making it directly relevant to the Cisco DEVASC exam and real-world NetDevOps workflows.
Step 3: Set Your Headers
Headers tell the server how to interpret your request. Two headers appear in almost every API call:
Content-Type: the format of the data you are sending. For RESTCONF APIs, useapplication/yang-data+json. For general REST APIs,application/jsonis the standard value.Accept: the format you want the response in (follows the same convention asContent-Type)
Many APIs also require an Authorization header. The DevNet sandbox uses HTTP Basic Auth, which encodes your username and password.
Step 4: Construct the Request in Python
Now let's put it all together. The Python requests library makes this straightforward. Here is a complete working example that performs a GET request to the DevNet IOS-XE sandbox:
import requests

# Disable SSL warnings for lab use only - never do this in production
import urllib3
urllib3.disable_warnings(urllib3.exceptions.InsecureRequestWarning)

url = "https://sandbox-iosxe-latest-1.cisco.com/restconf/data/ietf-interfaces:interfaces"

headers = {
    "Accept": "application/yang-data+json",
    "Content-Type": "application/yang-data+json"
}

response = requests.get(
    url,
    headers=headers,
    auth=("developer", "C1sco12345"),
    verify=False  # Set verify=True or provide a CA bundle path in production
)

print(f"Status Code: {response.status_code}")
print(response.json())
When this runs successfully, you will see a 200 status code and a JSON payload containing the interface data from the router. A 200 means everything worked. A 401 means your credentials are wrong. A 404 means the endpoint URL is incorrect.
A note on SSL verification: The example above setsverify=Falseto skip certificate validation, which is acceptable for sandbox labs. In a production environment, always enable SSL/TLS verification by settingverify=True(the default) or by pointingverifyto a trusted CA bundle path. Disabling verification in production exposes your requests to man-in-the-middle attacks.
Step 5: Read the Response
The response object from the requests library gives you several useful attributes:
response.status_code: the HTTP status code (200, 201, 400, 404, etc.)response.json(): parses the response body as JSON (returns a Python dictionary)response.text: the raw response body as a stringresponse.headers: the response headers returned by the server
Getting comfortable reading API responses is just as important as constructing the request itself. Most of your troubleshooting will happen right here.
Common Beginner Mistakes
A few things trip up almost every first-timer when learning to construct REST API requests:
- Forgetting the
Acceptheader: the server may return XML instead of JSON - Using the wrong HTTP method: sending a
GETwhen the API expects aPOST - Misspelling the endpoint URL: double-check trailing slashes and resource names
- Not handling authentication: read the API documentation carefully for auth requirements
What's Next
Now that you can construct a basic REST API request, the next step is understanding the full range of HTTP status codes and what they mean for troubleshooting. In the next post, we cover the most common status codes you will encounter (200, 201, 400, 401, 403, 404, and 500) and how to handle them in your Python scripts. If you want to go deeper on REST APIs and the DEVASC exam, check out the Cisco Press CCNA DevNet Associate DEVASC 200-901 Official Cert Guide for comprehensive coverage of this domain.