
How to Create and Resize Partitions in Linux
Learn how to create and resize partitions in Linux using fdisk for MBR partitions, gdisk for GPT partitions, and growpart for online resizing. Includes practical examples and safety tips for managing disk storage effectively.

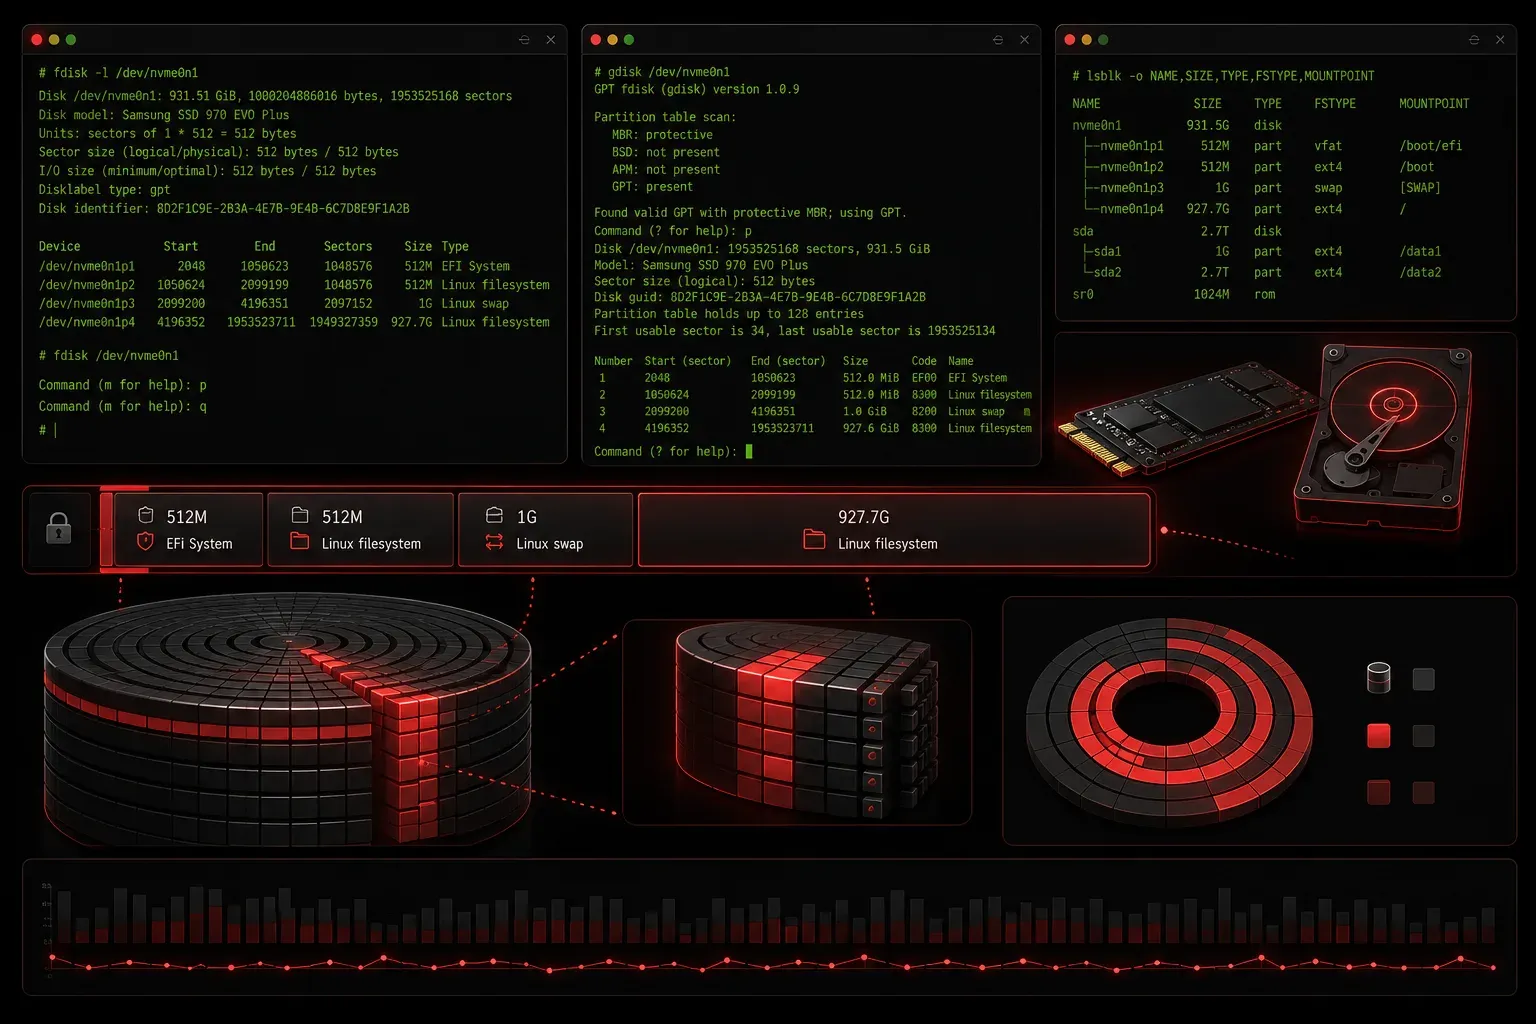
Managing disk partitions is a fundamental skill every Linux administrator needs. Whether you're setting up a new system, adding storage, or expanding existing partitions, understanding how to create and resize partitions safely will save you countless headaches down the road.
In this guide, we'll explore three essential tools: fdisk for MBR partitions, gdisk for GPT partitions, and growpart for online resizing. We'll also clarify the important distinction between resizing partitions and resizing filesystems; two separate but related tasks.
Understanding Partition Tables First
Before we start creating partitions, you need to know what type of partition table you're working with. Modern systems typically use one of two formats:
- MBR (Master Boot Record): Legacy format supporting up to 4 primary partitions and disks up to 2TB
- GPT (GUID Partition Table): Modern format supporting 128 partitions and much larger disks
Use lsblk to see your current disk layout:
lsblk
NAME   MAJ:MIN RM  SIZE RO TYPE MOUNTPOINT
sda      8:0    0   20G  0 disk
├─sda1   8:1    0    1G  0 part /boot
└─sda2   8:2    0   19G  0 part /
Check the partition table type with:
sudo fdisk -l /dev/sda
Look for "Disklabel type" in the output - it will show either "dos" (MBR) or "gpt" (GPT).
Creating Partitions with fdisk (MBR)
For MBR partition tables, fdisk is your go-to tool. Here's a step-by-step Linux fdisk tutorial for creating a new partition:
sudo fdisk /dev/sdb
Once inside fdisk's interactive mode, use these commands:
p- Print current partition tablen- Create a new partitiond- Delete a partitionw- Write changes and exitq- Quit without saving
To create a new partition:
Command (m for help): n
Partition type
   p   primary (0 primary, 0 extended, 4 free)
   e   extended (container for logical drives)
Select (default p): p
Partition number (1-4, default 1): 1
First sector (2048-41943039, default 2048): [Enter]
Last sector, +/-sectors or +/-size{K,M,G,T,P} (2048-41943039, default 41943039): +10G

Command (m for help): w
After creating the partition, format it and mount it:
sudo mkfs.ext4 /dev/sdb1
sudo mkdir /mnt/newpartition
sudo mount /dev/sdb1 /mnt/newpartition
Working with GPT Partitions Using gdisk
For modern systems using GPT partition tables, this gdisk guide will get you started. The gdisk interface is similar to fdisk but designed for GPT:
sudo gdisk /dev/sdc
Key gdisk commands:
p- Print partition tablen- Add a new partitiond- Delete a partitionw- Write table to disk and exit
Creating a partition with gdisk:
Command (? for help): n
Partition number (1-128, default 1): 1
First sector (34-41943006, default = 2048): [Enter]
Last sector (2048-41943006, default = 41943006): +5G
Current type is 'Linux filesystem'
Hex code or GUID (L to show codes, Enter = 8300): [Enter]

Command (? for help): w
Resizing Partitions with growpart
Important: Understanding the difference between partition resizing and filesystem resizing is crucial. growpart only resizes the partition boundaries—you must then separately resize the filesystem to use the additional space.
The growpart tool excels at expanding partitions, especially in cloud environments. This growpart resize method works on both MBR and GPT partitions:
First, install the cloud-utils package if it's not already available:
sudo apt update && sudo apt install cloud-utils    # Ubuntu/Debian
sudo yum install cloud-utils-growpart              # CentOS/RHEL
To resize a partition to use all available space:
sudo growpart /dev/sda 2
This expands partition 2 on /dev/sda to fill available space. After resizing the partition, you must resize the filesystem separately:
sudo resize2fs /dev/sda2    # For ext2/3/4 filesystems
sudo xfs_growfs /mount/point    # For XFS filesystems
Safety Tips and Best Practices
Always backup important data before making partition changes. Here are reliable backup methods:
Using dd for complete disk backup:
sudo dd if=/dev/sda of=/backup/sda_backup.img bs=4M status=progress
Using rsync for filesystem-level backup:
sudo rsync -avHAXS --numeric-ids /source/directory/ /backup/destination/
Verify your changes with lsblk and df -h after resizing:
lsblk
df -h
For production systems, consider using LVM (Logical Volume Management) instead of raw partitions - it provides much more flexibility for future changes.
What's Next
Now that you can create and resize partitions, the next logical step is understanding Linux file systems. In our next post, we'll explore different filesystem types like ext4, XFS, and Btrfs, along with how to format and optimize them for different use cases. We'll also cover filesystem checking and repair tools that every Linux admin should know.
Tools and resources for this topic
- CompTIA Linux+ Study Guide — Comprehensive Linux+ exam preparation covering system administration, security, and scripting.