
Creating and Writing XML in Python
This post covers how to create and write XML files in Python using the built-in xml.etree.ElementTree module. It walks beginners through building an XML tree from scratch, setting attributes and text content, and writing the output to a file with proper formatting. A practical loop-based pattern is

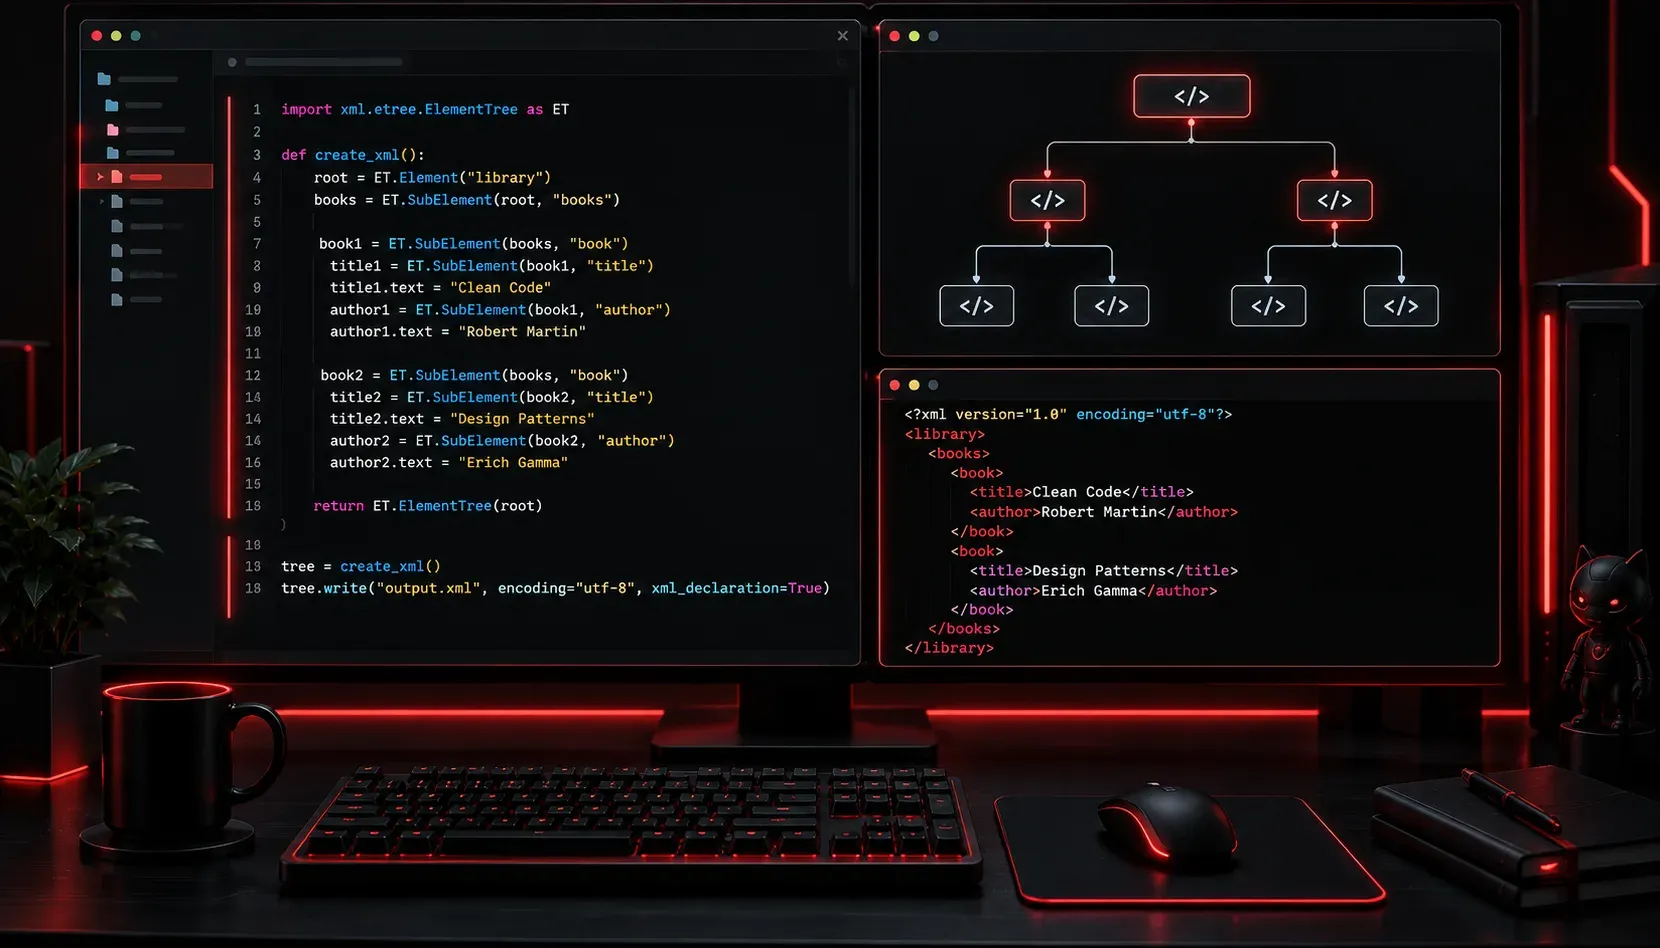
XML (eXtensible Markup Language) is a widely used format for storing and exchanging structured data. Whether you are working with configuration files, APIs, or data exports, knowing how to create and write XML in Python is a genuinely useful skill. The good news is that Python ships with a built-in library called xml.etree.ElementTree that makes the whole process straightforward.
Understanding the XML Structure First
Before writing any code, it helps to understand what we are building. XML is a tree of elements. Every XML document has a single root element, and all other elements are nested inside it. Each element can have a tag name, attributes, and text content. Here is a simple example of what we want to produce:
<library>
    <book id="1">
        <title>Learning Python</title>
        <author>Mark Lutz</author>
        <year>2013</year>
    </book>
    <book id="2">
        <title>Clean Code</title>
        <author>Robert C. Martin</author>
        <year>2008</year>
    </book>
</library>
This document has a root element called library, which contains two book child elements. Each book has an attribute called id and three child elements of its own.
Building XML with ElementTree
Python's xml.etree.ElementTree module gives you two key tools: Element to create elements and ElementTree to wrap the whole document for writing to a file. Let's build the example above step by step.
import xml.etree.ElementTree as ET

# Create the root element
root = ET.Element("library")

# Create the first book element with an attribute
book1 = ET.SubElement(root, "book")
book1.set("id", "1")

# Add child elements to book1
title1 = ET.SubElement(book1, "title")
title1.text = "Learning Python"

author1 = ET.SubElement(book1, "author")
author1.text = "Mark Lutz"

year1 = ET.SubElement(book1, "year")
year1.text = "2013"

# Create the second book element
book2 = ET.SubElement(root, "book")
book2.set("id", "2")

title2 = ET.SubElement(book2, "title")
title2.text = "Clean Code"

author2 = ET.SubElement(book2, "author")
author2.text = "Robert C. Martin"

year2 = ET.SubElement(book2, "year")
year2.text = "2008"

# Wrap the root in an ElementTree and write to a file
tree = ET.ElementTree(root)
ET.indent(tree, space="    ")  # Requires Python 3.9+

tree.write("library.xml", encoding="unicode", xml_declaration=True)

print("XML file created successfully.")
Running this script produces a clean, formatted library.xml file. Let's break down the key steps.
Creating Elements and SubElements
ET.Element("library") creates the root element. ET.SubElement(parent, "tag") creates a child element and automatically attaches it to the parent. This is the most common way to build your tree because it keeps the parent-child relationship clear.
Setting Attributes and Text
Use the .set("attribute_name", "value") method to add attributes to an element. You can also pass attributes directly when creating an element using a dictionary: ET.Element("book", attrib={"id": "1"}). To add text content inside an element tag, set the .text property as a string.
Indenting and Writing to a File
ET.indent() was added in Python 3.9 and automatically handles pretty-printing your XML with consistent indentation. If you are on an older version of Python, the output will still be valid XML but will appear on a single line. The tree.write() method accepts a file path and optional parameters like encoding and xml_declaration. Setting xml_declaration=True adds the standard <?xml version='1.0' encoding='us-ascii'?> header to the top of the file.
A Practical Pattern: Building XML from a List
In real projects, you will usually generate XML from existing data rather than hardcoding each element. Here is a cleaner pattern using a list of dictionaries:
import xml.etree.ElementTree as ET

books = [
    {"id": "1", "title": "Learning Python", "author": "Mark Lutz", "year": "2013"},
    {"id": "2", "title": "Clean Code", "author": "Robert C. Martin", "year": "2008"},
]

root = ET.Element("library")

for book_data in books:
    book = ET.SubElement(root, "book")
    book.set("id", book_data["id"])

    for field in ["title", "author", "year"]:
        child = ET.SubElement(book, field)
        child.text = book_data[field]

tree = ET.ElementTree(root)
ET.indent(tree, space="    ")
tree.write("library.xml", encoding="unicode", xml_declaration=True)

print("XML written from data list.")
This approach scales cleanly. Add more books to the list and the loop handles the rest.
Key Things to Remember
- All text values must be strings: if your data contains integers or floats, convert them with
str()before assigning to.text. - Special characters need escaping: ElementTree handles characters like
&and<automatically when you assign text properly. Do not manually insert raw XML strings into text fields. - The root element is singular: every valid XML document has exactly one root element wrapping everything else.
What's Next
Now that you can create and write XML in Python, the natural next step is learning how to read and parse existing XML files. In the next post, we will cover how to use xml.etree.ElementTree to load an XML file, navigate the tree, search for specific elements, and extract data. If you are working with APIs or configuration files, parsing is where things really start to get useful.