
Linux Text Editors: nano for Beginners
nano is a beginner-friendly terminal text editor available on virtually every Linux system. This post covers how to open, edit, save, and exit files using nano, including the essential keyboard shortcuts every Linux beginner needs to know.

When you start working in the Linux terminal, one of the first practical skills you need is editing text files. Whether you are modifying a configuration file, writing a quick script, or making a note, you need a text editor that works directly in the terminal. nano is the perfect starting point. It is simple, friendly, and available on almost every Linux system you will ever touch.
What Is nano?
nano is a terminal-based text editor that runs directly inside your command line. Unlike graphical editors such as gedit or VS Code, nano does not need a desktop environment. This makes it invaluable when you are working on a remote server over SSH, where there is no graphical interface at all.
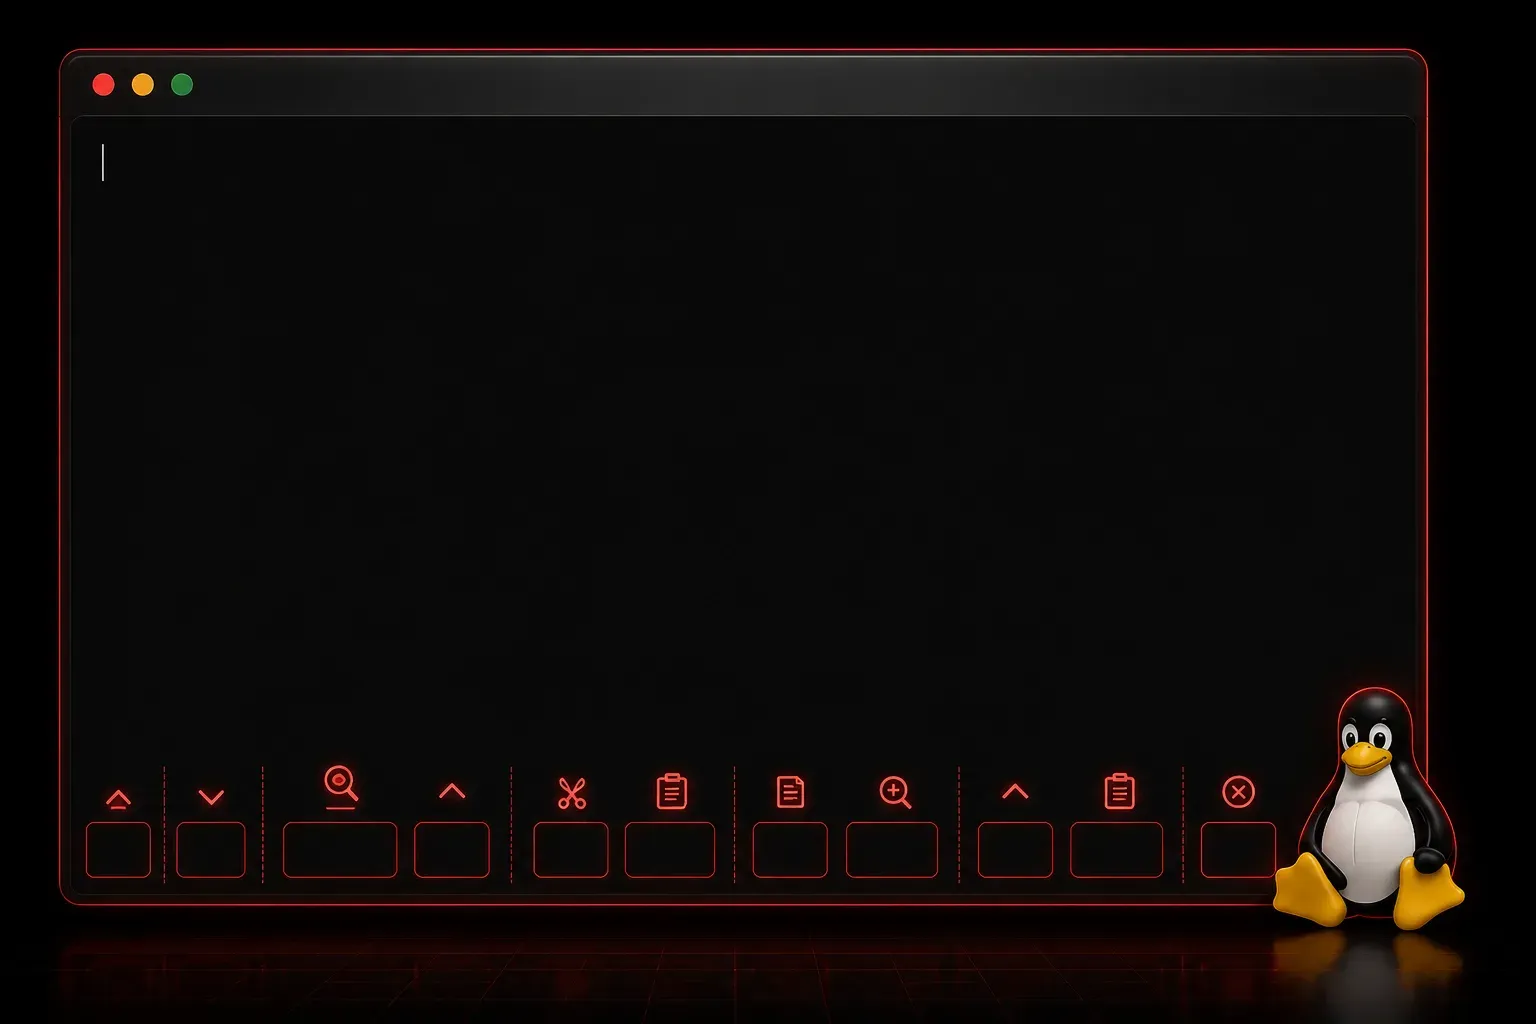
The key reason beginners love nano is the on-screen help. Every important keyboard shortcut is displayed at the bottom of the screen, so you are never left guessing how to save or exit.
Opening a File with nano
To open an existing file, or create a new one, use the following syntax in your terminal:
nano filename.txtIf the file does not exist, nano creates it for you when you save. For example, to create a new file called notes.txt in your home directory:
nano ~/notes.txtOnce nano opens, you will see the file contents in the main editing area, your cursor at the top, and two rows of keyboard shortcuts at the bottom. The ^ symbol represents the Ctrl key.
The nano Interface at a Glance
The bottom of the screen shows shortcuts like this:
^G Help      ^O Write Out  ^W Where Is  ^K Cut       ^T Execute
^X Exit      ^R Read File  ^\ Replace   ^U Paste     ^J Justify
You do not need to memorise all of these at once. The three you will use constantly are:
- Ctrl + O: Save the file (Write Out). Press Enter to confirm the filename.
- Ctrl + X: Exit nano. If you have unsaved changes, it will ask you to confirm.
- Ctrl + W: Search for text within the file.
Editing Text in nano
Editing is as straightforward as it gets. Once nano is open, just start typing. Use your arrow keys to move the cursor around the file. There are no special modes to switch between, unlike some other terminal editors.
Here are a few more useful shortcuts to keep handy:
- Ctrl + K: Cut an entire line of text.
- Ctrl + U: Paste the cut line back.
- Ctrl + G: Open the help menu with a full list of shortcuts.
- Alt + U: Undo your last action.
Saving and Exiting
When you are done editing, press Ctrl + O to save. nano will display the filename at the bottom and ask you to confirm. Just press Enter. You will see a message confirming how many lines were written.
To exit, press Ctrl + X. If you forgot to save, nano will ask: Save modified buffer?. Press Y to save, N to discard changes, or Ctrl + C to cancel and go back to editing.
A Quick Practical Example
Try this right now in your terminal to get comfortable:
nano practice.txtType a few lines of text. Then save with Ctrl + O, confirm with Enter, and exit with Ctrl + X. Now verify your file was saved by running:
cat practice.txtYou should see everything you typed printed back to the screen. That is the complete nano workflow in about 60 seconds.
Resources to Go Deeper
- Built-in help: Press
Ctrl + Ginside nano for a full reference guide. - man page: Run
man nanoin your terminal to read the full documentation. - Linux Journey: linuxjourney.com has a beginner-friendly module covering text editing in the terminal.
What's Next
Now that you can create and edit files with nano, the logical next step is understanding how Linux organises those files. In the next post, we will explore the Linux filesystem hierarchy, covering what directories like /etc, /home, and /var actually contain and why that structure matters for every task you do on the command line.