
Building a Scalable Home Lab with GNS3
This post walks network engineers through building a scalable GNS3 home lab from scratch, covering installation, VM configuration, appliance setup, and topology design principles. It includes practical tips for keeping simulations performant and introduces the GNS3 Cloud node for real-world integra

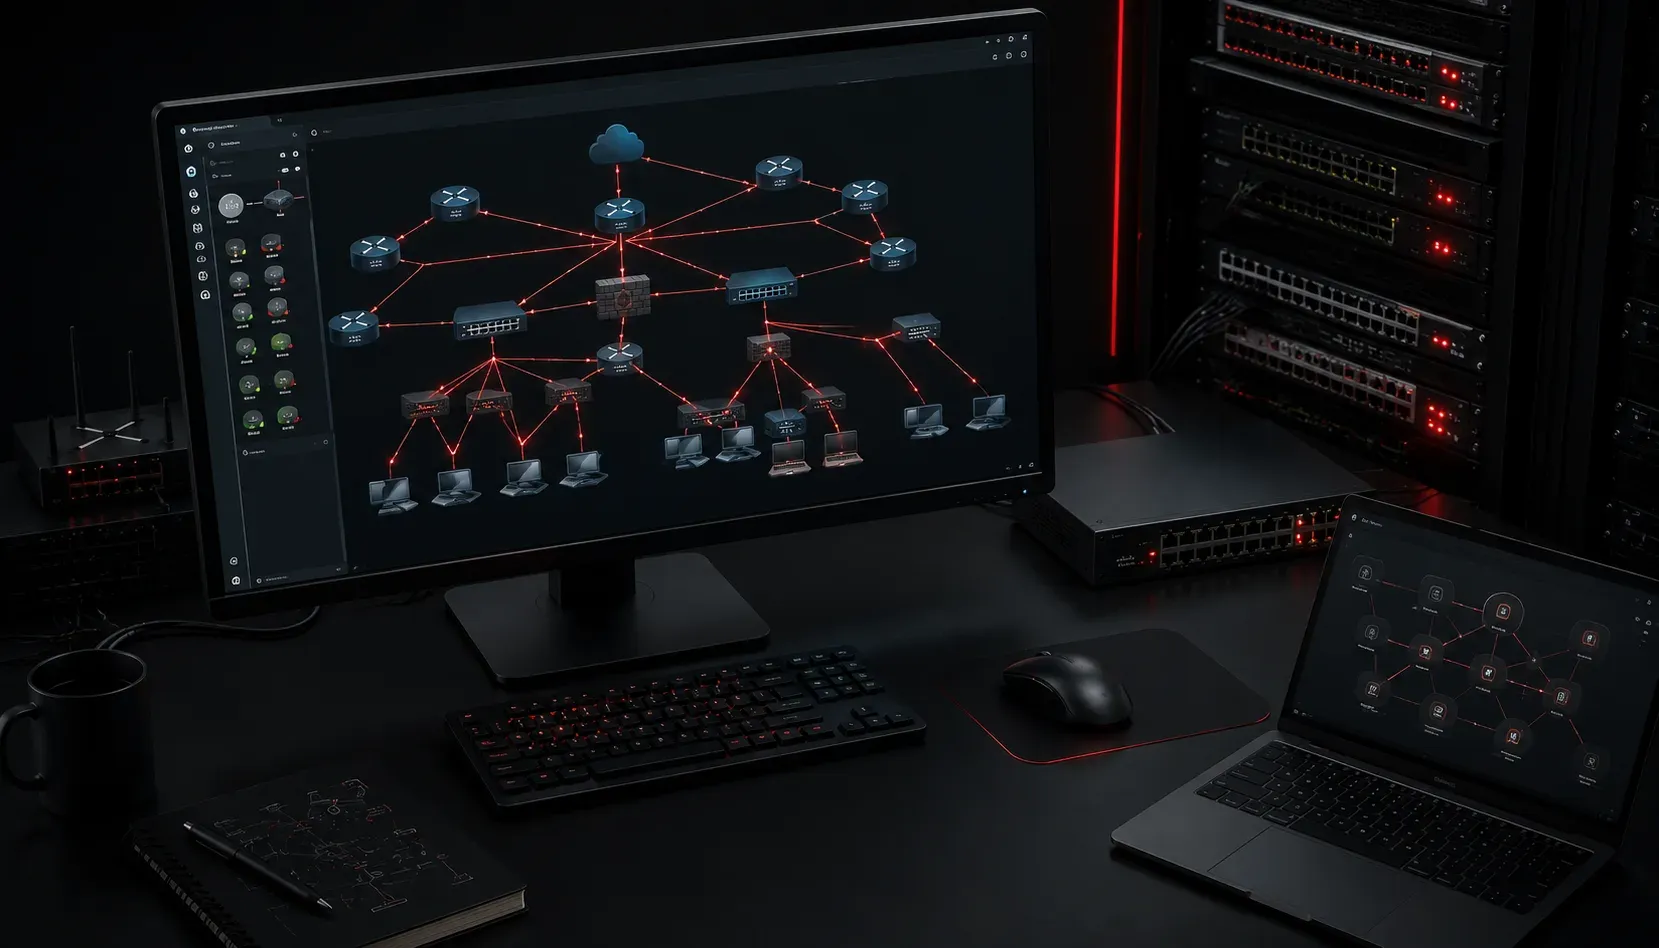
If you want to get serious about networking, you need a lab. But physical gear is expensive, loud, and power-hungry. That's where GNS3 comes in. GNS3 (Graphical Network Simulator-3) lets you build complex, scalable network topologies on your own hardware without buying a single rack unit. This guide walks you through building a home lab setup that can grow with your skills.
Why GNS3 for Your Home Lab?
GNS3 is not just a toy simulator. It runs actual network operating system images, including Cisco IOS, Cisco IOS-XE, Arista EOS, and others, so the commands and behaviors you learn are the real thing. Unlike Packet Tracer, which is limited to a subset of features, GNS3 gives you access to the full CLI and even supports integration with real physical networks through network adapters.
The key components you need to understand before building your lab are:
- GNS3 GUI: the graphical front-end where you design and manage topologies
- GNS3 VM: a virtual machine (run in VMware Workstation or VirtualBox) that handles the heavy lifting of running your network devices
- Appliance images: the actual OS images (IOS, IOSv, etc.) that your virtual routers and switches run
Setting Up Your Foundation
Step 1: Install GNS3 and the GNS3 VM
Download the GNS3 installer from gns3.com. During installation, you will be prompted to also download the GNS3 VM. Run GNS3 with the VM backend, not the local server, especially if you plan to run more than a handful of devices. The VM isolates your simulations and provides much better performance and stability.
In VMware Workstation, import the GNS3 VM OVA file and allocate resources generously. A recommended starting point is:
CPU:  4 vCPUs
RAM:  8 GB (16 GB if available)
Disk: 60 GB thin-provisioned
Step 2: Add Your First Appliance
GNS3 uses appliance templates. Go to Edit > Preferences > Dynamips for traditional IOS images, or use the Appliances marketplace for IOSv, IOSv-L2, or CSR1000v images. Once an appliance is added, you can drag it into any topology.
Designing for Scale
A common mistake beginners make is designing one big flat topology and wondering why GNS3 gets sluggish. Scalable home labs follow a few important principles:
- Use lightweight images where possible: IOSv uses significantly fewer resources than a full CSR1000v. Match the image to what you actually need to practice.
- Break topologies into projects: separate your OSPF lab from your BGP lab from your MPLS lab. GNS3 lets you run multiple projects but keep them focused.
- Leverage Docker containers: GNS3 supports Docker natively. For hosts and servers, use lightweight containers instead of full VMs. A simple Alpine Linux container uses under 50 MB of RAM.
Example: A Scalable 3-Tier WAN Topology
Here is a practical topology pattern that scales well inside GNS3:
[PC1] --- [SW1] --- [R1-Edge] --- [R2-Core] --- [R3-Edge] --- [SW2] --- [PC2]
                        |                              |
                   [R4-ISP-A]                   [R5-ISP-B]
This topology gives you Layer 2 switching, Layer 3 routing, WAN simulation, and dual ISP connectivity, all with only 5 routers, 2 switches, and 2 hosts. You can practice OSPF, BGP, NAT, and policy routing in a single project without overloading your workstation.
Connecting GNS3 to the Real World
One of GNS3's most powerful features is the Cloud node, which bridges your simulated network to your actual network interface. Drop a Cloud node into your topology and map it to your physical NIC. Your virtual routers can then DHCP from your real router, reach the internet, or talk to other physical devices on your desk.
Performance Tips
- Idle-PC values: For Dynamips-based IOS images, always set the Idle-PC value. Without it, each router pegs a CPU core at 100%. Right-click a router and select Idle-PC to calculate the best value.
- Snapshot often: GNS3 supports project snapshots. Save a clean baseline before you start making changes so you can roll back quickly.
- Monitor RAM usage: keep the GNS3 VM dashboard visible. If you are regularly exceeding 80% RAM, split your topology into smaller projects or upgrade your host RAM.
What's Next
Now that you have a scalable GNS3 home lab up and running, the next step is putting it to work with real automation. In upcoming posts, we will cover how to use Ansible and Python with Netmiko to automate configuration tasks across your virtual network, turning your home lab into a full-featured network automation sandbox.