
Common Network Troubleshooting Techniques for Beginners
This post introduces foundational network troubleshooting techniques for beginners, covering CompTIA's structured methodology, physical layer checks, ping and IP configuration commands, and strategic rebooting. It is designed to help new IT learners approach problems with confidence before diving i

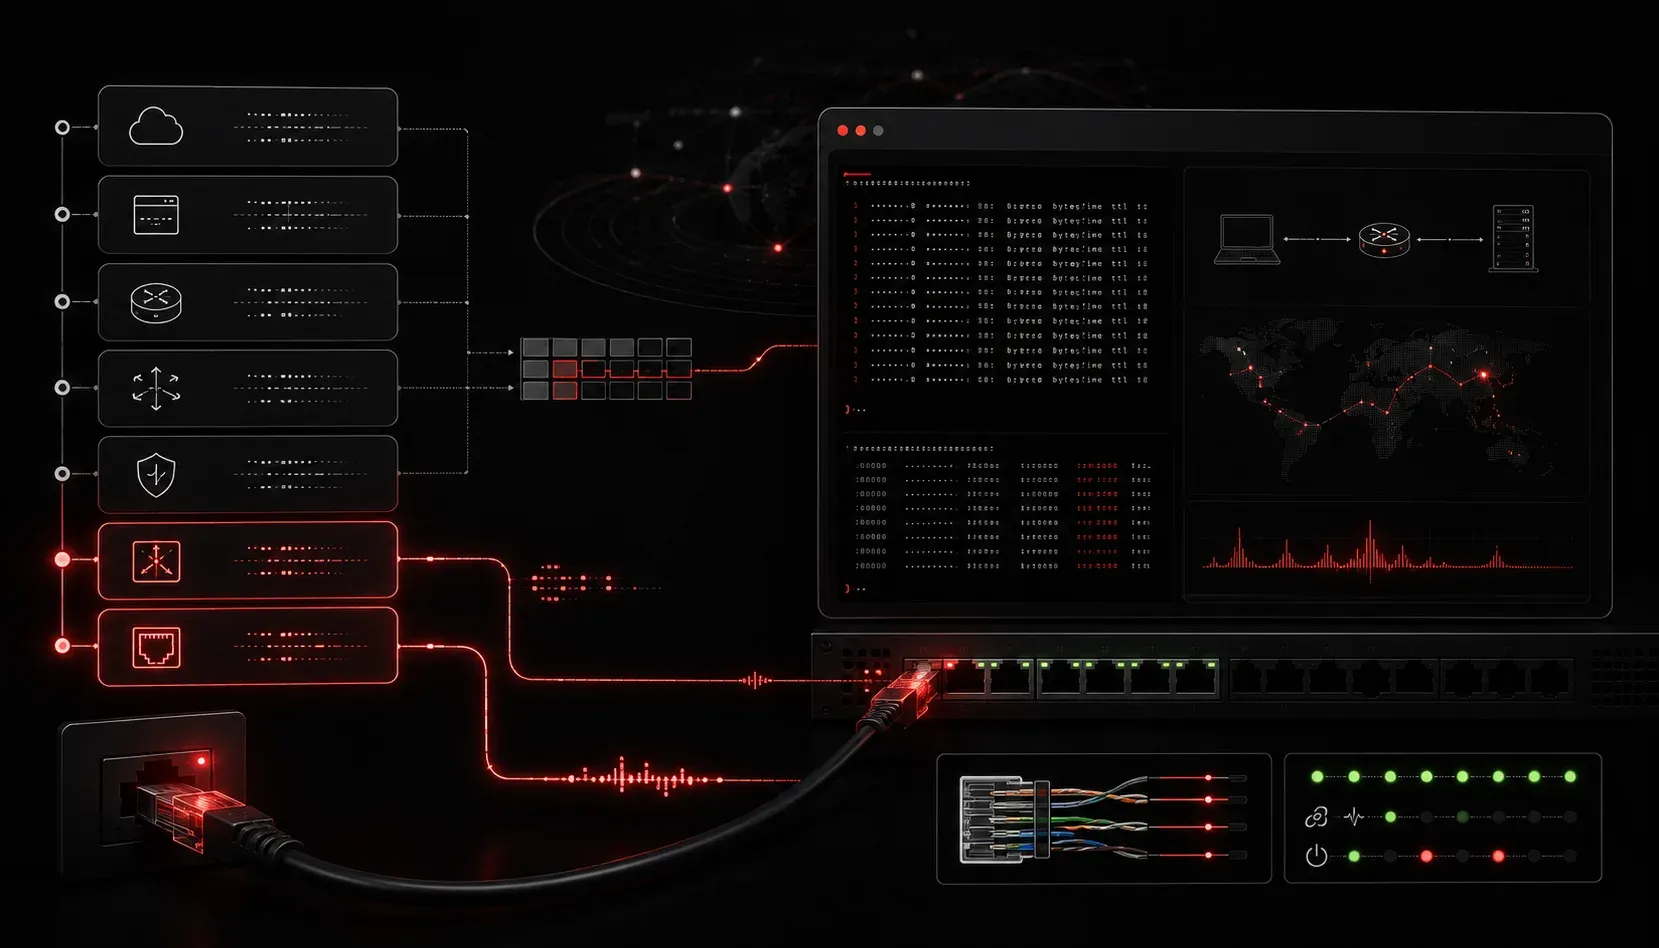
Network troubleshooting can feel overwhelming when you're starting out. You're staring at a blinking light, a disconnected user, or a screen full of errors, and you're not sure where to begin. The good news is that most network problems follow predictable patterns, and experienced engineers rely on a small set of proven techniques to solve them. This post walks you through those foundational network troubleshooting techniques so you can approach problems with confidence.
Start With a Structured Approach
Before you touch anything, resist the urge to randomly click, unplug, or restart. Good IT troubleshooting starts with gathering information. Ask the user what happened, when it started, and whether anything changed recently. A new software install, a moved cable, or a recent thunderstorm can all be clues.
CompTIA's Network+ exam outlines a general troubleshooting methodology that works in real life too:
- Identify the problem
- Establish a theory of probable cause
- Test the theory
- Establish a plan of action
- Implement the solution
- Verify full system functionality
- Document findings and actions
Following this process keeps you from jumping to conclusions and making the problem worse.
Check the Physical Layer First
One of the most valuable beginner tips in networking is this: always check the physical layer first. You would be surprised how many "complex" network issues turn out to be a loose cable or a powered-off switch.
- Check link lights: Most switches and NICs have LED indicators. A solid or blinking green light usually means a good connection. No light often means no physical link.
- Reseat cables: Unplug and firmly re-plug the Ethernet cable on both ends. RJ-45 connectors can appear connected while not making full contact.
- Try a known-good cable: Cables fail. Swap the suspect cable with one you know works.
- Check the port: If the cable seems fine, try a different port on the switch.
Use the Ping Command
Once you have confirmed the physical connection looks healthy, move to basic connectivity testing. The ping command is your best friend here. It sends ICMP echo requests to a target and tells you whether the device responds.
C:\Users\student> ping 192.168.1.1

Pinging 192.168.1.1 with 32 bytes of data:
Reply from 192.168.1.1: bytes=32 time=1ms TTL=64
Reply from 192.168.1.1: bytes=32 time=1ms TTL=64

Ping statistics for 192.168.1.1:
    Packets: Sent = 4, Received = 4, Lost = 0 (0% loss)
Start by pinging the default gateway. If that fails, the problem is likely local (your device or the connection to the router). If the gateway responds but a remote website does not, the issue is likely upstream or DNS-related.
To test DNS specifically, try pinging a domain name like ping google.com. If it resolves to an IP and responds, DNS is working fine.
Check IP Configuration
If ping fails, check whether the device even has a valid IP address. On Windows, run ipconfig. On Linux or macOS, use ip a or ifconfig.
C:\Users\student> ipconfig

Ethernet adapter Local Area Connection:
   IPv4 Address. . . . . . : 169.254.45.12
   Subnet Mask . . . . . . : 255.255.0.0
   Default Gateway . . . . :
An address starting with 169.254.x.x is called an APIPA address. It means the device tried to get an IP from a DHCP server and failed. This points to a DHCP problem, which could be caused by a bad connection, a misconfigured server, or a scope that ran out of addresses.
Reboot and Reset Strategically
Rebooting is often dismissed as a lazy fix, but it is a legitimate troubleshooting step. Routers, switches, and modems accumulate state over time, and a reboot clears that state. The key is to reboot in the right order: modem first, then router, then switch, then client devices. Give each device 30 to 60 seconds before powering on the next one.
If a reboot does not help, a factory reset may be warranted, but be careful because this erases all configuration. Use it as a last resort on devices you can reconfigure.
What's Next
Now that you have a handle on common methods for diagnosing basic network problems, the next step is learning how to interpret the results of tools like traceroute and nslookup. These commands help you trace the path a packet takes across the network and diagnose DNS issues, which are two of the most common areas tested on the Network+ exam. We will cover those in the next post in this series.