
How to Configure Trunk Ports: A Step-by-Step Guide
A comprehensive beginner's guide to configuring trunk ports on Cisco switches, covering step-by-step configuration commands, verification methods, and troubleshooting tips. Includes practical examples and best practices for CCNA students.

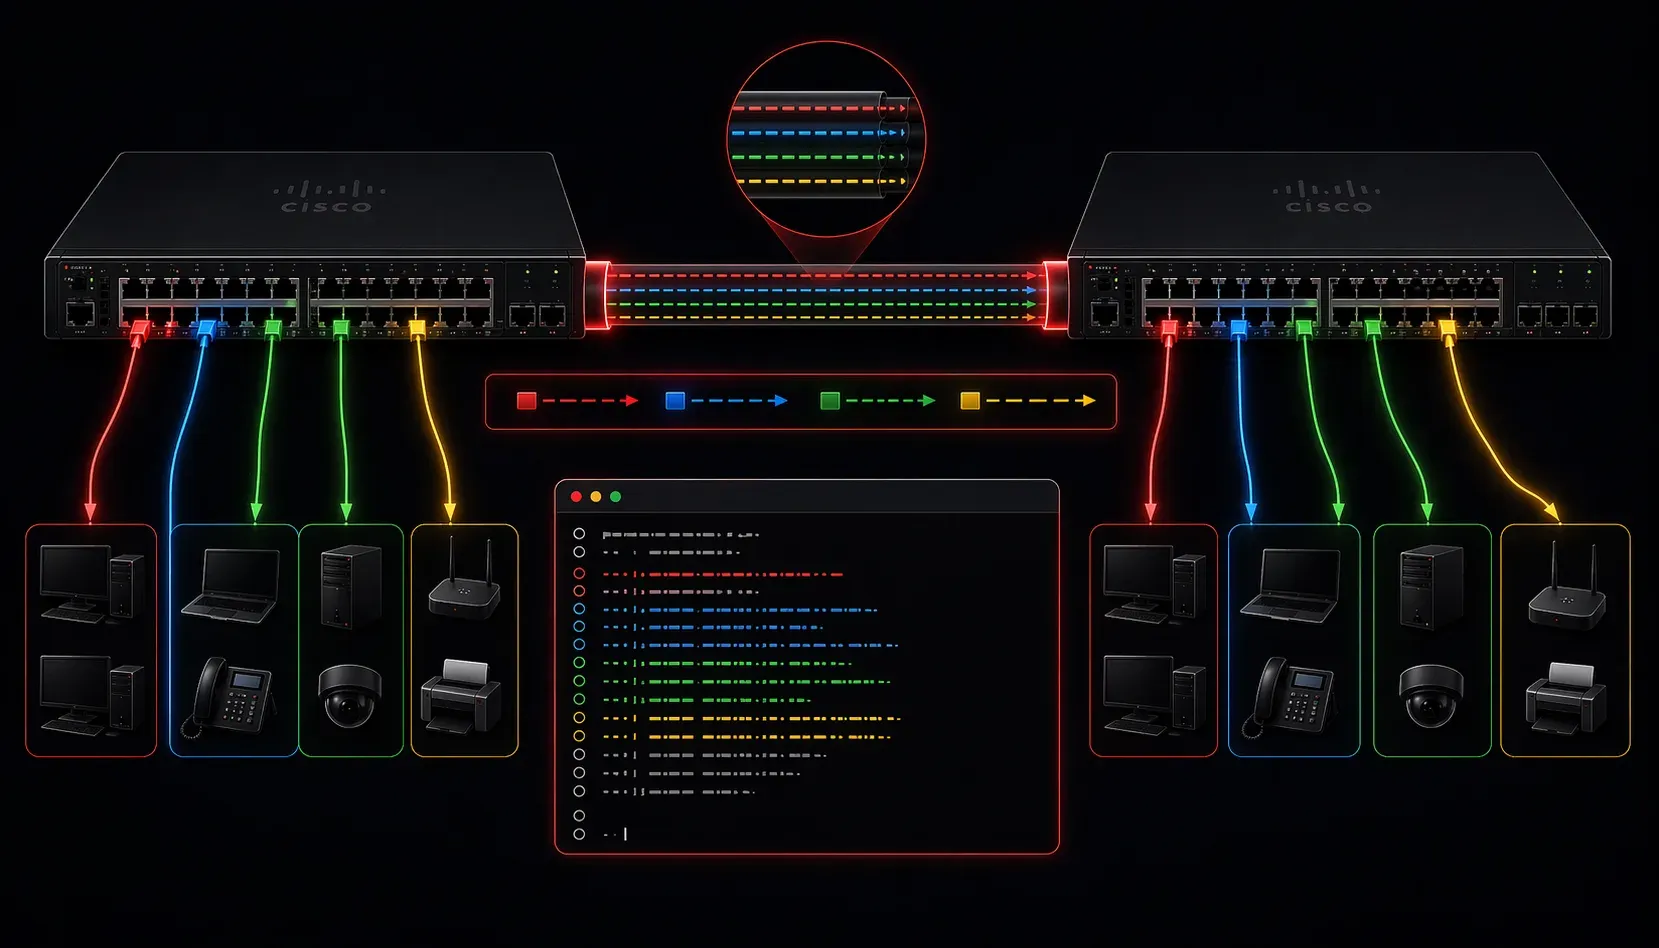
Trunk ports are essential for connecting switches in modern networks, allowing multiple VLANs to traverse a single physical link. If you're preparing for the CCNA or working with Cisco switches, understanding how to configure trunk ports is fundamental. This step-by-step guide will walk you through the process with practical examples you can try in your own lab.
Understanding Trunk Ports
A trunk port carries traffic for multiple VLANs simultaneously, using VLAN tags to identify which VLAN each frame belongs to. Think of it as a highway with multiple lanes, where each lane represents a different VLAN. Without trunk ports, you'd need a separate physical cable for each VLAN between switches, which quickly becomes impractical.
Cisco switches use the IEEE 802.1Q standard for VLAN tagging on trunk ports. This standard adds a 4-byte tag to Ethernet frames, identifying the VLAN ID.
Step-by-Step Configuration
Step 1: Enter Interface Configuration Mode
First, access the interface you want to configure as a trunk port. Let's use GigabitEthernet 0/1 as our example:
Switch> enable
Switch# configure terminal
Switch(config)# interface gigabitethernet 0/1
Step 2: Set the Switchport Mode
Configure the interface as a trunk port using the switchport mode trunk command:
Switch(config-if)# switchport mode trunkThis command forces the interface into trunk mode. The interface will now carry traffic for multiple VLANs.
Step 3: Configure the Native VLAN (Optional)
The native VLAN carries untagged traffic. By default, it's VLAN 1, but you can change it for security reasons:
Switch(config-if)# switchport trunk native vlan 99Practical tip: Always configure the same native VLAN on both ends of a trunk link to avoid connectivity issues.
Step 4: Specify Allowed VLANs (Optional)
By default, trunk ports allow all VLANs (1-4094). You can restrict this for security and performance:
Switch(config-if)# switchport trunk allowed vlan 10,20,30,99This configuration only allows VLANs 10, 20, 30, and 99 on the trunk.
Complete Configuration Example
Here's a complete trunk port configuration:
Switch(config)# interface gigabitethernet 0/1
Switch(config-if)# switchport mode trunk
Switch(config-if)# switchport trunk native vlan 99
Switch(config-if)# switchport trunk allowed vlan 10,20,30,99
Switch(config-if)# exit
Verification Commands
Always verify your configuration after making changes. Use these commands to confirm your trunk port is working correctly:
Switch# show interfaces trunkThis displays all trunk interfaces and their VLAN information. You should see output similar to:
Port        Mode             Encapsulation  Status        Native vlan
Gi0/1       on               802.1q         trunking      99

Port        Vlans allowed on trunk
Gi0/1       10,20,30,99

Port        Vlans allowed and active in management domain
Gi0/1       10,20,30,99
You can also check the interface status:
Switch# show interface gigabitethernet 0/1 switchportCommon Troubleshooting Tips
If your trunk isn't working as expected, check these common issues:
- Native VLAN mismatch: Ensure both sides of the trunk have the same native VLAN configured
- Encapsulation mismatch: Modern switches default to 802.1Q, but older switches might need explicit configuration
- VLAN not allowed: Verify the VLAN is in the allowed list on both switches
- Physical connectivity: Check cables and port status
Best Practices
Follow these practical tips for reliable trunk configurations:
- Change the native VLAN from the default VLAN 1 for security
- Explicitly configure trunk mode rather than relying on auto-negotiation
- Limit allowed VLANs to only those needed
- Document your trunk configurations for future reference
- Test connectivity after configuration changes
What's Next
Now that you understand how to configure trunk ports, the next logical step is learning about VLAN Trunking Protocol (VTP), which helps manage VLAN information across multiple switches. You'll also want to explore EtherChannel configuration for bundling multiple trunk links together for increased bandwidth and redundancy.
Tools and resources for this topic
- CCNA Official Cert Guide (Wendell Odom) — The definitive CCNA study resource. Both volumes cover the 200-301 exam blueprint in full.
- Wendell Odom CCNA Vol 1 — Covers networking fundamentals, switching, and routing basics.
- Wendell Odom CCNA Vol 2 — Covers advanced routing, WAN, infrastructure services, and security.