
How to Configure VRF-Lite for Enterprise Networks
Comprehensive guide to configuring VRF-Lite in enterprise networks, covering VRF instance creation, interface assignments, routing protocol configuration, and essential verification commands for CCNP ENARSI candidates.

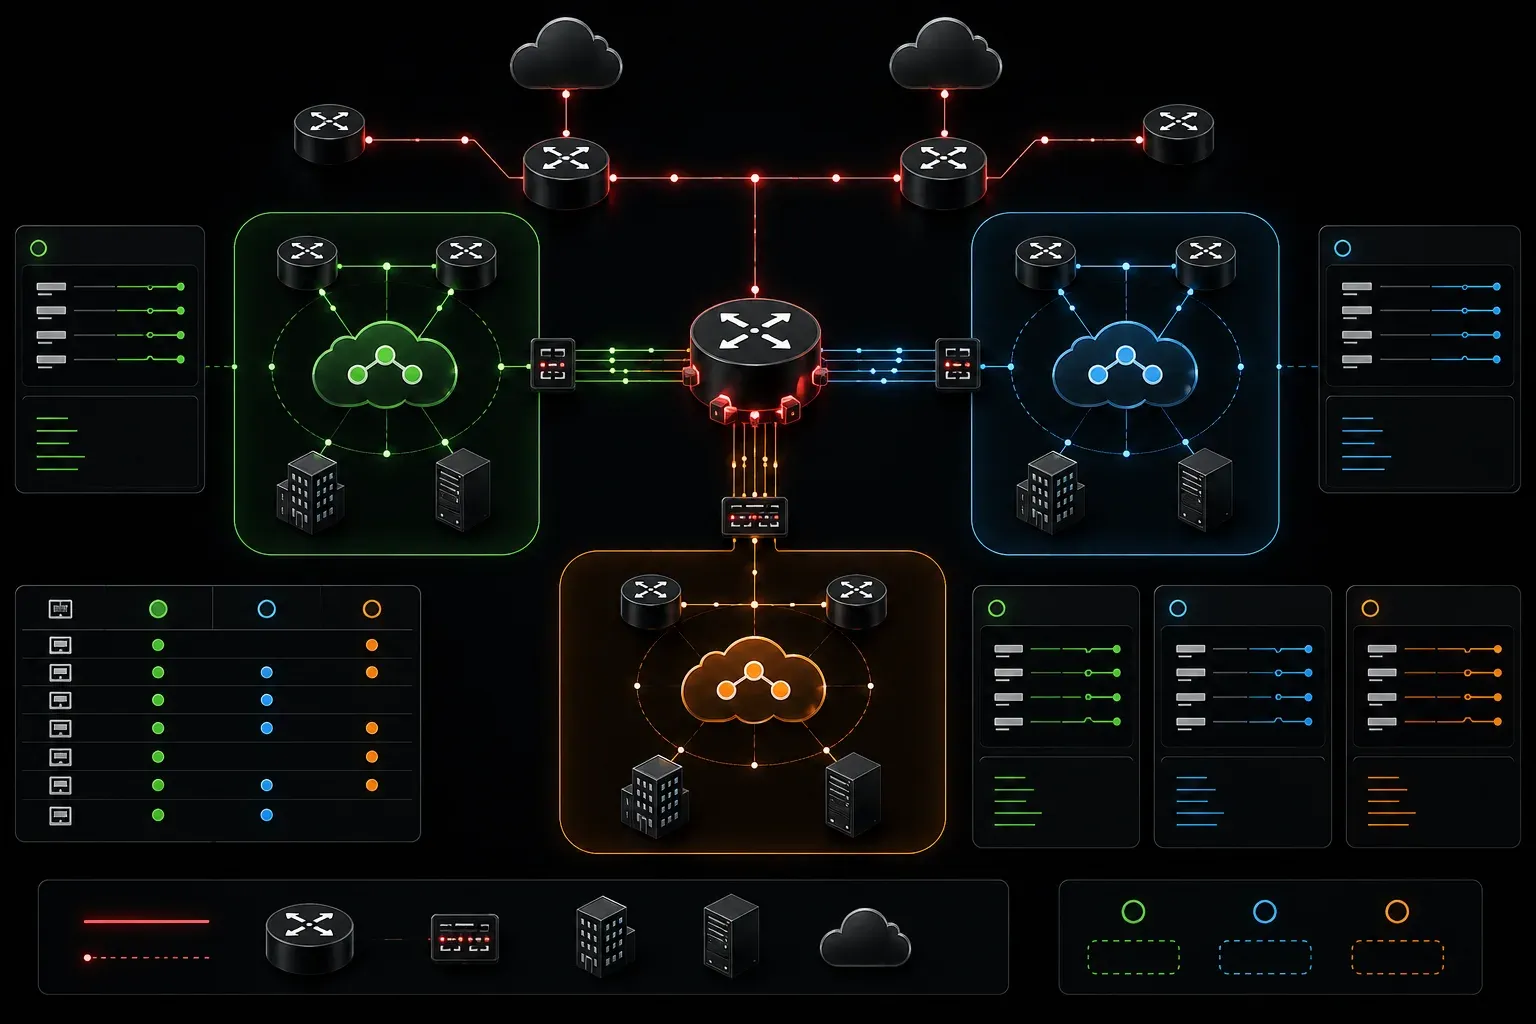
Understanding VRF-Lite in Enterprise Context
VRF-Lite provides logical separation of routing tables without requiring MPLS infrastructure, making it ideal for enterprise environments where you need to isolate traffic between departments, customers, or security zones. Unlike full MPLS VPN implementations, VRF-Lite operates purely at Layer 3 without label switching, using standard routing protocols for path selection within each virtual routing instance.
In enterprise networks, VRF-Lite commonly addresses scenarios like guest network isolation, multi-tenant office buildings, or separating production and development environments while sharing the same physical infrastructure. The configuration involves creating virtual routing and forwarding instances that maintain separate routing tables, enabling complete logical separation without physical segmentation.
Pre-Configuration Planning
Before beginning your VRF-Lite setup, identify which interfaces belong to each VRF instance and plan your addressing scheme. Each VRF requires its own address space, and you'll need to determine which routing protocols will operate within each instance. Document interface assignments, as moving interfaces between VRFs requires removing all Layer 3 configuration first.
Consider route leaking requirements early in your design. If certain VRFs need limited communication with others, plan your route import/export policies and any necessary inter-VRF routing through a global routing table or dedicated transit VRF.
Step-by-Step VRF-Lite Configuration
Creating VRF Instances
Begin by defining your VRF instances in global configuration mode. Each VRF requires a unique name and should include a description for operational clarity:
Router(config)# ip vrf SALES
Router(config-vrf)# description Sales Department Network
Router(config-vrf)# rd 100:1
Router(config-vrf)# exit

Router(config)# ip vrf FINANCE
Router(config-vrf)# description Finance Department Network
Router(config-vrf)# rd 100:2
Router(config-vrf)# exit

Router(config)# ip vrf GUEST
Router(config-vrf)# description Guest Network Access
Router(config-vrf)# rd 100:3
Router(config-vrf)# exit
Route distinguishers (RDs) serve an important purpose in VRF-Lite by creating unique identifiers for routes, especially when VRFs use overlapping IP address spaces. While VRF-Lite can technically function without RDs in simple scenarios, they become essential when you need to distinguish identical routes from different VRFs in the routing table or when preparing for route redistribution between VRFs. RDs also provide consistency if you later migrate to full MPLS VPN implementations.
Assigning Interfaces to VRF Instances
Assign physical or logical interfaces to specific VRF instances. This step requires removing any existing IP configuration on the interface first:
Router(config)# interface GigabitEthernet0/1
Router(config-if)# no ip address
Router(config-if)# ip vrf forwarding SALES
Router(config-if)# ip address 192.168.10.1 255.255.255.0
Router(config-if)# no shutdown
Router(config-if)# exit

Router(config)# interface GigabitEthernet0/2
Router(config-if)# no ip address
Router(config-if)# ip vrf forwarding FINANCE
Router(config-if)# ip address 192.168.20.1 255.255.255.0
Router(config-if)# no shutdown
Router(config-if)# exit
Notice that the IP address must be configured after assigning the interface to the VRF. Attempting to configure the VRF assignment on an interface with an existing IP address will remove that address automatically.
Configuring Routing Protocols Within VRFs
Each VRF maintains independent routing protocol instances. Configure OSPF within specific VRF contexts:
Router(config)# router ospf 10 vrf SALES
Router(config-router)# router-id 10.1.1.1
Router(config-router)# network 192.168.10.0 0.0.0.255 area 0
Router(config-router)# exit

Router(config)# router ospf 20 vrf FINANCE
Router(config-router)# router-id 10.2.1.1
Router(config-router)# network 192.168.20.0 0.0.0.255 area 0
Router(config-router)# exit
For EIGRP configurations within VRFs, specify the autonomous system number and VRF context:
Router(config)# router eigrp 100
Router(config-router)# address-family ipv4 vrf SALES
Router(config-router-af)# network 192.168.10.0 0.0.0.255
Router(config-router-af)# autonomous-system 100
Router(config-router-af)# exit-address-family

Router(config-router)# address-family ipv4 vrf FINANCE
Router(config-router-af)# network 192.168.20.0 0.0.0.255
Router(config-router-af)# autonomous-system 200
Router(config-router-af)# exit-address-family
Static Routing in VRF Context
Static routes within VRFs require specifying the VRF name in the route statement:
Router(config)# ip route vrf SALES 0.0.0.0 0.0.0.0 192.168.10.254
Router(config)# ip route vrf FINANCE 0.0.0.0 0.0.0.0 192.168.20.254
Route Leaking Between VRFs
When VRFs need controlled communication, you can implement route leaking using route import/export statements. Here's an example allowing the SALES VRF to access specific routes from the FINANCE VRF:
Router(config)# ip vrf SALES
Router(config-vrf)# import ipv4 unicast map ALLOW_FINANCE_ROUTES

Router(config)# route-map ALLOW_FINANCE_ROUTES permit 10
Router(config-route-map)# match ip address prefix-list FINANCE_SERVERS
Router(config-route-map)# exit

Router(config)# ip prefix-list FINANCE_SERVERS seq 10 permit 192.168.20.10/32
Router(config)# ip prefix-list FINANCE_SERVERS seq 20 permit 192.168.20.20/32
For more complex scenarios, you can use a dedicated transit VRF or route redistribution through the global routing table:
Router(config)# router ospf 100
Router(config-router)# redistribute ospf 10 vrf SALES subnets
Router(config-router)# redistribute ospf 20 vrf FINANCE subnets
Router(config-router)# exit
Verification and Troubleshooting Commands
Verify VRF configuration and operation using VRF-aware show commands. Display all configured VRFs:
Router# show ip vrf
  Name                             Default RD            Interfaces
  FINANCE                          100:2                 Gi0/2
  GUEST                           100:3
  SALES                           100:1                 Gi0/1
Examine routing tables for specific VRF instances:
Router# show ip route vrf SALES
Routing Table: SALES
Codes: L - local, C - connected, S - static, R - RIP, M - mobile, B - BGP
       D - EIGRP, EX - EIGRP external, O - OSPF, IA - OSPF inter area

Gateway of last resort is 192.168.10.254 to network 0.0.0.0

S*    0.0.0.0/0 [1/0] via 192.168.10.254
      192.168.10.0/24 is variably subnetted, 2 subnets, 2 masks
C        192.168.10.0/24 is directly connected, GigabitEthernet0/1
L        192.168.10.1/32 is directly connected, GigabitEthernet0/1
Use VRF-specific ping and traceroute commands for connectivity testing:
Router# ping vrf SALES 192.168.10.100
Router# traceroute vrf FINANCE 192.168.20.100
For interface troubleshooting, verify VRF assignments:
Router# show ip vrf interfaces
Interface              IP-Address      VRF                              Protocol
Gi0/1                  192.168.10.1    SALES                            up
Gi0/2                  192.168.20.1    FINANCE                          up
Common Configuration Issues and Solutions
When interfaces don't appear in the expected VRF, verify that you've removed any existing IP configuration before assigning the VRF. Use show running-config interface to confirm proper VRF assignment and addressing.
If routing protocols aren't forming adjacencies within VRFs, ensure you're using VRF-specific router configuration contexts and that the routing process IDs don't conflict with global routing table instances.
For connectivity issues, remember that VRFs are completely isolated by default. Cross-VRF communication requires explicit route leaking or inter-VRF routing configuration, which involves route import/export policies or routing through the global table.
What's Next
With basic VRF-Lite configuration complete, the next logical step involves implementing advanced route leaking scenarios between VRF instances to enable controlled inter-VRF communication while maintaining security boundaries. Consider exploring BGP-based route leaking for more complex topologies and implementing route filtering to ensure precise control over inter-VRF connectivity.
Tools and resources for this topic
- CCNP ENARSI 300-410 Official Cert Guide — The definitive ENARSI study resource by Raymond Lacoste. Covers advanced routing, services, and troubleshooting.