
JavaScript If Else Statements
Learn how to use JavaScript if else statements to make decisions in your code. This beginner guide covers basic syntax, multiple conditions with else if, comparison operators, and best practices with practical examples.

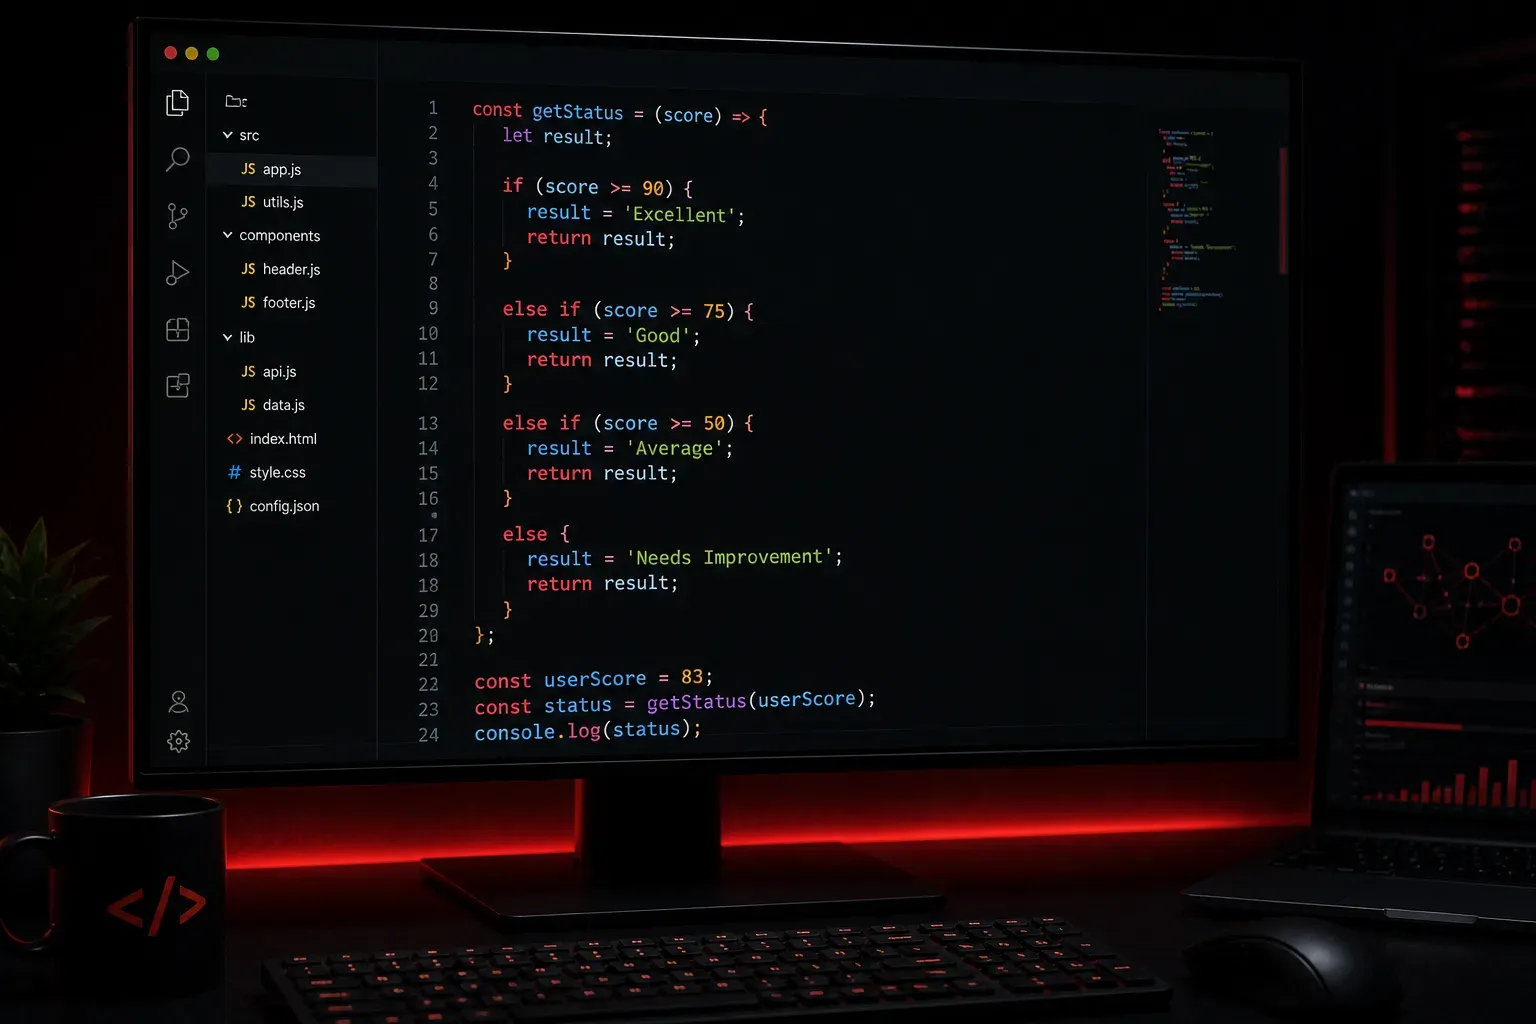
If statements are the foundation of decision-making in JavaScript. They allow your code to choose different paths based on conditions, making your programs dynamic and responsive. Think of them as the traffic lights of programming; they control the flow of execution based on what's true or false.
Basic If Statement Syntax
The simplest form of conditional logic in JavaScript is the if statement. Here's the basic structure:
if (condition) {
    // Code to execute if condition is true
}
Let's see this in action with a practical example:
let temperature = 75;

if (temperature > 70) {
    console.log("It's warm outside!");
}
In this example, JavaScript evaluates whether temperature > 70 is true. Since 75 is greater than 70, the condition is true, and the message gets printed to the console.
Adding Else for Alternative Actions
What if you want something to happen when the condition is false? That's where else comes in:
let temperature = 65;

if (temperature > 70) {
    console.log("It's warm outside!");
} else {
    console.log("It's cool outside!");
}
Now your program handles both scenarios. Since 65 is not greater than 70, the else block executes, and "It's cool outside!" gets printed.
Multiple Conditions with Else If
Real-world scenarios often require checking multiple conditions. JavaScript provides else if for this purpose:
let score = 85;

if (score >= 90) {
    console.log("Grade: A");
} else if (score >= 80) {
    console.log("Grade: B");
} else if (score >= 70) {
    console.log("Grade: C");
} else if (score >= 60) {
    console.log("Grade: D");
} else {
    console.log("Grade: F");
}
JavaScript evaluates these conditions from top to bottom. It stops at the first true condition and executes that block. In our example, since 85 is greater than or equal to 80 (but not 90), it prints "Grade: B" and skips the remaining conditions.
Common Comparison Operators
Understanding comparison operators is crucial for writing effective conditions:
>greater than<less than>=greater than or equal to<=less than or equal to==equal to (with type coercion)===strictly equal to (without type coercion)!=not equal to (with type coercion)!==not strictly equal to (without type coercion)
Here's a practical example using strict equality:
let userInput = "admin";

if (userInput === "admin") {
    console.log("Access granted to admin panel");
} else if (userInput === "user") {
    console.log("Access granted to user dashboard");
} else {
    console.log("Invalid credentials");
}
Understanding == vs === in JavaScript
One of the most important concepts for beginners is understanding the difference between == and ===:
==performs type coercion, meaning it converts values to the same type before comparing===compares both value and type without any conversion
// Examples of == vs ===
console.log(5 == "5");   // true (string "5" is converted to number 5)
console.log(5 === "5");  // false (number 5 is not the same type as string "5")

console.log(true == 1);  // true (boolean true is converted to number 1)
console.log(true === 1); // false (boolean is not the same type as number)
As a best practice, use === and !== to avoid unexpected behavior from type coercion.
Combining Conditions with Logical Operators
Sometimes you need to check multiple conditions simultaneously. JavaScript provides logical operators for this:
let age = 25;
let hasLicense = true;

if (age >= 18 && hasLicense) {
    console.log("You can drive!");
} else if (age >= 18 && !hasLicense) {
    console.log("You need to get a license first.");
} else {
    console.log("You're too young to drive.");
}
The && operator means "and"; both conditions must be true. The || operator means "or"; at least one condition must be true. The ! The operator means "not"; it flips the boolean value.
The Importance of Curly Braces
While JavaScript allows you to omit curly braces for single-line if statements, it's strongly recommended to always use them:
// Works but not recommended
if (temperature > 70)
    console.log("It's warm!");

// Better practice - always use braces
if (temperature > 70) {
    console.log("It's warm!");
}
Using curly braces prevents common errors when adding more statements later and makes your code more maintainable and less prone to bugs.
Best Practices for If Else Statements
Keep your conditions readable and maintainable. Use meaningful variable names and consider extracting complex conditions into variables:
let user = {
    age: 22,
    isStudent: true,
    hasValidId: true
};

let isEligibleForDiscount = user.age < 25 && user.isStudent && user.hasValidId;

if (isEligibleForDiscount) {
    console.log("20% student discount applied!");
} else {
    console.log("Regular pricing applies.");
}
This approach makes your code self-documenting and easier to debug.
What's Next
Now that you understand if else statements, you're ready to explore JavaScript loops. Loops let you repeat code blocks multiple times, and they often work hand-in-hand with conditional statements to create powerful program logic. We'll cover for loops and while loops in the next post.