
Troubleshooting Best Practices for Beginners
This post covers structured troubleshooting best practices for networking beginners aligned with CCST Networking exam domain 5.1. It walks through a repeatable six-step process including problem definition, theory formation, testing, fixing, verifying, and documentation. Practical CLI examples and

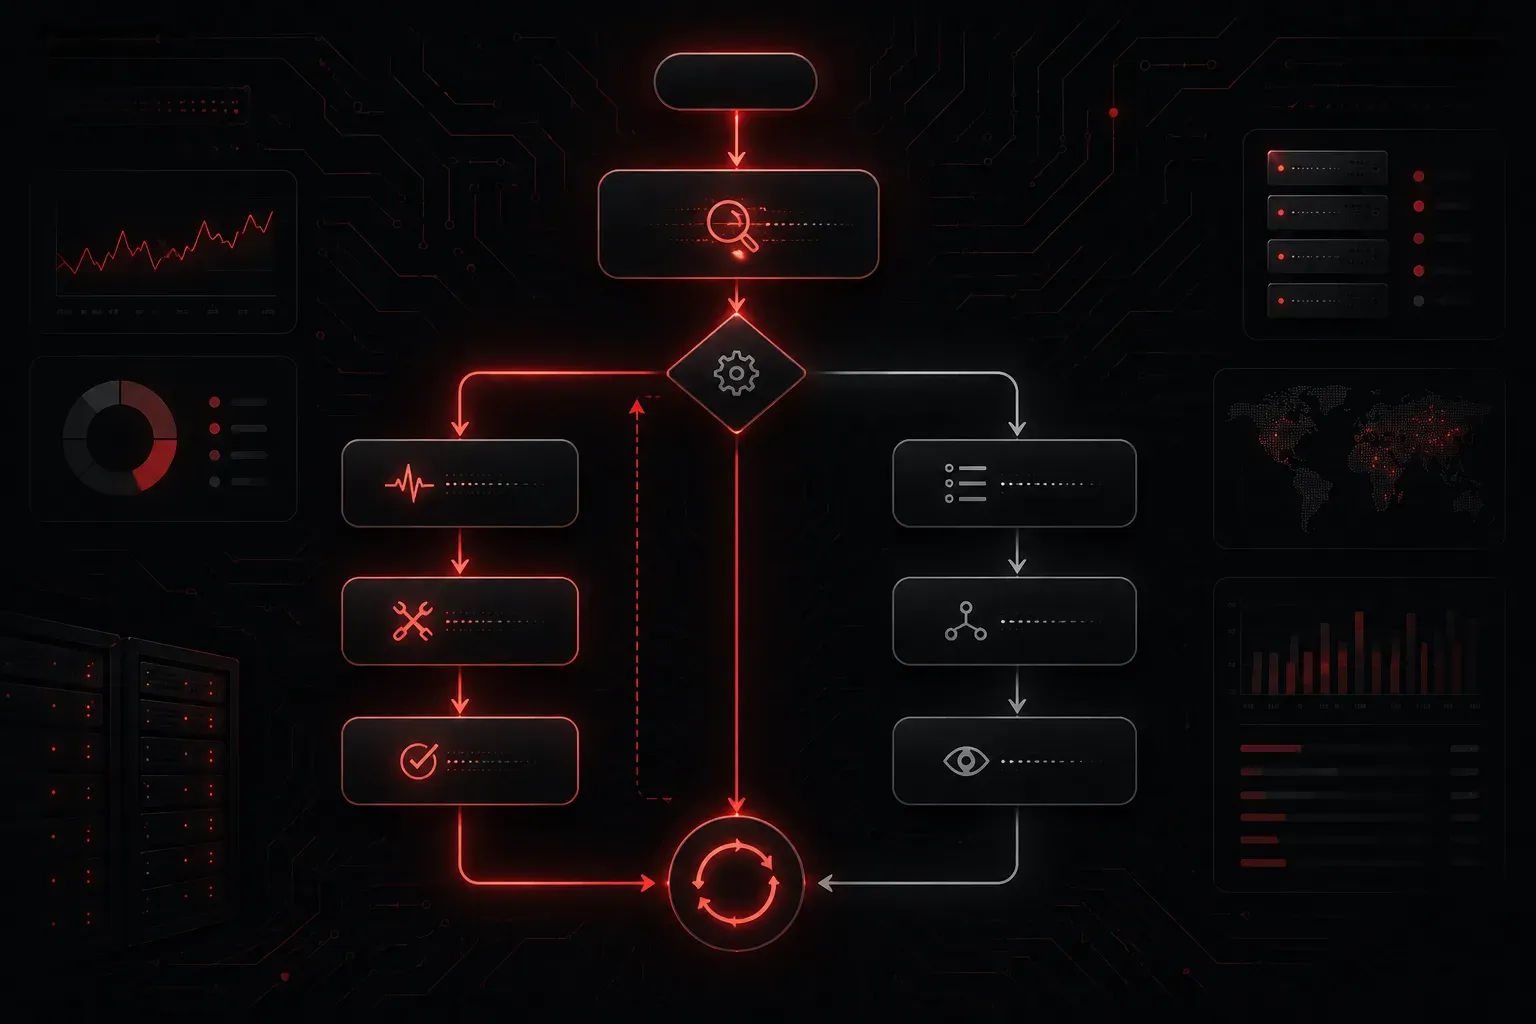
When something breaks on a network, the instinct for most beginners is to start clicking around, changing settings, and hoping something fixes it. That approach usually makes things worse. Learning solid troubleshooting best practices early in your networking journey is one of the best investments you can make, and it is exactly what Cisco's CCST Networking exam expects you to understand.
This post walks you through a structured, repeatable approach to diagnosing problems, so you can move from guessing to actually solving issues with confidence.
Why Structure Matters
Network troubleshooting without a plan is like trying to fix a car engine by randomly swapping parts. You might get lucky, but you waste time, introduce new problems, and learn nothing along the way. A structured approach gives you a repeatable method that works whether you are dealing with a simple home lab or a production network.
The goal is always the same: identify the root cause, not just the symptom.
Step 1: Define the Problem Clearly
Before touching anything, gather information. Talk to the person experiencing the issue. Ask specific questions:
- What exactly is not working?
- When did it start?
- Has anything changed recently (new device, config update, cable moved)?
- Is it affecting one user or many?
- Can you reproduce the problem consistently?
Vague problems lead to vague fixes. "The internet is slow" is not a problem statement. "This specific workstation cannot reach 8.8.8.8 but can reach devices on the local subnet" is something you can actually work with.
Step 2: Establish a Theory of Probable Cause
Once you understand the symptoms, form a hypothesis. Think about what could logically cause this specific issue. Common starting points include:
- Physical layer issues (bad cable, disconnected link, port error)
- IP addressing or subnet misconfiguration
- Default gateway or DNS settings
- VLAN or switch port configuration
Start simple. The most common cause of a connectivity issue is often the most obvious one. A good rule of thumb is to work from the bottom of the OSI model upward. Check physical connections before blaming DNS.
Step 3: Test Your Theory
Run tests to confirm or eliminate your hypothesis. Basic commands will become your best friends here. For example, on a Windows or Linux host:
ping 127.0.0.1       # Tests the local TCP/IP stack
ping 192.168.1.1     # Tests connectivity to the default gateway
ping 8.8.8.8         # Tests external IP reachability
ping google.com      # Tests DNS resolution
Each test narrows down where the problem lives. If ping 8.8.8.8 succeeds but ping google.com fails, you now know DNS is the issue, not routing.
Step 4: Establish a Plan of Action and Fix It
Once you have confirmed a theory, create a plan before making changes. Ask yourself whether the fix could cause unintended side effects. On a live network, always consider change impact. For a beginner in a lab environment, just be methodical: make one change at a time, then test again.
Changing multiple settings at once is a common beginner mistake. If the problem goes away, you will not know which change fixed it. If it gets worse, you will not know what caused it.
Step 5: Document Everything
This step is the one most beginners skip, and it is arguably the most important one for long-term growth. Write down:
- What the problem was
- What tests you ran and what they showed
- What you changed
- What the outcome was
Even a simple text file or notebook works. Over time, your documentation becomes a personal knowledge base. You will solve future problems faster because you have already solved similar ones before.
Step 6: Verify and Follow Up
After applying a fix, verify that the original problem is resolved. Then check whether your fix introduced any new issues. Finally, if someone reported the problem, let them know it is resolved and what was done.
This follow-up step is often overlooked, but it builds trust and ensures nothing was missed.
A Quick Reference: The Troubleshooting Loop
- Define the problem
- Form a theory
- Test the theory
- Create a plan and implement the fix
- Verify the fix works
- Document the outcome
This loop is not unique to networking. It maps closely to Cisco's structured troubleshooting methodology and reflects how experienced engineers approach problems in the real world. The more you practice it, the more natural it becomes.
What's Next
Now that you have a solid foundation in structured troubleshooting approaches, the next step is learning the specific tools available to you. In the next post, we will cover essential network troubleshooting commands like ping, traceroute, and ipconfig / ifconfig in detail, showing you exactly what the output means and how to interpret it when diagnosing real problems.