
Understanding Logical Volume Manager (LVM) in Linux
Learn how Logical Volume Manager (LVM) works in Linux through its three-layer architecture of physical volumes, volume groups, and logical volumes. Understand the key commands and advantages of flexible storage management.

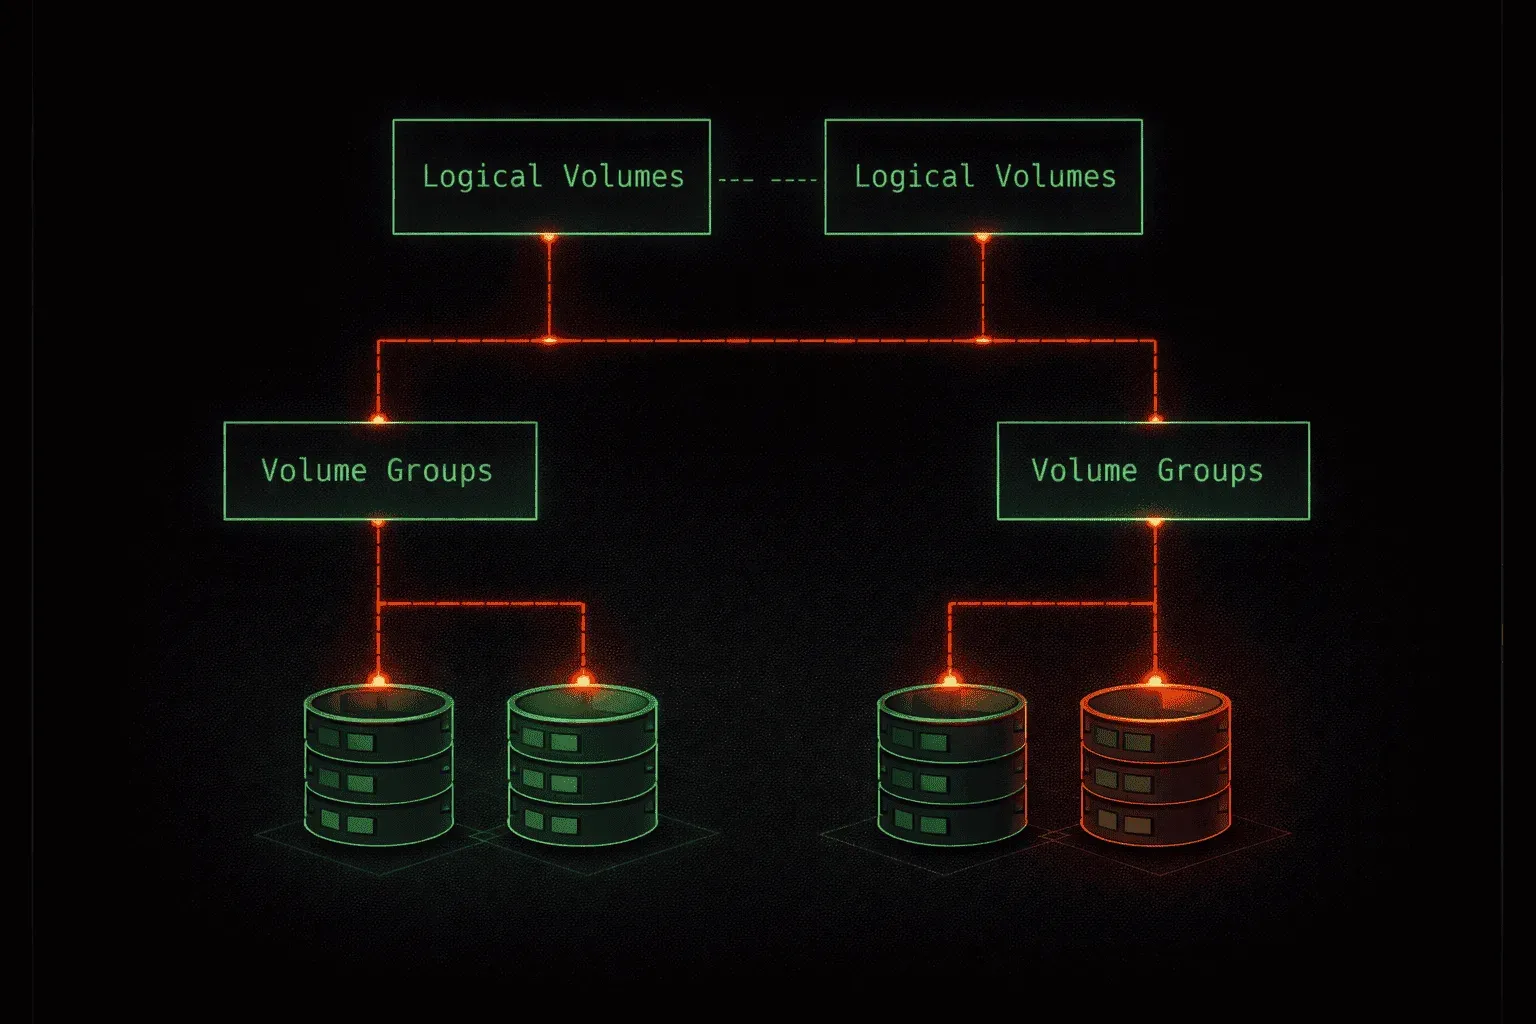
Logical Volume Manager (LVM) is a powerful storage management system that sits between your physical storage devices and the filesystems that use them. Think of LVM as a flexible layer that allows you to create, resize, and manage storage volumes without the rigid constraints of traditional partitioning schemes.
Unlike fixed partitions, LVM provides dynamic storage allocation that can adapt to changing needs. This makes it especially valuable in enterprise environments and home labs where storage requirements evolve over time.
The Three-Layer Architecture of LVM
LVM uses a hierarchical structure with three main components that work together to provide flexible storage management:
Physical Volumes (PVs)
Physical volumes are the foundation of LVM. These are your actual storage devices (hard drives, SSDs, or even partitions) that have been prepared for use with LVM. When you initialize a storage device as a physical volume, LVM adds metadata that allows it to track and manage the space.
To create a physical volume, you use the pvcreate command:
sudo pvcreate /dev/sdb
Physical volume "/dev/sdb" successfully created.
You can view existing physical volumes with pvdisplay or pvs for a more compact view.
Volume Groups (VGs)
Volume groups combine one or more physical volumes into a single storage pool. This is where LVM's flexibility really shines because you can add or remove physical volumes from a volume group as needed, effectively expanding or shrinking your available storage pool.
Creating a volume group is straightforward:
sudo vgcreate my_volume_group /dev/sdb
Volume group "my_volume_group" successfully created
To add additional physical volumes to an existing volume group:
sudo vgextend my_volume_group /dev/sdcLogical Volumes (LVs)
Logical volumes are the virtual partitions you create from the space in your volume groups. These appear to the operating system as regular block devices, just like traditional partitions, but they can be resized dynamically without unmounting the filesystem.
Create a logical volume using lvcreate:
sudo lvcreate -L 10G -n my_logical_volume my_volume_group
Logical volume "my_logical_volume" created.
This creates a 10GB logical volume named "my_logical_volume" in the volume group "my_volume_group".
Key Advantages of LVM
The primary benefit of logical volume management is flexibility. You can resize logical volumes on the fly, move data between physical devices, and even create snapshots for backup purposes. This eliminates the rigid constraints of traditional partitioning where resizing often requires complex procedures or data migration.
For example, if you need to expand a logical volume, you simply run:
sudo lvextend -L +5G /dev/my_volume_group/my_logical_volumeThen resize the filesystem to use the new space:
sudo resize2fs /dev/my_volume_group/my_logical_volumeCommon LVM Commands
Here are the essential commands for working with each LVM layer:
- Physical Volumes:
pvcreate,pvdisplay,pvremove - Volume Groups:
vgcreate,vgdisplay,vgextend,vgreduce - Logical Volumes:
lvcreate,lvdisplay,lvextend,lvreduce
The naming convention follows a pattern: commands starting with pv work with physical volumes, vg commands handle volume groups, and lv commands manage logical volumes.
What's Next
Now that you understand the basic concepts of LVM in Linux, the next step is learning how to implement LVM in practice. We'll cover creating a complete LVM setup from scratch, including partitioning drives, setting up volume groups, and creating logical volumes that you can actually use with filesystems.
Linux+ study resources
- CompTIA Linux+ Study Guide: Exam XK0-006 — Comprehensive coverage of the XK0-006 exam objectives including Linux administration, security, scripting, and troubleshooting.