
How to Use Private IPv4 Addresses in Home Networks
A practical guide to implementing private IPv4 addresses in home networks, covering the three private IP ranges, configuration steps for routers and devices, and best practices for network setup.

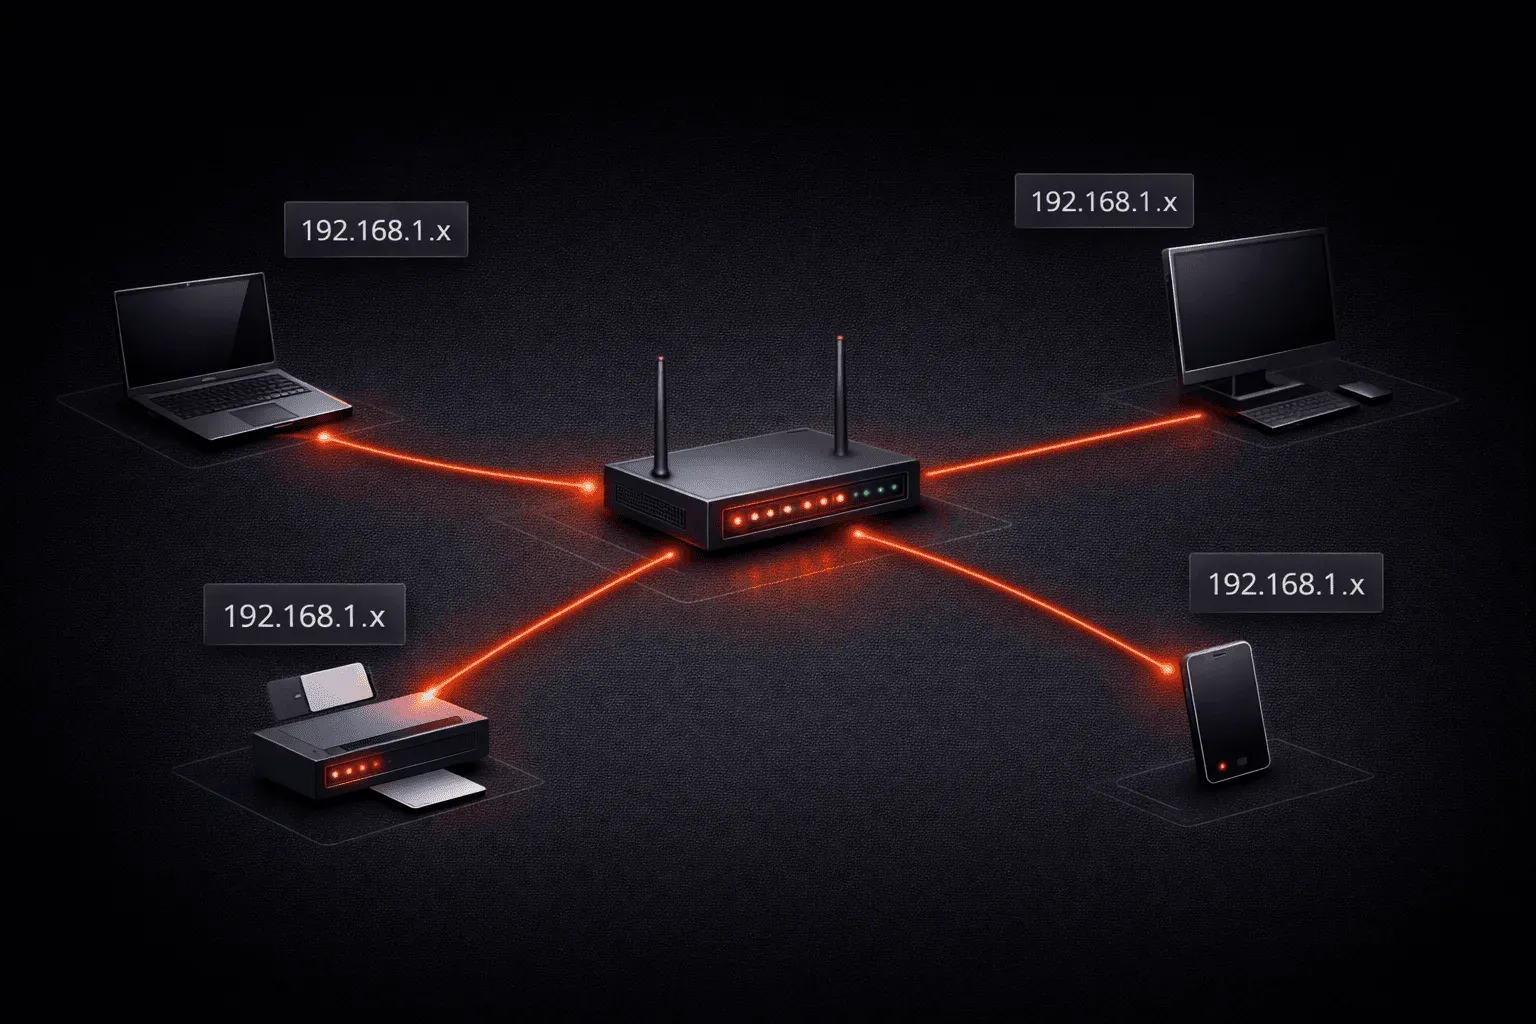
Setting up a home network with private IPv4 addresses is one of the first practical skills you'll master on your CCNA journey. Understanding how to properly configure and use these addresses is essential for creating functional, secure networks that won't conflict with the global internet.
What Are Private IPv4 Addresses?
Private IPv4 addresses are IP addresses reserved specifically for use within private networks. These addresses cannot be routed across the internet, making them perfect for home and office networks. The three private IP address ranges defined in RFC 1918 are:
- Class A:
10.0.0.0to10.255.255.255(10.0.0.0/8) - Class B:
172.16.0.0to172.31.255.255(172.16.0.0/12) - Class C:
192.168.0.0to192.168.255.255(192.168.0.0/16)
Most home routers default to using the 192.168.1.0/24 or 192.168.0.0/24 networks because they're easy to remember and provide enough addresses for typical home use.
Planning Your Home Network IP Scheme
Before configuring devices, plan your IP addressing scheme. For a typical home network using 192.168.1.0/24:
- Router/Gateway:
192.168.1.1 - DHCP Pool:
192.168.1.100to192.168.1.199 - Static Devices:
192.168.1.10to192.168.1.99 - Network Address:
192.168.1.0 - Broadcast Address:
192.168.1.255
Configuring Your Router
Most home routers come preconfigured with private IP addresses, but you can customize them through the web interface. Access your router by typing its IP address (usually 192.168.1.1 or 192.168.0.1) into a web browser.
In the LAN settings, you'll typically find options to:
- Change the router's IP address
- Modify the subnet mask (usually
255.255.255.0for /24) - Configure the DHCP range
- Set DNS servers
Setting Up Static IP Addresses
For devices that need consistent IP addresses (like printers or servers), configure static IPs. On a Windows computer:
1. Open Network and Sharing Center
2. Click "Change adapter settings"
3. Right-click your network connection
4. Select "Properties"
5. Double-click "Internet Protocol Version 4 (TCP/IPv4)"
6. Select "Use the following IP address"
7. Enter:
   - IP address: 192.168.1.50 (example)
   - Subnet mask: 255.255.255.0
   - Default gateway: 192.168.1.1
   - DNS servers: 8.8.8.8 and 8.8.4.4
Verifying Your Configuration
After configuring devices, verify connectivity using command-line tools. On Windows, open Command Prompt and test:
ipconfig /all
ping 192.168.1.1
ping 8.8.8.8
nslookup google.com
The ipconfig command shows your current IP configuration, while ping tests connectivity to your gateway and the internet. The nslookup command verifies DNS resolution is working.
Common Configuration Mistakes
Watch out for these common issues when using private IPv4 addresses:
- IP conflicts: Two devices with the same IP address
- Wrong subnet mask: Devices can't communicate properly
- Incorrect gateway: No internet access
- DHCP range overlap: Static IPs conflicting with DHCP assignments
Best Practices for Home Networks
Keep your home network organized by documenting IP assignments and following these practices:
- Use consistent IP schemes across all networks you manage
- Reserve specific ranges for different device types
- Keep a simple spreadsheet of static IP assignments
- Use meaningful device names in DHCP reservations
What's Next
Now that you understand how to implement private IPv4 addresses in home networks, the next step is learning about subnetting. We'll explore how to divide larger networks into smaller, more manageable subnets, which is crucial for efficient network design and the CCNA exam.
CCNA study resources
- CCNA Official Cert Guide Library (Wendell Odom) — Both volumes covering the full 200-301 exam blueprint. The definitive CCNA study resource.
- Wendell Odom CCNA Vol 1 — Networking fundamentals, switching, VLANs, STP, and IPv4 routing.