
VLAN Configuration: Common Mistakes and How to Avoid Them
This post covers the most common VLAN configuration mistakes beginners make, including missing port assignments, misconfigured trunk links, and native VLAN mismatches. Each mistake is paired with practical CLI commands to identify and fix the issue. Readers walk away with a solid verification check

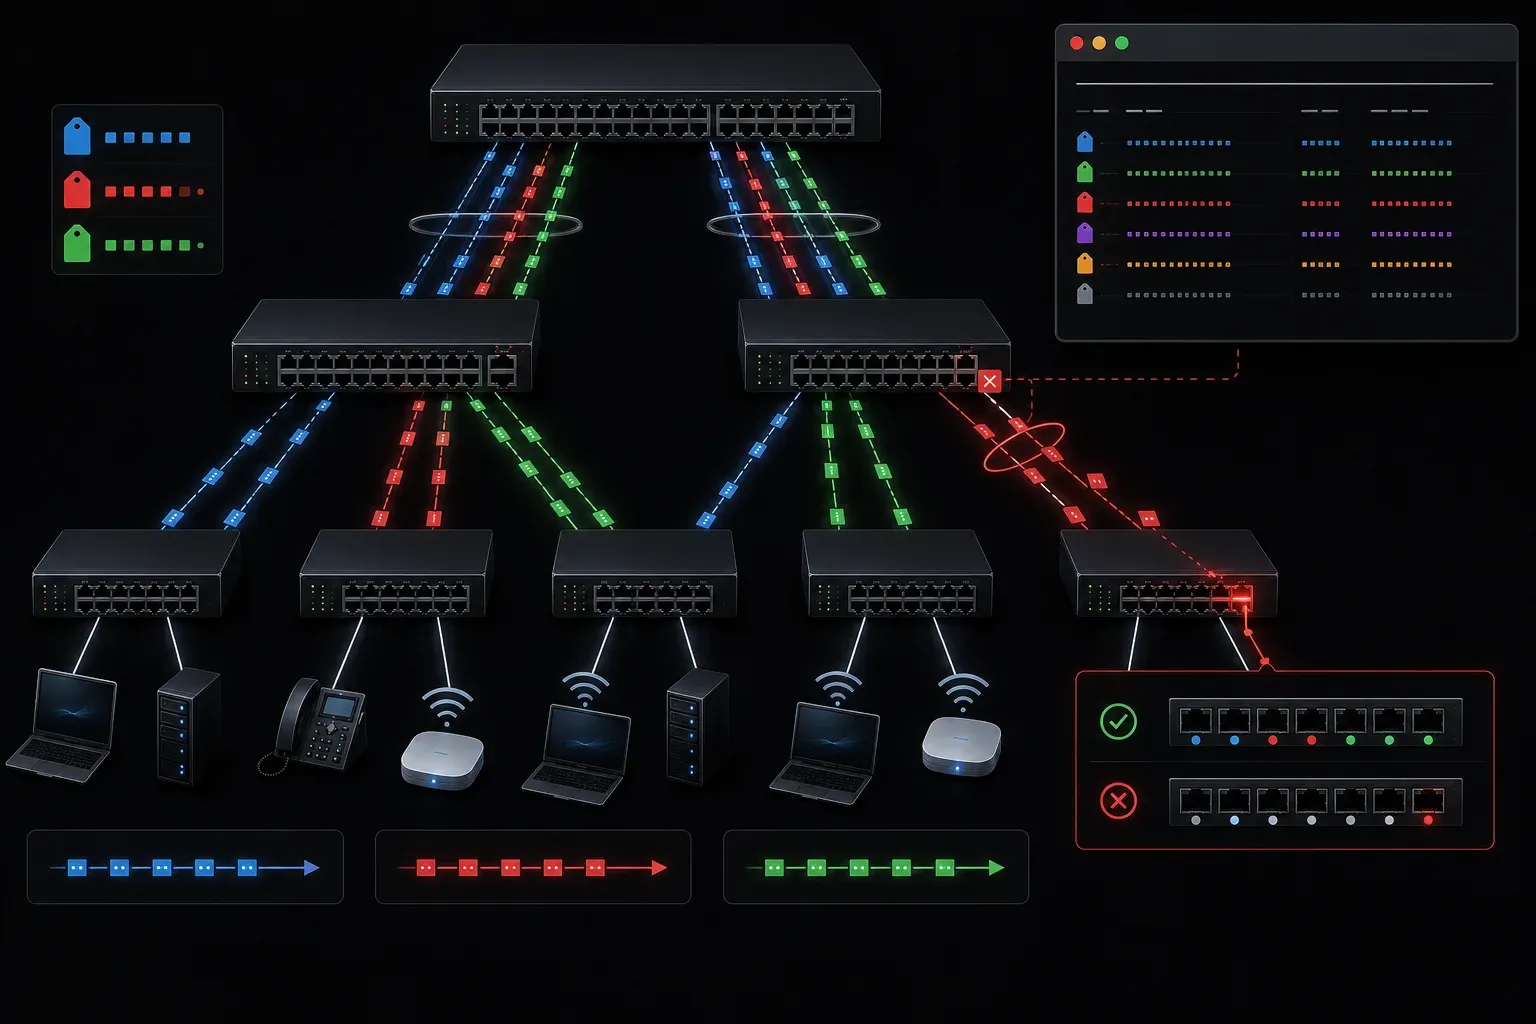
VLANs are one of the first real configuration tasks you will tackle as a network engineer, and they are also one of the most common sources of frustration for beginners. The good news is that most VLAN configuration mistakes follow a predictable pattern. Once you know what to look for, they become much easier to catch and fix before they cause real problems.
This post walks through the most common VLAN setup errors and shows you exactly how to avoid them.
Mistake 1: Creating the VLAN But Not Assigning It to Any Ports
This is probably the most frequent beginner VLAN tip you will hear, because it catches almost everyone at least once. You create the VLAN on the switch, but forget to assign any access ports to it. Devices plugged into those ports stay in VLAN 1 by default.
Always verify your port assignments after creating a VLAN:
Switch# show vlan brief

VLAN Name                             Status    Ports
---- -------------------------------- --------- -------------------------------
1    default                          active    Fa0/1, Fa0/2, Fa0/3, Fa0/4
10   SALES                            active
20   HR                               active
If VLAN 10 and VLAN 20 show no ports listed next to them, nothing is actually using those VLANs yet. Assign access ports like this:
Switch(config)# interface fastethernet 0/1
Switch(config-if)# switchport mode access
Switch(config-if)# switchport access vlan 10
Mistake 2: Forgetting to Allow VLANs on Trunk Links
When you connect two switches together using a trunk port, Cisco switches default to allowing all VLANs across that trunk. However, if someone has manually pruned the allowed VLAN list at some point, your new VLAN will not pass between switches even though everything looks correct locally.
Check your trunk configuration with:
Switch# show interfaces trunk

Port        Mode         Encapsulation  Status        Native vlan
Gi0/1       on           802.1q         trunking      1

Port        Vlans allowed on trunk
Gi0/1       1-10

Port        Vlans allowed and active in management domain
Gi0/1       1,10
If VLAN 20 is missing from that list, add it explicitly:
Switch(config)# interface gigabitethernet 0/1
Switch(config-if)# switchport trunk allowed vlan add 20
Notice the keyword add. Leaving that out replaces the entire allowed list instead of appending to it, which is a mistake that can take down multiple VLANs at once.
Mistake 3: Mismatched Native VLANs on Trunk Ports
Both ends of a trunk link must use the same native VLAN. If they do not match, Cisco switches will generate a CDP warning and untagged traffic will be misrouted. This is one of those VLAN setup errors that is easy to overlook because the trunk still appears to come up.
Verify the native VLAN on both sides and make sure they match:
Switch(config)# interface gigabitethernet 0/1
Switch(config-if)# switchport trunk native vlan 99
Apply the same configuration on the connected switch's trunk port.
Mistake 4: Trying to Use a VLAN That Does Not Exist in the VLAN Database
Assigning a port to VLAN 30 does not automatically create VLAN 30. If the VLAN does not exist in the VLAN database, that port's traffic will be dropped. To avoid VLAN issues like this, always create the VLAN first:
Switch(config)# vlan 30
Switch(config-vlan)# name ENGINEERING
Switch(config-vlan)# exit
Then assign your ports. Use show vlan brief regularly to confirm VLANs exist and are active.
Mistake 5: Ignoring VLAN 1 Security
VLAN 1 is the default VLAN on every Cisco switch. Management traffic, CDP, STP, and other control-plane protocols use it by default. Leaving end-user devices in VLAN 1 is a common oversight that creates security and troubleshooting problems later. As a beginner VLAN tip: move all user-facing ports off VLAN 1 early in your design, not as an afterthought.
Quick Verification Checklist
- show vlan brief: Confirms VLANs exist and which ports belong to them
- show interfaces trunk: Confirms trunk status and allowed VLANs
- show running-config interface [int]: Shows the exact config applied to a specific port
- show interfaces [int] switchport: Shows access or trunk mode and assigned VLAN
What's Next
Now that you can spot and fix the most common VLAN configuration mistakes, the next step is understanding how VLANs communicate with each other across a routed network. The next post covers inter-VLAN routing, including the router-on-a-stick method and Layer 3 switches, both of which are tested directly on the CCNA 200-301 exam.
If you want to go deeper on VLAN concepts and exam topics, the Cisco Press CCNA 200-301 Official Cert Guide by Wendell Odom is the go-to reference and covers this material in thorough detail.
Tools and resources for this topic
- Wendell Odom CCNA Vol 1 — Covers networking fundamentals, switching, and routing basics.
- Wendell Odom CCNA Vol 2 — Covers advanced routing, WAN, infrastructure services, and security.