
802.1Q Configuration: Setting Up VLAN Tagging
This post explains how to configure 802.1Q VLAN tagging on Cisco switches, covering trunk port setup, native VLAN configuration, and verification commands. It is written for CCNA students learning interswitch connectivity and includes real CLI examples with output.

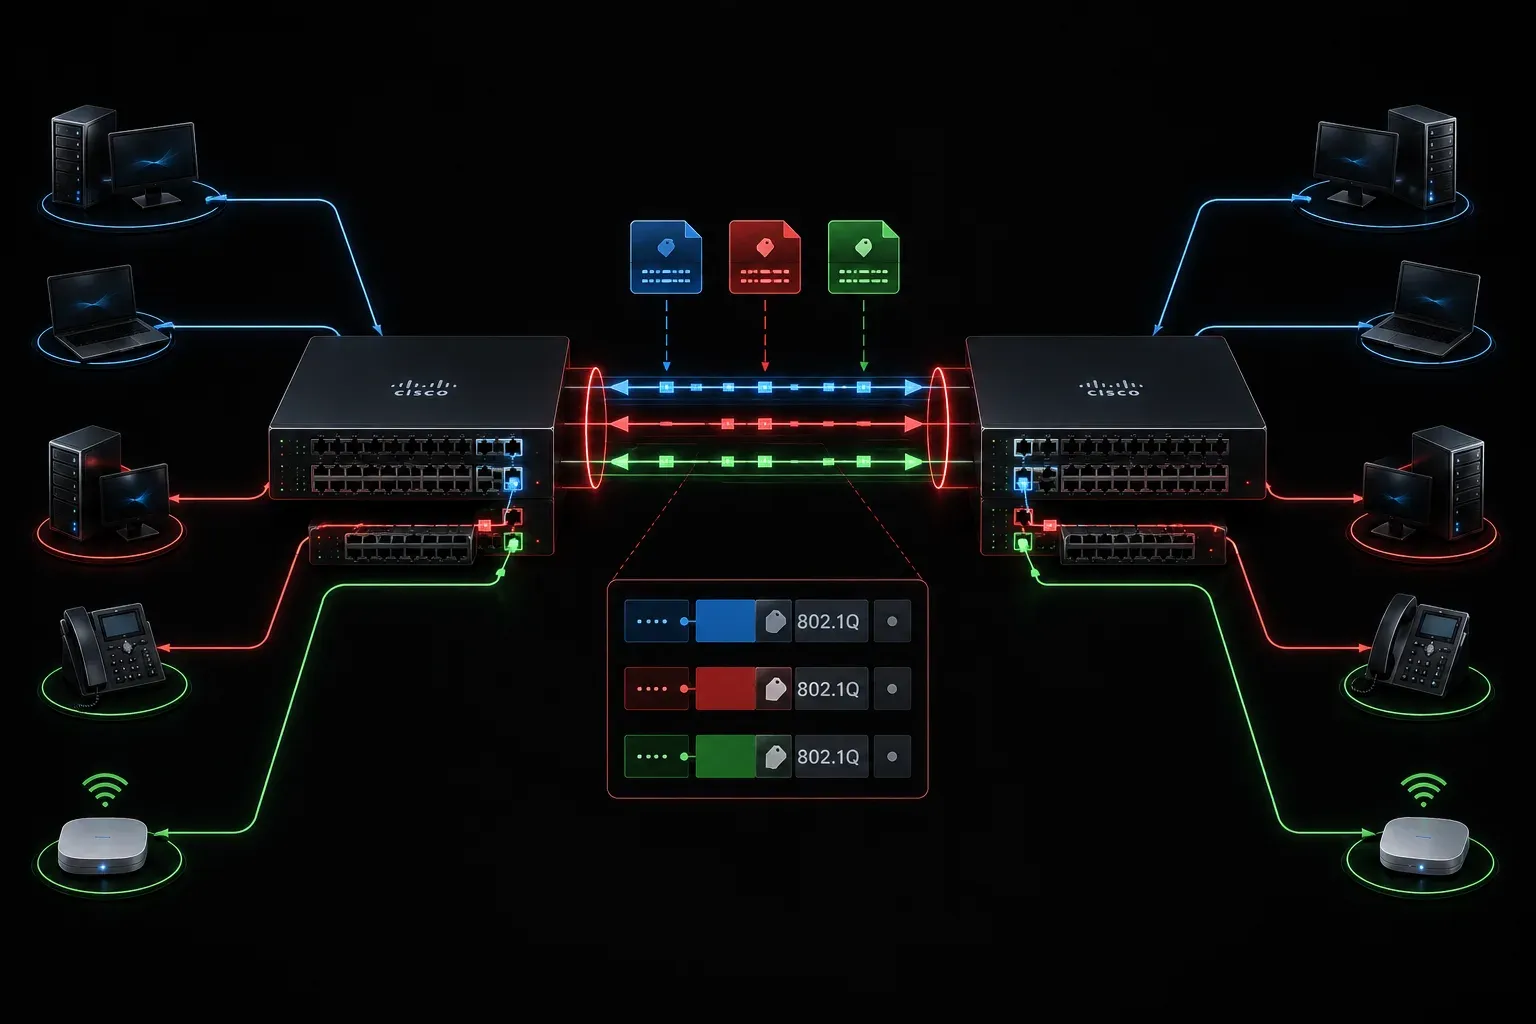
When you have multiple VLANs running across your network, switches need a way to keep that traffic organized as it moves between them. That is where 802.1Q comes in. It is the IEEE standard that defines how VLAN information gets added to Ethernet frames as they travel across trunk links. Understanding how to perform an 802.1Q configuration is a core skill for the CCNA exam and a task you will repeat constantly in real network environments.
What Is 802.1Q and Why Does It Matter?
When a switch forwards a frame out a trunk port, it inserts a 4-byte tag into the Ethernet header. This tag carries the VLAN ID so the receiving switch knows which VLAN the frame belongs to. Without this tagging mechanism, a switch receiving traffic on a trunk link would have no way to separate VLAN 10 traffic from VLAN 20 traffic.
One important concept to understand before you start configuring: the native VLAN. Frames belonging to the native VLAN are sent across a trunk link without a tag. Both ends of a trunk must agree on the native VLAN, or you will create hard-to-diagnose connectivity issues. By default, the native VLAN is VLAN 1 on Cisco switches.
Trunk vs. Access Ports
Before diving into the commands, it helps to understand the two main port modes:
- Access port: carries traffic for a single VLAN, used to connect end devices like PCs or printers.
- Trunk port: carries traffic for multiple VLANs simultaneously, used to connect switches to other switches or to routers.
802.1Q tagging only happens on trunk ports. Access ports strip or add tags automatically, so the connected device never sees them.
Configuring a Trunk Port on a Cisco Switch
Here is a straightforward VLAN tagging setup on a Catalyst switch. In this example, you are configuring interface GigabitEthernet0/1 as an 802.1Q trunk carrying VLANs 10, 20, and 30.
Switch# configure terminal
Switch(config)# interface GigabitEthernet0/1
Switch(config-if)# switchport trunk encapsulation dot1q
Switch(config-if)# switchport mode trunk
Switch(config-if)# switchport trunk allowed vlan 10,20,30
Switch(config-if)# switchport trunk native vlan 99
Switch(config-if)# end
Let's break down what each command does:
switchport trunk encapsulation dot1q: explicitly sets 802.1Q as the encapsulation method. This command is required on older Catalyst switches that support both ISL and 802.1Q encapsulation. On newer switches where 802.1Q is the only supported encapsulation method, this command is not available and can be omitted.switchport mode trunk: forces the port into trunk mode instead of access mode.switchport trunk allowed vlan 10,20,30: restricts the trunk to only carry these three VLANs. This is a good practice rather than allowing all VLANs by default.switchport trunk native vlan 99: changes the native VLAN from the default VLAN 1 to VLAN 99. This is a common security recommendation.
Verifying Your Configuration
After you save your configuration, always verify it. Use show interfaces trunk to confirm the trunk is up and passing the correct VLANs.
Switch# show interfaces trunk

Port        Mode         Encapsulation  Status        Native vlan
Gi0/1       on           802.1q         trunking      99

Port        Vlans allowed on trunk
Gi0/1       10,20,30

Port        Vlans allowed and active in management domain
Gi0/1       10,20,30

Port        Vlans in spanning tree forwarding state and not pruned
Gi0/1       10,20,30
This output tells you the port is trunking using 802.1Q, the native VLAN is set to 99, and VLANs 10, 20, and 30 are active and forwarding. If a VLAN does not appear in the final section, check that it has been created on the switch with vlan 10 in global configuration mode.
A Quick Tip on Consistency
Both ends of a trunk link need to match. If one switch has native VLAN 99 and the other has native VLAN 1, Cisco's Spanning Tree Protocol will log native VLAN mismatch errors, and untagged traffic will behave unpredictably. Always configure both sides before calling the job done.
What's Next
Now that you know how to set up VLAN tagging between switches, the next logical step is understanding how to route traffic between those VLANs. In the next post, we will cover Router-on-a-Stick, a technique that uses a single physical router interface and 802.1Q subinterfaces to enable inter-VLAN routing without needing a Layer 3 switch.
Tools and resources for this topic
- CCNA Official Cert Guide (Wendell Odom) — The definitive CCNA study resource. Both volumes cover the 200-301 exam blueprint in full.
- Wendell Odom CCNA Vol 1 — Covers networking fundamentals, switching, and routing basics.
- Wendell Odom CCNA Vol 2 — Covers advanced routing, WAN, infrastructure services, and security.