
Changing File Ownership with chown
Learn how to use the chown command in Linux to change file and directory ownership. This guide covers basic syntax, practical examples, and common scenarios for managing user and group ownership effectively.

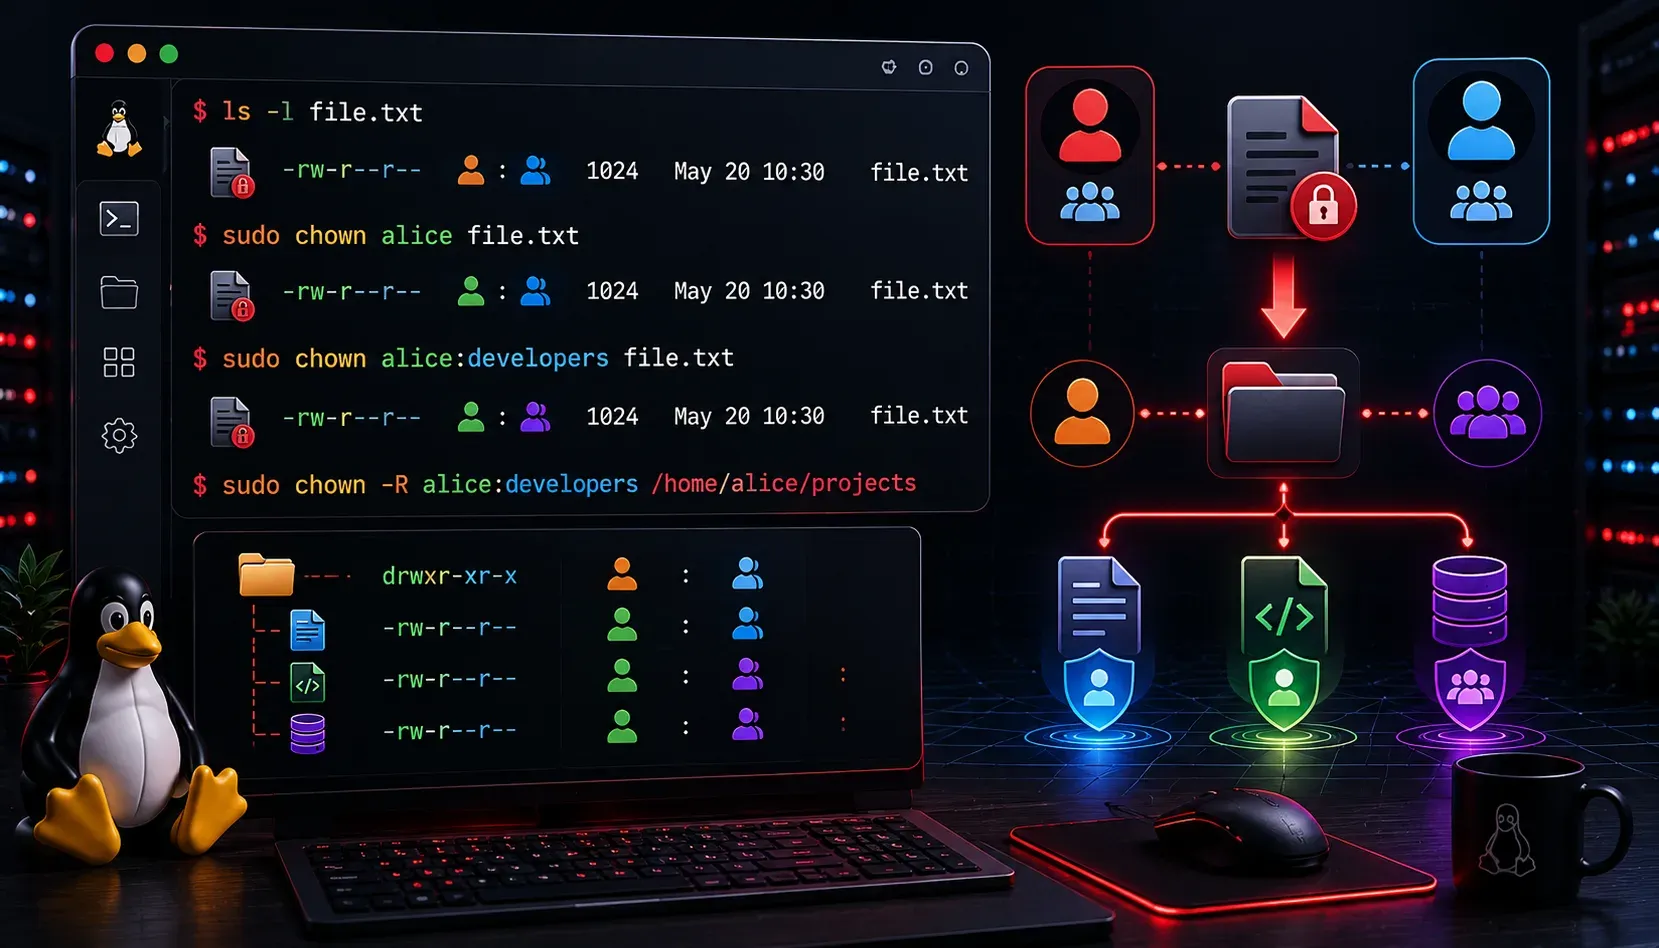
File ownership is a fundamental concept in Linux that determines who can read, write, or execute files and directories. When you need to change who owns a file or directory, the chown command is your go-to tool. Understanding how to use chown effectively is essential for managing permissions and maintaining system security.
Understanding File Ownership Basics
In Linux, every file and directory has two types of ownership: a user owner and a group owner. You can see this information using the ls -l command:
$ ls -l /home/user/documents/
-rw-r--r-- 1 alice developers 1024 Nov 15 10:30 report.txt
drwxr-xr-x 2 bob   developers 4096 Nov 15 11:15 projects/
In this output, alice and bob are the user owners, while developers is the group owner for both items. The first number after the permissions (1 and 2) indicates the number of hard links to each file or directory.
Basic chown Syntax
The chown command follows this basic pattern:
chown [options] owner[:group] file(s)
Let's break this down with practical examples:
Changing User Ownership
To change just the user owner of a file:
$ sudo chown alice report.txt
$ ls -l report.txt
-rw-r--r-- 1 alice developers 1024 Nov 15 10:30 report.txt
Note that you typically need sudo privileges to change ownership. The sudo command allows you to run commands as another user (usually root) temporarily, which is necessary for most ownership changes.
Changing Both User and Group
To change both user and group ownership simultaneously:
$ sudo chown alice:marketing report.txt
$ ls -l report.txt
-rw-r--r-- 1 alice marketing 1024 Nov 15 10:30 report.txt
Changing Only Group Ownership
To change only the group while keeping the same user owner:
$ sudo chown :admin report.txt
$ ls -l report.txt
-rw-r--r-- 1 alice admin 1024 Nov 15 10:30 report.txt
Working with Directories
When dealing with directories, you'll often want to change ownership recursively. The -R option applies changes to the directory and all its contents:
$ sudo chown -R alice:developers /home/alice/projects/
This command changes ownership of the projects directory and everything inside it. Be careful with recursive operations, they can affect many files at once.
Using Numeric User and Group IDs
You can also specify ownership using numeric user IDs (UID) and group IDs (GID). These numeric identifiers are what the system actually uses internally to track ownership, usernames and group names are just human-readable labels that map to these numbers:
$ sudo chown 1001:1002 report.txt
To find a user's UID and primary group GID, use the id command:
$ id alice
uid=1001(alice) gid=1001(alice) groups=1001(alice),1002(developers)
Using numeric IDs can be particularly useful in scripts or when working with systems where user accounts might not exist locally.
Practical Examples and Common Scenarios
Here are some real-world situations where you'll use chown:
- Web server files:
sudo chown -R www-data:www-data /var/www/html/ - User home directory setup:
sudo chown -R newuser:newuser /home/newuser/ - Log file management:
sudo chown syslog:adm /var/log/application.log
Important Considerations
Remember these key points when using chown:
- Only the root user (or users with sudo privileges) can change file ownership to a different user
- Regular users typically cannot change ownership without sudo privileges, even for group ownership
- Always double-check your commands, especially when using
-Rrecursively - Consider security implications: incorrect ownership can create vulnerabilities
What's Next
Now that you understand how to change file ownership with chown, the next logical step is learning about chmod for changing file permissions. Together, these commands give you complete control over who can access your files and what they can do with them.