
Configuring IPv6 Network Services: A Beginner's Guide
This beginner's guide walks through configuring IPv6 network services step-by-step, covering interface setup, DHCPv6, DNS configuration, and router advertisements. Includes practical examples for Windows and Linux systems with common troubleshooting tips.

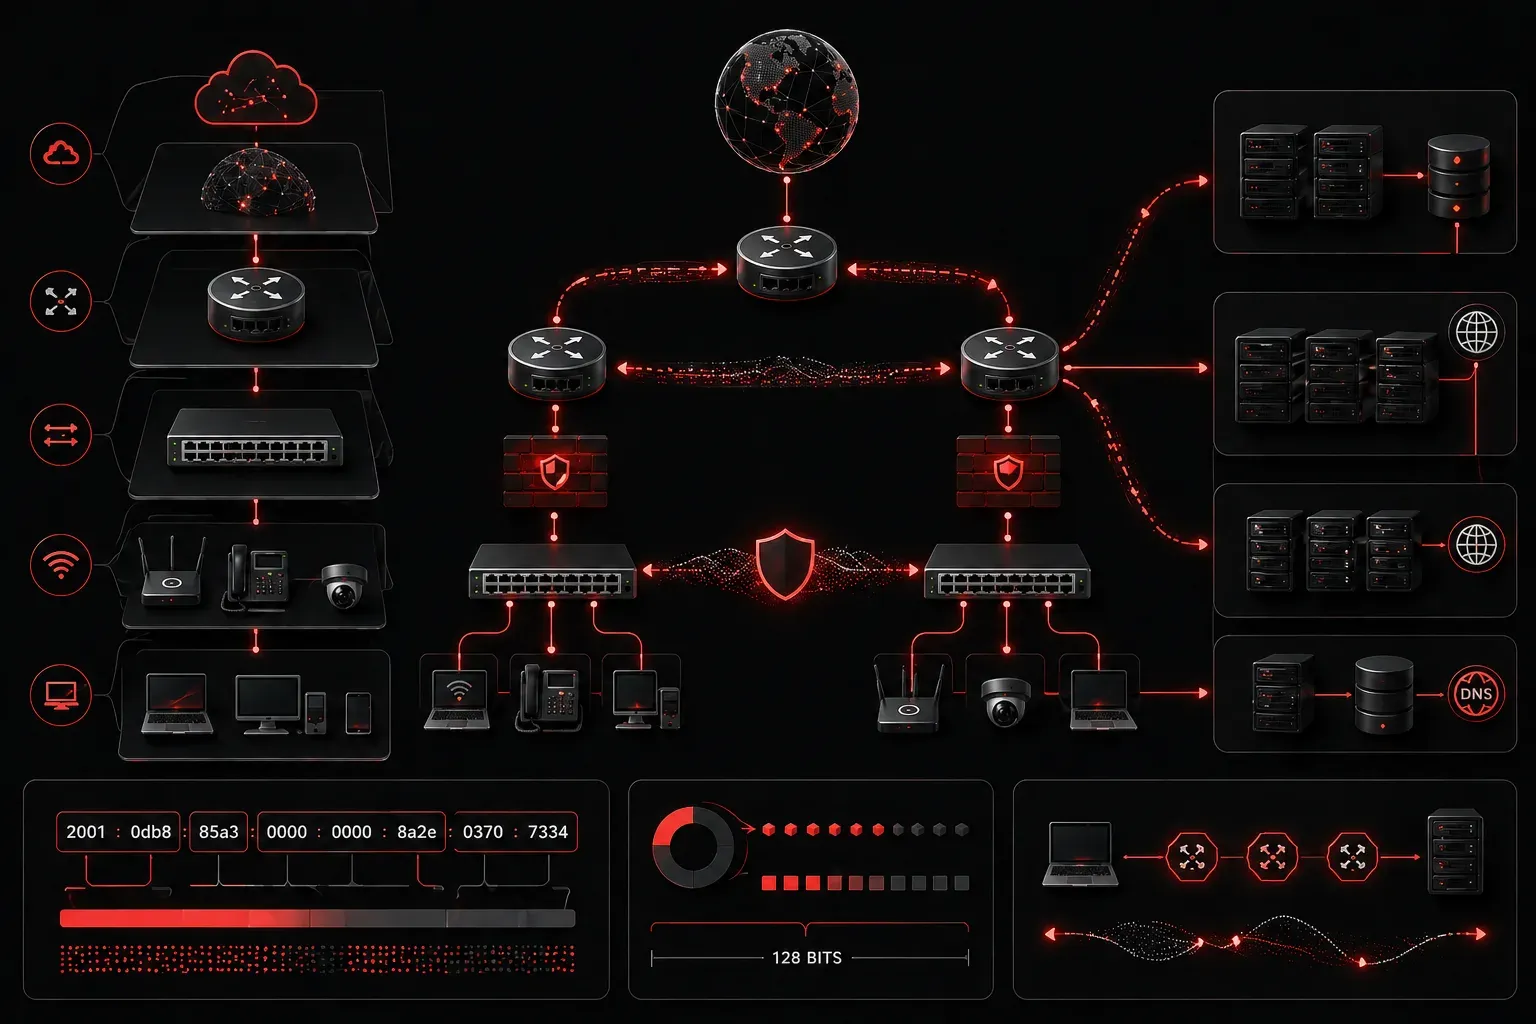
IPv6 configuration might seem daunting at first, but with the right approach, you can successfully configure IPv6 network services in your environment. This beginner tutorial will walk you through the essential steps to get your IPv6 network services up and running.
Understanding IPv6 Basics
Before diving into configuration, let's establish the foundation. IPv6 uses 128-bit addresses compared to IPv4's 32-bit addresses. An IPv6 address looks like this: 2001:0db8:85a3:0000:0000:8a2e:0370:7334. The good news is that modern operating systems handle much of the complexity automatically through stateless address autoconfiguration (SLAAC).
SLAAC is an IPv6 feature that allows devices to automatically configure their own IP addresses without requiring a DHCP server. Devices use Router Advertisement (RA) messages from routers to learn the network prefix, then combine it with their own interface identifier to create a unique IPv6 address.
Enabling IPv6 on Network Interfaces
The first step in any IPv6 setup is enabling IPv6 on your network interfaces. Here's how to do it on different systems:
Windows Configuration
On Windows systems, IPv6 is typically enabled by default. To verify or enable it manually:
netsh interface ipv6 show global
netsh interface ipv6 set global randomizeidentifiers=disabled
The randomizeidentifiers command controls IPv6 privacy extensions. When set to disabled, it prevents Windows from generating random interface identifiers, which can be useful for consistent addressing or troubleshooting.
To configure a static IPv6 address:
netsh interface ipv6 add address "Local Area Connection" 2001:db8::1/64Linux Configuration
On Linux systems, check if IPv6 is enabled:
cat /proc/net/if_inet6
ip -6 addr show
To configure a static IPv6 address:
sudo ip -6 addr add 2001:db8::1/64 dev eth0
sudo ip -6 route add default via 2001:db8::254
Configuring IPv6 Network Services
DHCPv6 Setup
Unlike IPv4, IPv6 can operate without DHCP via SLAAC, but DHCPv6 provides additional control over distributing configuration information such as DNS servers and domain names. To configure DHCPv6 on a Linux server using isc-dhcp-server:
# Install DHCPv6 server
sudo apt-get install isc-dhcp-server

# Edit /etc/dhcp/dhcpd6.conf
subnet6 2001:db8::/64 {
    range6 2001:db8::100 2001:db8::200;
    option dhcp6.name-servers 2001:4860:4860::8888;
}

# Start the service
sudo systemctl start isc-dhcp-server
DNS Configuration for IPv6
Configure your DNS server to handle IPv6 AAAA records. In your DNS zone file, add:
www    IN    AAAA    2001:db8::1
mail   IN    AAAA    2001:db8::2
Router Advertisement Configuration
Router Advertisement (RA) is a fundamental component of IPv6 networks that enables automatic configuration. RA messages are sent by routers to announce their presence and provide essential network information, including network prefixes, default gateway information, and configuration flags. This allows devices to automatically configure their IPv6 addresses and routing without manual intervention.
On a Linux router, configure radvd:
# Install radvd
sudo apt-get install radvd

# Edit /etc/radvd.conf
interface eth0 {
    AdvSendAdvert on;
    prefix 2001:db8::/64 {
        AdvOnLink on;
        AdvAutonomous on;
    };
};
Testing Your IPv6 Configuration
After completing your IPv6 setup, verify everything works correctly:
# Test connectivity
ping6 google.com
ping6 2001:4860:4860::8888

# Check routing table
ip -6 route show

# Verify address assignment
ip -6 addr show
Common Configuration Pitfalls
When learning to configure IPv6 network services, avoid these common mistakes:
- Firewall blocking: Ensure your firewall allows ICMPv6 traffic, which is essential for IPv6 operation
- Link-local confusion: Remember that link-local addresses (fe80::/10) are automatically assigned and used for local network communication
- Dual-stack issues: When running both IPv4 and IPv6, ensure both protocols are properly configured and don't conflict
Security Considerations
IPv6 introduces new security considerations. Always configure your firewall to handle IPv6 traffic appropriately:
# Example ip6tables rules
sudo ip6tables -A INPUT -i lo -j ACCEPT
sudo ip6tables -A INPUT -p icmpv6 -j ACCEPT
sudo ip6tables -A INPUT -m state --state ESTABLISHED,RELATED -j ACCEPT
What's Next
Now that you've mastered basic IPv6 configuration, you're ready to explore advanced IPv6 features like IPv6 tunneling mechanisms and IPv6 security implementations. These topics will build upon the foundation you've established in this tutorial, helping you create more sophisticated and secure IPv6 networks.
Tools and resources for this topic
- CompTIA Network+ Study Guide — Comprehensive N10-009 exam preparation covering all five domains.