Step-by-Step Guide to Configuring EtherChannel
A comprehensive beginner guide covering the step-by-step process to configure EtherChannel on Cisco switches. Includes pre-configuration requirements, detailed CLI commands, and verification steps for successful network setup.

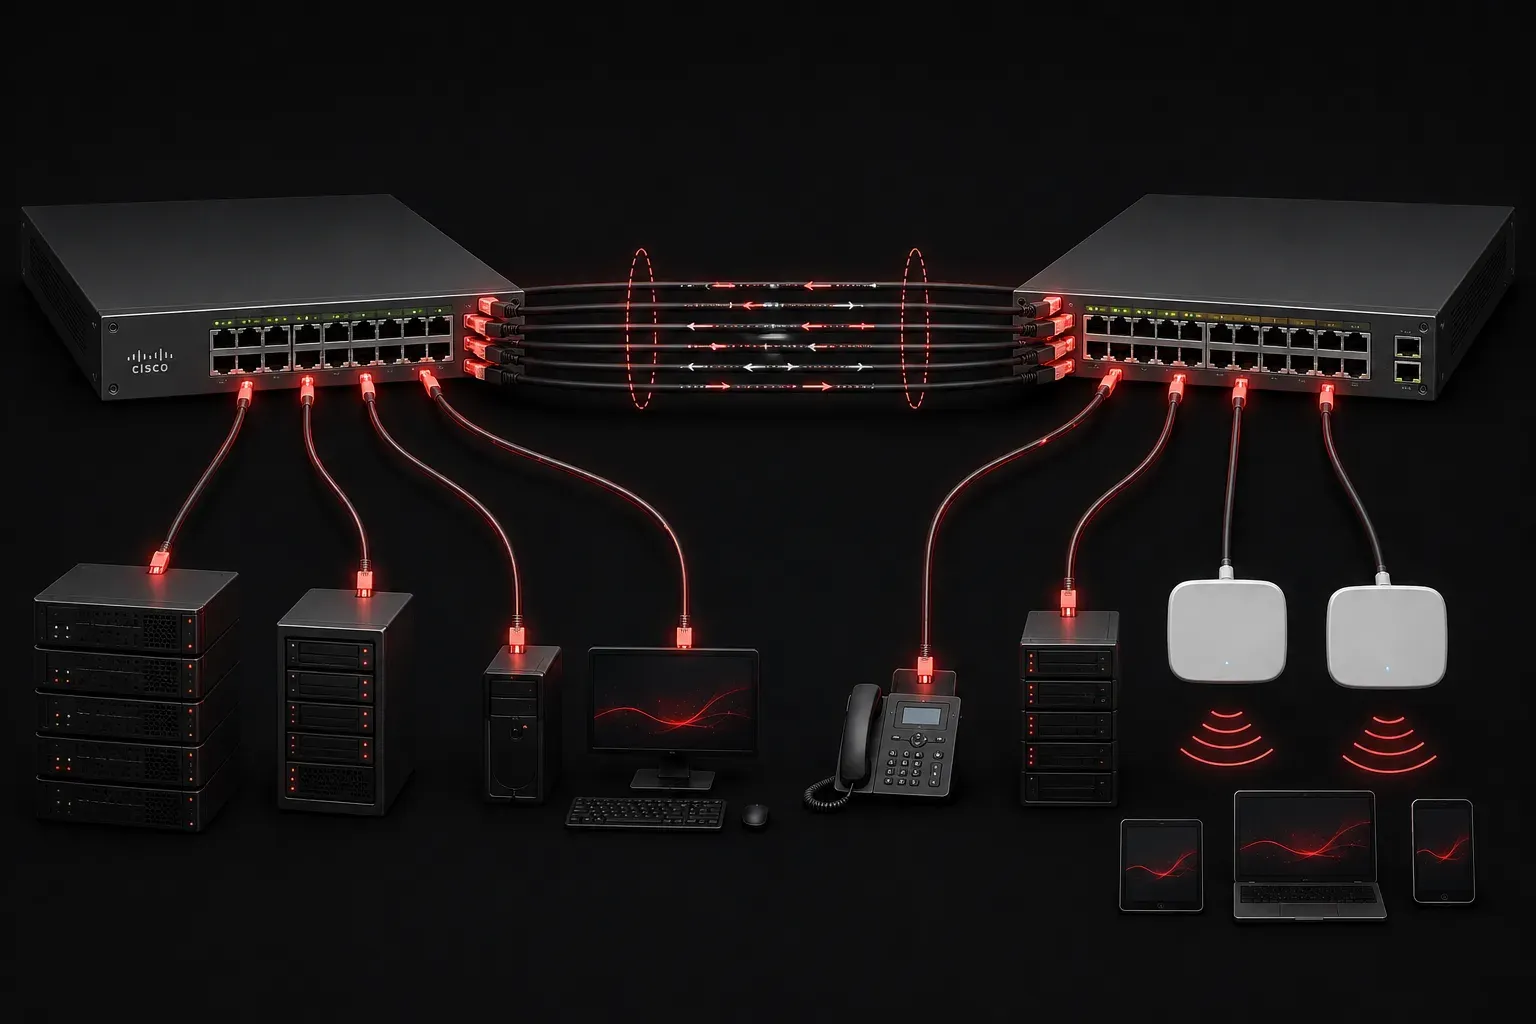
EtherChannel is a powerful feature that allows you to bundle multiple physical links between switches into a single logical link. This creates redundancy and increases bandwidth while working with Spanning Tree Protocol (STP) to maintain a loop-free network topology. Let's walk through the step-by-step process to configure EtherChannel successfully.
Understanding EtherChannel Basics
Before diving into configuration steps, it's important to understand what EtherChannel accomplishes. When you configure EtherChannel, you're essentially telling two switches to treat multiple physical connections as one logical connection. This provides several benefits:
- Increased bandwidth (multiple links aggregate their speeds)
- Automatic failover if one link fails
- Load balancing across multiple physical links
- Prevention of spanning tree blocking ports
It's important to note that EtherChannel works in conjunction with STP to prevent network loops. While EtherChannel bundles multiple links into a single logical connection that STP treats as one link, STP itself is responsible for maintaining the loop-free topology.
Pre-Configuration Requirements
Your network setup must meet specific requirements for EtherChannel to work properly. All ports in the channel group must have identical configurations:
- Same speed and duplex settings
- Same VLAN configuration (access or trunk)
- Same spanning tree settings
- Connected to the same pair of switches
Step-by-Step Configuration Process
Step 1: Access Global Configuration Mode
Start by connecting to your switch and entering configuration mode:
Switch> enable
Switch# configure terminal
Switch(config)#
Step 2: Configure Individual Interfaces
Before creating the EtherChannel, configure each physical interface that will participate in the channel group. Here's how to configure interfaces FastEthernet 0/1 and 0/2:
Switch(config)# interface range fastethernet 0/1 - 2
Switch(config-if-range)# switchport mode trunk
Switch(config-if-range)# switchport trunk allowed vlan all
Step 3: Create the EtherChannel
Now configure EtherChannel using either static configuration or a dynamic protocol. For beginners, static configuration is recommended:
Switch(config-if-range)# channel-group 1 mode onAlternatively, you can use Port Aggregation Protocol (PAgP) or Link Aggregation Control Protocol (LACP). PAgP is Cisco's proprietary protocol that automatically negotiates EtherChannel formation between Cisco switches. LACP is an IEEE standard (802.3ad) that provides similar functionality but works across different vendor equipment.
For PAgP configuration:
Switch(config-if-range)# channel-group 1 mode desirableOr for LACP:
Switch(config-if-range)# channel-group 1 mode activeStep 4: Configure the Port-Channel Interface
After creating the channel group, configure the logical port-channel interface:
Switch(config)# interface port-channel 1
Switch(config-if)# switchport mode trunk
Switch(config-if)# switchport trunk allowed vlan all
Step 5: Repeat on the Other Switch
Perform the same configuration steps on the switch at the other end of the EtherChannel links. The configuration must match exactly for the EtherChannel to form properly.
Verification and Troubleshooting
After completing your configuration steps, verify that EtherChannel is working correctly:
Switch# show etherchannel summaryThis command displays all EtherChannel groups and their status. Look for ports marked with P (bundled in port-channel) rather than I (stand-alone).
For more detailed information about a specific channel group:
Switch# show etherchannel 1 detailIf your EtherChannel isn't forming properly, check that both sides have matching configurations and that all physical links are up and operational.
Common Configuration Mistakes
When learning to configure EtherChannel, avoid these common pitfalls:
- Mismatched interface configurations between channel members
- Using different EtherChannel protocols on each end
- Forgetting to configure the port-channel interface itself
- Mixing access and trunk ports in the same channel group
What's Next
Now that you understand the basic configuration steps for EtherChannel, the next logical topic is exploring the different EtherChannel protocols (PAgP vs LACP) and when to use each one. Understanding these protocols will help you make better decisions about your network setup and troubleshoot more complex EtherChannel scenarios.
Tools and resources for this topic
- CCNA Official Cert Guide (Wendell Odom) — The definitive CCNA study resource. Both volumes cover the 200-301 exam blueprint in full.
- Wendell Odom CCNA Vol 1 — Covers networking fundamentals, switching, and routing basics.
- Wendell Odom CCNA Vol 2 — Covers advanced routing, WAN, infrastructure services, and security.