
How to Create and Manage LVM in Linux
A comprehensive guide to creating and managing LVM in Linux, covering the step-by-step process of using pvcreate, vgcreate, and lvcreate commands to set up flexible storage solutions. Includes practical examples and essential management commands for Linux storage administration.

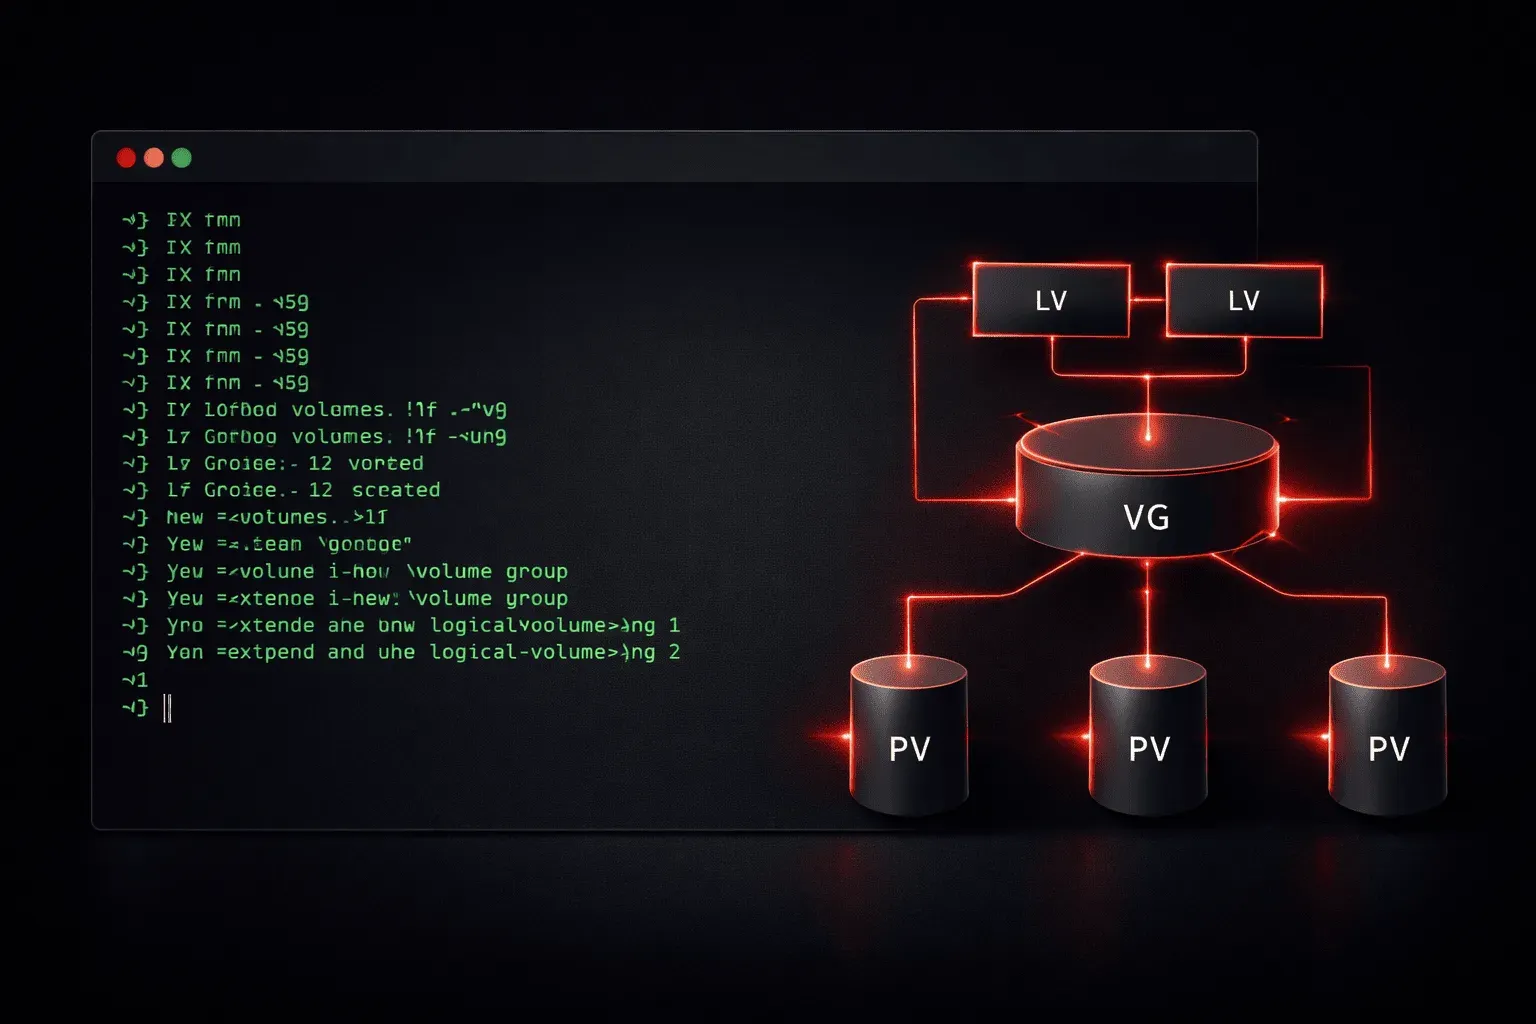
Logical Volume Manager (LVM) is one of Linux's most powerful storage management tools, allowing you to create flexible, resizable storage volumes from your physical disks. Instead of being stuck with fixed partition sizes, LVM lets you grow, shrink, and move storage as your needs change. Let's walk through creating and managing LVM step by step.
Understanding LVM Architecture
Before diving into commands, it's helpful to understand LVM's three-layer structure:
- Physical Volumes (PV): Your actual disk partitions or drives
- Volume Groups (VG): Collections of physical volumes that create a storage pool
- Logical Volumes (LV): Virtual partitions carved out of volume groups
Think of it like this: physical volumes are individual storage devices, volume groups are storage pools, and logical volumes are the actual filesystems you'll use.
Creating Your First LVM Setup
Let's create a complete LVM setup using three disks: /dev/sdb, /dev/sdc, and /dev/sdd.
Step 1: Create Physical Volumes
First, initialize your disks as physical volumes using pvcreate:
sudo pvcreate /dev/sdb /dev/sdc /dev/sddVerify your physical volumes:
sudo pvsYou'll see output showing your newly created physical volumes with their sizes and available space.
Step 2: Create a Volume Group
Now combine your physical volumes into a volume group using vgcreate:
sudo vgcreate my_storage_vg /dev/sdb /dev/sdc /dev/sddCheck your volume group status:
sudo vgsThis shows your volume group name, total size, and available space from all combined physical volumes.
Step 3: Create Logical Volumes
Finally, create logical volumes from your volume group using lvcreate:
# Create a 50GB logical volume for web files
sudo lvcreate -L 50G -n web_files my_storage_vg

# Create a 20GB logical volume for databases
sudo lvcreate -L 20G -n database my_storage_vg

# Use remaining space for backups
sudo lvcreate -l 100%FREE -n backups my_storage_vg
Verify your logical volumes:
sudo lvsEssential LVM Management Commands
Once your LVM setup is running, these commands will help you manage it effectively:
Extending Storage
Need more space? Extend a logical volume:
# Add 10GB to the web_files volume
sudo lvextend -L +10G /dev/my_storage_vg/web_files

# Resize the filesystem to use new space
sudo resize2fs /dev/my_storage_vg/web_files
Adding Physical Storage
To add a new disk to your existing volume group:
# Initialize new disk
sudo pvcreate /dev/sde

# Add to existing volume group
sudo vgextend my_storage_vg /dev/sde
Monitoring and Information
Keep tabs on your LVM setup with these display commands:
# Detailed physical volume information
sudo pvdisplay

# Detailed volume group information
sudo vgdisplay

# Detailed logical volume information
sudo lvdisplay
Creating Filesystems and Mounting
After creating logical volumes, format them and mount for use:
# Create ext4 filesystem
sudo mkfs.ext4 /dev/my_storage_vg/web_files

# Create mount point and mount
sudo mkdir /mnt/web_files
sudo mount /dev/my_storage_vg/web_files /mnt/web_files

# Add to /etc/fstab for permanent mounting
echo "/dev/my_storage_vg/web_files /mnt/web_files ext4 defaults 0 2" | sudo tee -a /etc/fstab
Best Practices for LVM Management
Always leave some free space in your volume groups for future expansion. When naming volumes, use descriptive names that indicate their purpose. Regularly monitor your storage usage with df -h and the LVM display commands to avoid running out of space unexpectedly.
What's Next
Now that you can create and manage basic LVM setups, the next step is learning about LVM snapshots for backup and testing purposes. We'll also explore advanced features like LVM mirroring and striping for improved performance and redundancy.
Tools and resources for this topic
- CompTIA Network+ Study Guide — Strong networking foundation that complements Linux+ studies.