
How to Clone a Repository in Git
Learn how to clone a Git repository with step-by-step instructions. This beginner's guide covers the git clone command, what happens during cloning, and how to verify your local repository setup.

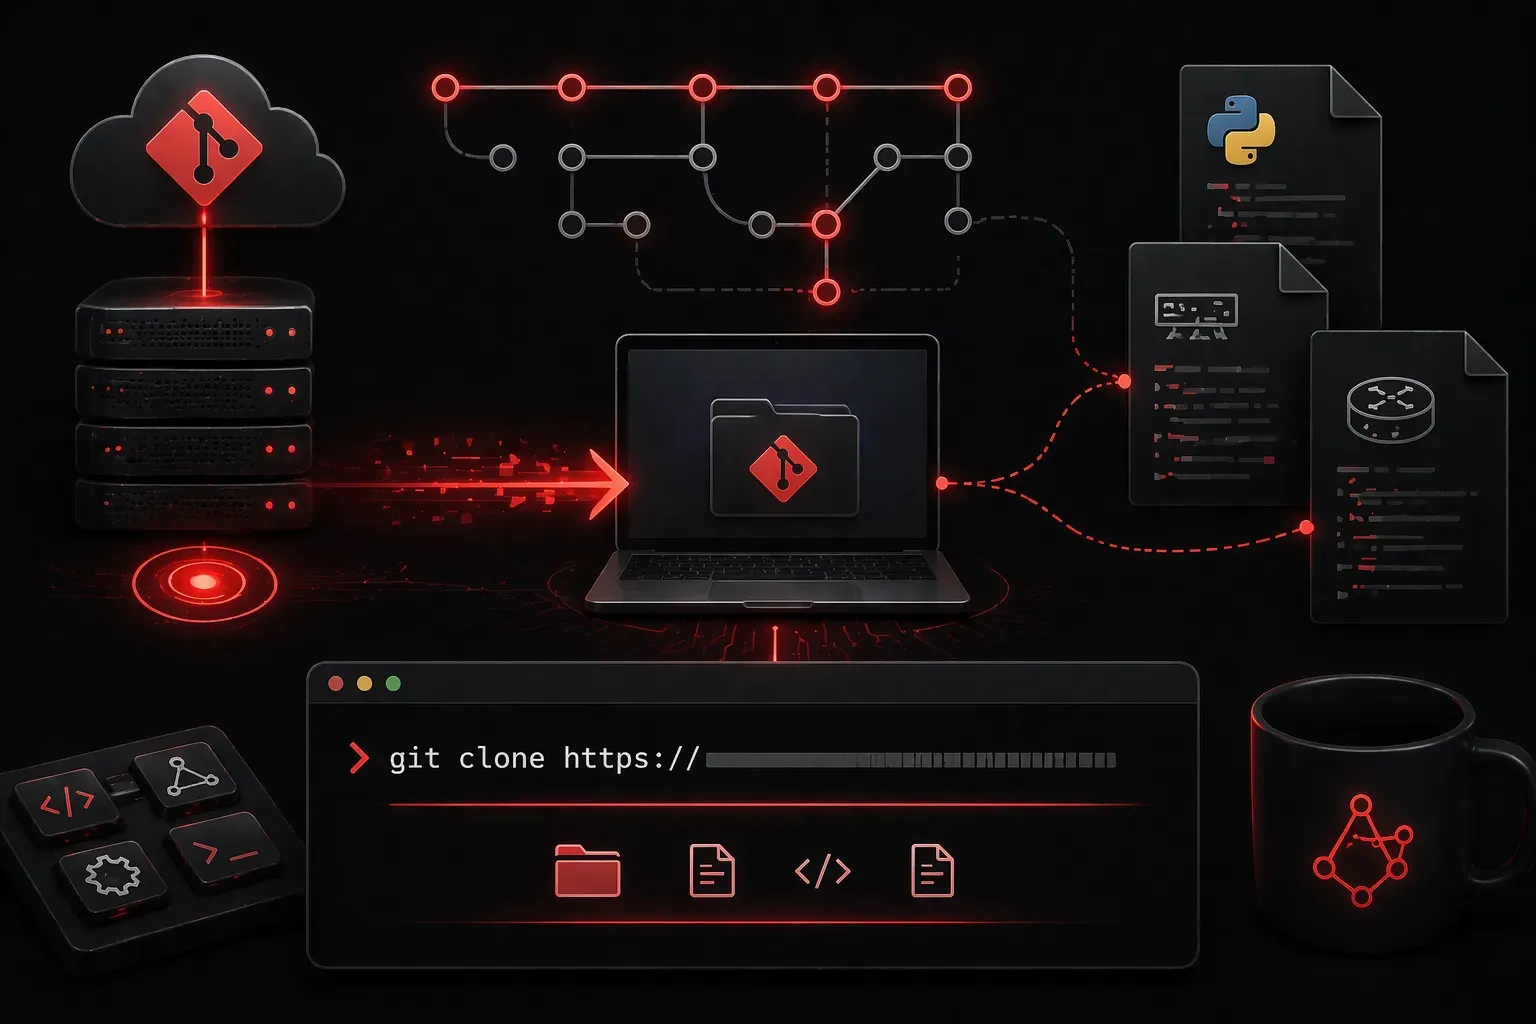
When you're starting with Git, one of the first operations you'll need to master is cloning a repository. To clone a Git repository means to create a local copy of a remote repository on your computer, complete with all its files, commit history, and branches. This is typically your first step when joining a project or working with existing code.
Think of cloning like downloading a complete project folder that includes not just the current files, but the entire development history and version control capabilities. This allows you to work locally, make changes, and eventually contribute back to the original project.
Why Git Cloning Matters for Network Automation
In network automation, Git repositories often contain Python scripts, Ansible playbooks, configuration templates, and infrastructure-as-code definitions. Cloning allows you to:
- Download network automation scripts and modify them for your environment
- Collaborate on network configuration management projects
- Version control your router and switch configurations
- Share automation tools across your network engineering team
Understanding Git Basics
Before diving into cloning, let's clarify what Git is: Git is a version control system that tracks changes to files over time. It's like having a detailed history of every modification made to your network scripts or configurations, allowing you to:
- See what changed and when
- Revert to previous versions if something breaks
- Collaborate with others without overwriting each other's work
- Branch your code to test new features safely
A repository (or "repo") is simply a project folder that Git is tracking. Remote repositories are stored on platforms like GitHub, while local repositories exist on your computer.
What Happens When You Clone
When you execute the Git clone command, several things happen automatically:
- Git downloads all project files from the remote repository
- It creates a complete local copy of the entire commit history
- A connection is established between your local copy and the remote repository
- Git sets up the default branch (usually
mainormaster) for immediate use
Basic Git Clone Syntax
The fundamental syntax for cloning repos is straightforward:
git clone [repository-url]Here's a practical example using a network automation repository:
git clone https://github.com/networktocode/ntc-ansible.gitThis command creates a new folder called ntc-ansible in your current directory and downloads all the repository contents into it.
Step-by-Step Cloning Process
Step 1: Get the Repository URL
Navigate to your repository on platforms like GitHub, GitLab, or Bitbucket. Look for the "Clone" or "Code" button, which provides the repository URL. You'll typically see options for HTTPS or SSH URLs.
Step 2: Choose Your Location
Open your terminal or command prompt and navigate to the directory where you want the cloned repository to live:
cd /path/to/your/projectsStep 3: Execute the Clone Command
Run the git clone command with your repository URL. Here's an example with a network automation project:
git clone https://github.com/napalm-automation/napalm.gitStep 4: Navigate to Your New Repository
Move into the newly created directory:
cd napalmNetwork Automation Examples
Here are some popular network automation repositories you might want to clone as you learn:
# NAPALM - Network automation library
git clone https://github.com/napalm-automation/napalm.git

# Nornir - Network automation framework
git clone https://github.com/nornir-automation/nornir.git

# Ansible network examples
git clone https://github.com/ansible/ansible-examples.git
These repositories contain Python libraries, configuration templates, and example scripts that demonstrate network automation concepts relevant to CCNA automation topics.
Cloning to a Specific Directory
By default, Git creates a folder with the same name as the repository. You can specify a different directory name by adding it as a second argument:
git clone https://github.com/user/project.git my-custom-folderThis creates a folder called my-custom-folder instead of using the repository's default name.
Verification After Cloning
Once you've successfully cloned a repository, verify everything is working correctly:
git statusThis should show that you're on a branch (typically main) with no pending changes. You can also check the remote connection:
git remote -vThis displays the remote repository URLs that Git will use for fetching and pushing changes.
Common Cloning Scenarios
When starting with Git, you'll encounter different cloning situations:
- Public repositories: No authentication required, clone directly with HTTPS
- Private repositories: Requires authentication, often through SSH keys or personal access tokens
- Large repositories: May benefit from shallow cloning to save bandwidth and storage
For large repositories, you can perform a shallow clone that only downloads recent history:
git clone --depth 1 https://github.com/user/large-project.gitWhat's Next
Now that you understand how to clone a Git repository, your next step is learning how to check the status of your repository and understand what files have changed. In our next post, we'll cover the git status command and how to interpret its output to track your project's current state.