
How to Set Up a Home Network: A Beginner's Guide
A step-by-step beginner's guide to setting up a home network, covering essential components like modems and routers, basic configuration steps, and common troubleshooting tips for new network administrators.

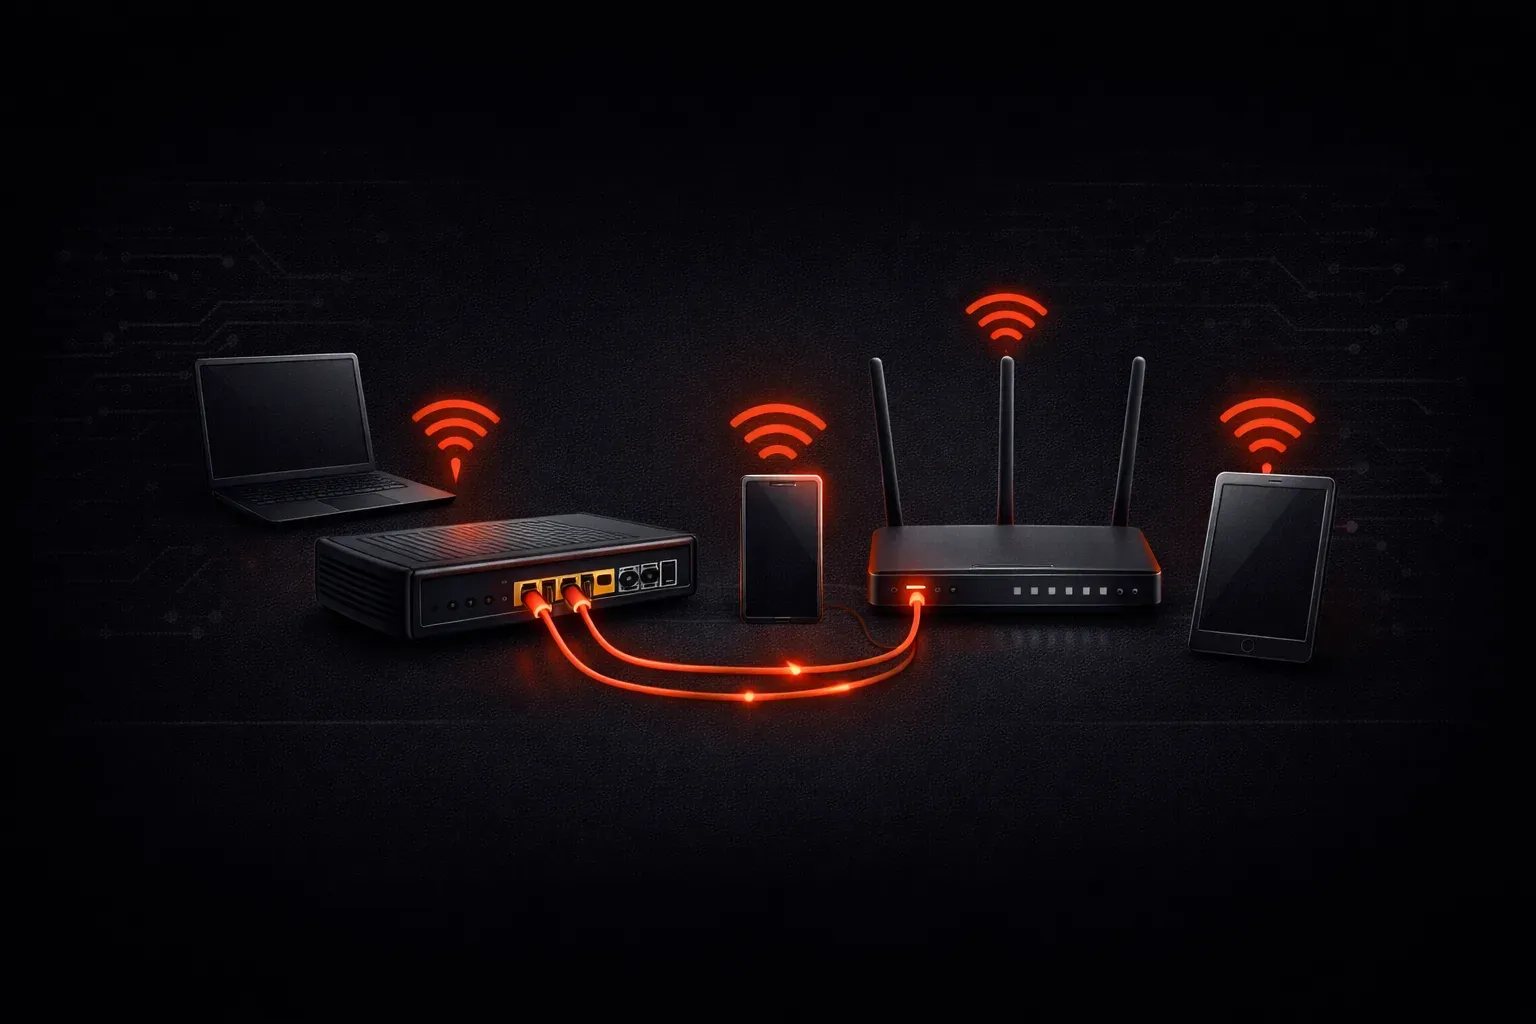
Setting up your first home network might seem intimidating, but it's actually straightforward once you understand the basic components and steps involved. Whether you're studying for Network+ or simply want to understand how your home internet works, this beginner guide will walk you through the essential process of creating a functional home network.
Essential Network Components You'll Need
Before diving into configuration, let's identify the core components required for a basic home network setup:
- Modem: Connects your home to your Internet Service Provider (ISP)
- Router: Creates your local network and manages traffic between devices
- Ethernet cables: For wired connections (Cat5e or Cat6 recommended)
- Devices: Computers, smartphones, tablets, smart TVs, etc.
Many ISPs provide a combined modem-router device, which simplifies the setup process for beginners. However, understanding each component's role helps you troubleshoot issues and make informed upgrade decisions later.
Step-by-Step Network Setup Process
Step 1: Connect Your Modem
Start by connecting your modem to the incoming internet line from your ISP. This could be a coaxial cable (cable internet), phone line (DSL), or fiber optic cable. Plug the modem into power and wait for the status lights to stabilize, typically showing solid green or blue lights for an active connection.
Step 2: Connect Your Router
Using an Ethernet cable, connect your router's WAN (Wide Area Network) port to the modem's Ethernet port. The WAN port is usually labeled and often colored differently from the other ports. Power on your router and wait for its status lights to indicate a successful connection.
Step 3: Basic Router Configuration
Access your router's web interface by connecting a computer to one of the router's LAN ports with an Ethernet cable. Open a web browser and navigate to your router's default IP address, typically 192.168.1.1 or 192.168.0.1. Check your router's label for the exact address and default login credentials.
During initial setup, you'll configure several key settings:
- Network Name (SSID): Choose a unique name for your wireless network
- WiFi Password: Set a strong password using WPA3 or WPA2 security
- Admin Password: Change the default router login credentials
Step 4: Test Your Connections
Once basic configuration is complete, test both wired and wireless connections. Connect devices via Ethernet cable to verify wired connectivity, then test WiFi by connecting wireless devices using your new network name and password.
Essential Security and Optimization Tips
A proper network setup includes basic security measures from day one:
- Enable WPA3 security (or WPA2 if WPA3 isn't available)
- Use a strong, unique password for WiFi access
- Change default router admin credentials
- Enable automatic firmware updates if available
- Consider changing the default network IP range for added security
Common Setup Issues and Solutions
New network administrators often encounter these typical problems:
No Internet Access: Verify all cable connections are secure and that your ISP service is active. Check that the modem shows a stable connection to your ISP.
Can't Access Router Interface: Ensure your computer is connected directly to the router via Ethernet and that you're using the correct IP address. Try ipconfig (Windows) or ifconfig (macOS/Linux) to verify your computer received an IP address.
Slow Speeds: Test wired connections first to establish a baseline, then compare WiFi performance. Position your router centrally and away from interference sources like microwaves or baby monitors.
What's Next
Now that you have a basic home network running, you're ready to explore more advanced topics like network segmentation, Quality of Service (QoS) configuration, and understanding network protocols. In our next post, we'll dive into subnetting basics and how to organize larger networks efficiently.
Tools and resources for this topic
- CompTIA Network+ Study Guide — Comprehensive N10-009 exam preparation covering all five domains.