
Layer 2 vs Layer 3 EtherChannel: Key Differences
This post breaks down the key differences between Layer 2 and Layer 3 EtherChannel configurations, explaining when to use each and how to configure them on Cisco switches. It covers forwarding behavior, VLAN support, Spanning Tree participation, and the critical role of the no switchport command.

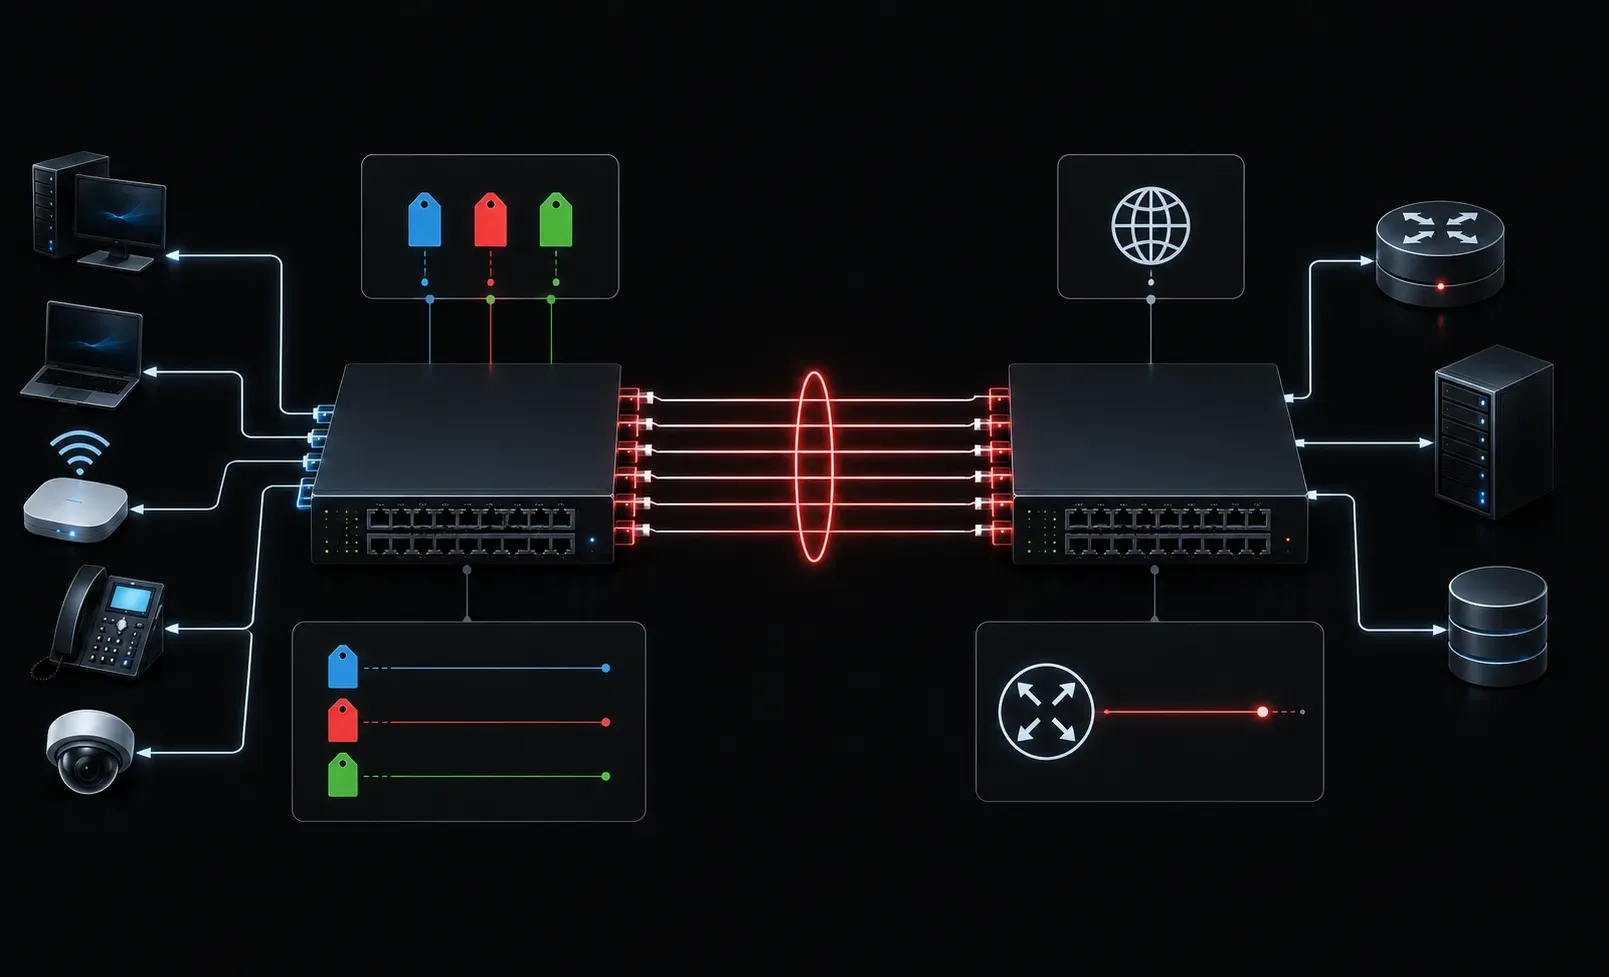
EtherChannel is one of those topics that trips up a lot of CCNA candidates, not because the concept is complicated, but because there are two distinct flavors that serve very different purposes. Once you understand why each type exists, the configuration differences make a lot more sense.
What Is EtherChannel?
Before diving into the comparison, let's make sure the foundation is solid. EtherChannel bundles multiple physical links between two switches (or a switch and a router) into a single logical link. This gives you more bandwidth and redundancy without the headaches of Spanning Tree Protocol blocking ports.
The key question is: what role should that logical link play in your network? That answer determines whether you need a Layer 2 or Layer 3 EtherChannel.
Layer 2 EtherChannel
A Layer 2 EtherChannel operates just like a regular switch trunk or access port. It carries Ethernet frames and participates in Spanning Tree. Think of it as a fat pipe between two switches that still forwards traffic based on MAC addresses.
When to use it: Layer 2 EtherChannel makes sense when you want to bundle uplinks between access and distribution layer switches where VLANs need to traverse the link. It keeps the connection within the switching domain.
Here is a basic Layer 2 EtherChannel configuration using LACP:
interface range GigabitEthernet0/1 - 2
 channel-group 1 mode active
 switchport mode trunk

interface port-channel 1
 switchport mode trunk
Notice that the port-channel interface is configured as a trunk, just like a regular Layer 2 interface. VLANs, native VLAN settings, and trunking encapsulation all apply here.
Layer 3 EtherChannel
A Layer 3 EtherChannel turns that bundled link into a routed interface. Instead of forwarding frames based on MAC addresses, it routes packets based on IP addresses. You assign an IP address directly to the port-channel interface, and it behaves like a point-to-point routed link.
When to use it: Layer 3 EtherChannel is ideal between distribution and core layer switches where routing decisions need to happen, or when you want to eliminate Spanning Tree from the equation entirely. Since there are no VLANs to prune and no STP to manage, this is often the cleaner design choice in modern campus networks.
Here is how that same bundle looks as a Layer 3 EtherChannel:
interface range GigabitEthernet0/1 - 2
 no switchport
 channel-group 1 mode active

interface port-channel 1
 no switchport
 ip address 10.1.1.1 255.255.255.252
The critical difference is the no switchport command. This converts the physical interfaces from Layer 2 to Layer 3 before they are bundled. Without it, the switch treats the port-channel as a switched interface and you cannot assign an IP address.
Side-by-Side Comparison
- Forwarding method: Layer 2 uses MAC addresses; Layer 3 uses IP addresses
- IP address: Layer 2 does not have one (unless it is an SVI); Layer 3 is assigned directly on the port-channel
- Spanning Tree: Layer 2 participates in STP; Layer 3 does not
- VLAN support: Layer 2 can carry multiple VLANs as a trunk; Layer 3 is a single routed link
- Key command: Layer 2 uses
switchport; Layer 3 requiresno switchport - Typical placement: Layer 2 works well at the access-distribution boundary; Layer 3 fits the distribution-core boundary
A Quick Tip for the Exam
On the CCNA exam, watch out for scenarios where a student forgets to apply no switchport before bundling interfaces into a Layer 3 EtherChannel. The channel will form, but IP addressing will fail. Also remember: whatever you configure on the physical interfaces must match the port-channel configuration, or the bundle will not come up correctly.
What's Next
Now that you can tell a Layer 2 EtherChannel from a Layer 3 one, the next logical step is understanding how EtherChannel negotiation actually works. In the next post, we will cover PAgP versus LACP, the two protocols that handle automatic bundle negotiation, and walk through the different mode combinations that will or will not form a channel.
Tools and resources for this topic
- CCNA Official Cert Guide (Wendell Odom) — The definitive CCNA study resource. Both volumes cover the 200-301 exam blueprint in full.
- Wendell Odom CCNA Vol 1 — Covers networking fundamentals, switching, and routing basics.
- Wendell Odom CCNA Vol 2 — Covers advanced routing, WAN, infrastructure services, and security.