
Common Mistakes in Network Installations
Physical network installations are full of small mistakes that cause big headaches. This post covers the six most common errors beginners make, from skipping cable labels to ignoring PoE power budgets, with practical tips to avoid each one.

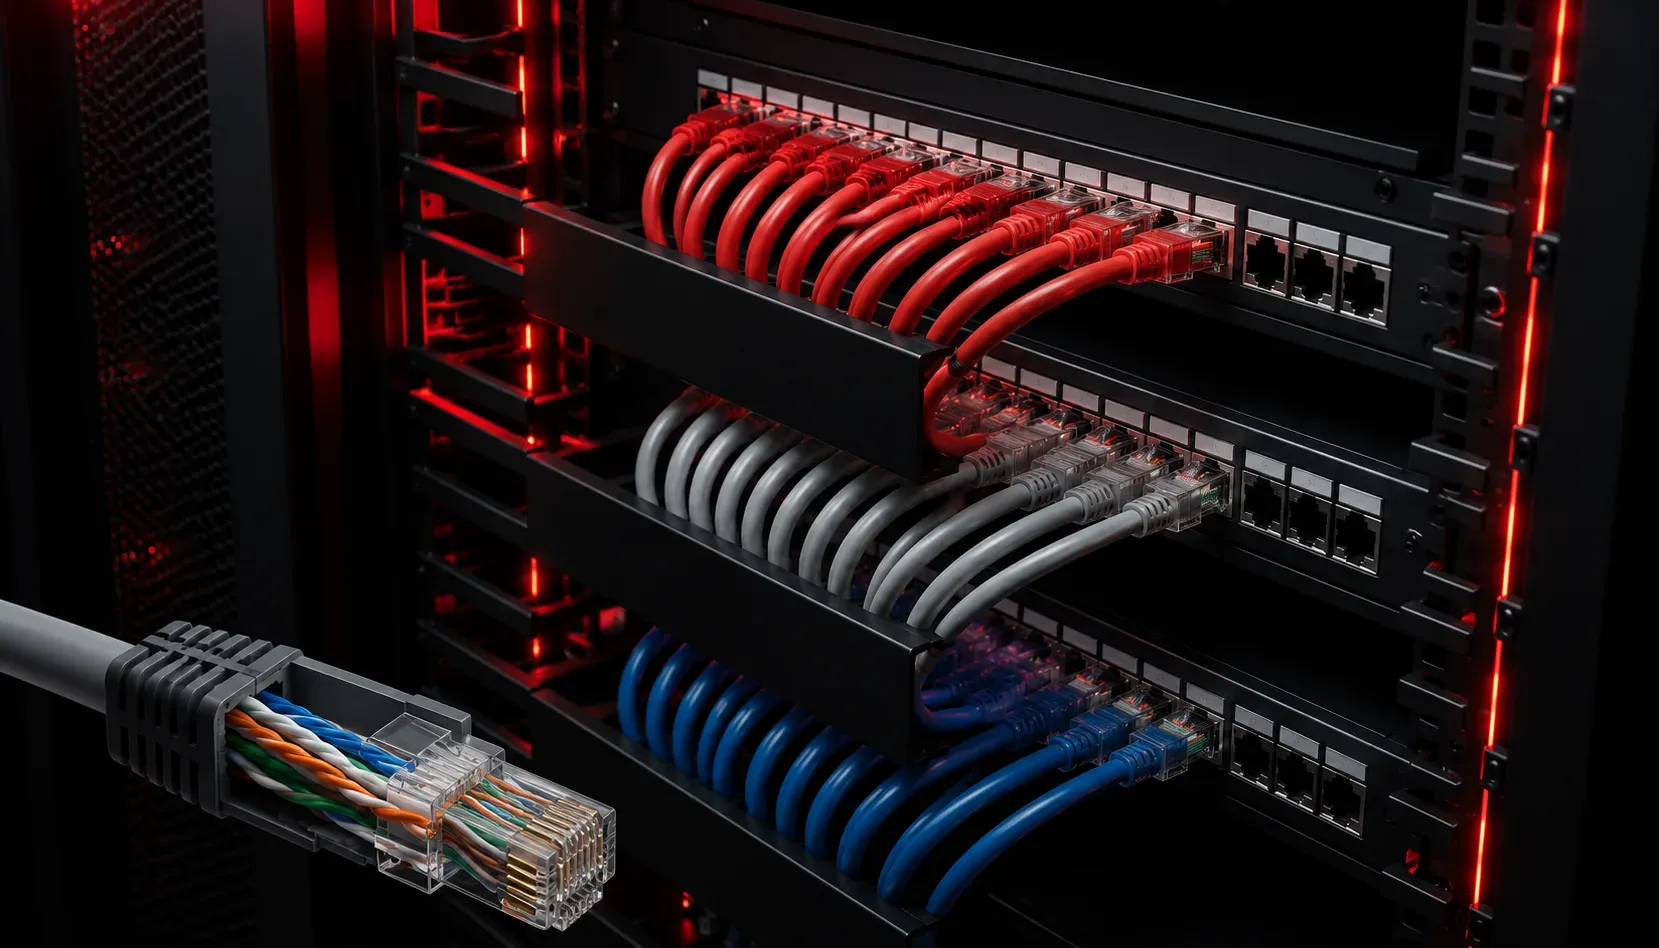
Why Network Installations Go Wrong
You've got your switches, cables, and patch panels. The gear is racked, the runs are pulled, and everything looks clean. Then you power it up and... nothing works quite right. Sound familiar? Network installation mistakes are incredibly common, especially for those newer to physical network work. The good news is that most of these pitfalls are completely avoidable once you know what to watch for.
This post covers the most frequent setup issues that trip up beginners during physical network installations, and more importantly, how to avoid them from the start.
Mistake 1: Not Labeling Everything
This is the single most common error in physical installations, and it costs teams hours of troubleshooting down the road. Cables that aren't labeled at both ends become a mystery the moment something breaks at 2am.
Good practice means labeling both ends of every cable run with a consistent naming convention. For example, a cable running from IDF-1 to Switch-A Port 12 should have that information printed or written clearly at each termination point. Use a label maker. Your future self will thank you.
Mistake 2: Improper Cable Termination
Untwisting too much wire before terminating into a keystone jack or patch panel is one of the most common errors in copper installations. The twist in each pair is what gives the cable its noise rejection properties. When you untwist more than about half an inch before terminating, you degrade that protection and invite crosstalk into your links.
The standard recommendation is to untwist no more than 1/2 inch (13mm) of pair before punching down or seating into a connector. Pair separation should be kept to a minimum all the way to the termination point.
Mistake 3: Ignoring Bend Radius
Cables aren't meant to fold sharply around corners. Each cable type has a minimum bend radius, and violating it crushes the internal conductors or fiber strands, causing signal degradation or outright link failure.
- Cat6/Cat6A copper: Minimum bend radius is typically 4 times the cable diameter
- Fiber optic: Minimum bend radius varies but is usually around 10 times the cable diameter for multimode
When routing cables through conduit or around rack edges, use cable management arms and corner pieces specifically designed for the job. Don't force a cable into a tight path to save a few inches of run length.
Mistake 4: Mixing Up T568A and T568B Wiring Standards
Both T568A and T568B are valid wiring standards for RJ-45 terminations, but mixing them on a straight-through cable turns it into a crossover cable, which won't work the way you expect in modern installations. Pick one standard and stick with it throughout the entire installation. Most North American commercial environments use T568B, but the key rule is consistency.
Mistake 5: Skipping the Cable Test
Punching everything down and assuming it works is a setup issue that leads to painful after-the-fact troubleshooting. A basic cable tester will verify continuity and correct pinout on every run before you seal up walls or close out the rack. Higher-end testers like a Fluke CableIQ or similar certification tool can also verify that runs meet performance specifications for the category you installed.
Test every run. Document the results. This becomes your baseline for future troubleshooting and is often required when work is contracted.
Mistake 6: Poor Power Planning for Network Devices
A lot of beginners focus entirely on data cabling and forget about power. Switches, wireless access points, and IP cameras often use Power over Ethernet (PoE), and if your switch's total PoE budget doesn't match the demand of connected devices, ports will undervolt or refuse to power devices entirely. Before you finalize your design, add up the power draw of every PoE device and verify it fits within your switch's total PoE budget listed in the spec sheet.
What's Next
Now that you know the most common installation pitfalls, the next step is understanding how to properly document what you've built. Network documentation, including physical and logical diagrams, is a core skill covered in the Network+ exam and something every network professional needs in their toolkit. We'll cover that in the next post in this series.
Tools and resources for this topic
- CompTIA Network+ Study Guide — Comprehensive N10-009 exam preparation covering all five domains.