
How to Capture Network Traffic with Wireshark
A beginner-friendly guide to capturing network traffic with Wireshark, covering interface selection, starting captures, basic filtering, and saving results. Essential for CCST Networking exam preparation and network troubleshooting skills.

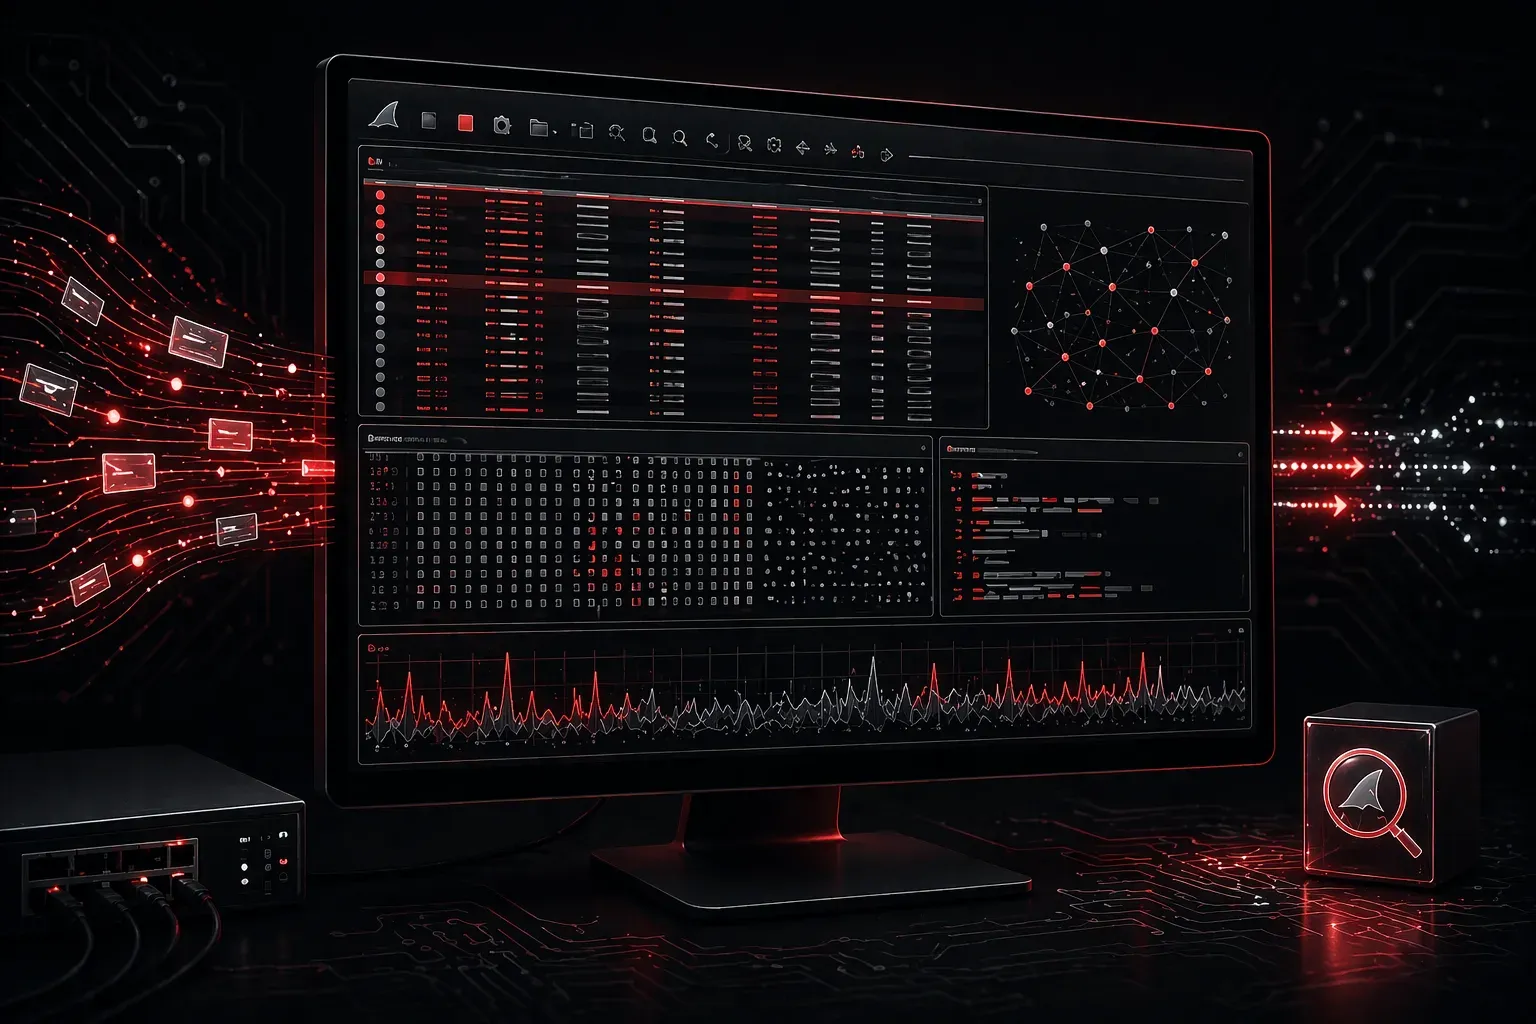
Wireshark is one of the most powerful tools in a network engineer's toolkit, allowing you to capture and analyze network traffic in real-time. Whether you're troubleshooting connectivity issues or learning how protocols work, knowing how to capture network traffic with Wireshark is an essential skill for the CCST Networking exam and your career.
In this Wireshark tutorial, we'll walk through the complete process of setting up and performing your first packet capture.
Installing and Starting Wireshark
First, download Wireshark from wireshark.org and install it on your system. On Windows, you'll need to install Npcap (the recommended packet capture library) during installation. Note that WinPcap is deprecated and no longer maintained - Npcap is the modern replacement and comes bundled with Wireshark. On Linux systems, you may need to add your user to the wireshark group to capture packets without running as root.
When you launch Wireshark, you'll see the main interface with a list of available network interfaces. These represent the different network connections on your computer - Ethernet ports, Wi-Fi adapters, and virtual interfaces.
Selecting Your Capture Interface
The key to successful packet capture is choosing the right interface. Look for interfaces showing activity in the sparkline graphs - these indicate live traffic. For most scenarios, you'll want to select:
- Your active Wi-Fi adapter if you're on wireless
- Your Ethernet interface if you're wired
- The interface with the most activity if you're unsure
Double-click on your chosen interface to start capturing immediately, or select it and click the blue shark fin icon.
Starting Your First Packet Capture
Once you start capturing, Wireshark begins collecting every packet flowing through that interface. You'll see three main sections:
- Packet List Pane (top): Shows each captured packet with basic information like source/destination addresses, protocol, and summary
- Packet Details Pane (middle): Displays the protocol breakdown of the selected packet in an expandable tree format, showing each protocol layer from physical to application
- Packet Bytes Pane (bottom): Shows the raw hexadecimal and ASCII data of the packet
To generate some traffic for analysis, open a web browser and visit a website. You'll immediately see HTTP, TCP, and DNS packets appearing in the capture.
Basic Filtering for Network Analysis
Raw packet captures can contain thousands of packets per second. Filtering helps you focus on specific traffic. Here are essential filters for beginners:
http
tcp.port == 80
ip.addr == 192.168.1.1
dns
icmp
Type these filters in the green filter bar at the top. For example, typing http will show only unencrypted HTTP traffic. Important note: The http filter will not show HTTPS traffic since it's encrypted - most modern web traffic uses HTTPS (port 443). To see HTTPS connections, use tcp.port == 443 or tls instead, though you won't be able to read the encrypted content.
Understanding What You're Seeing
Each packet in your capture tells part of a network conversation. Look for patterns like:
- Three-way TCP handshakes (SYN, SYN-ACK, ACK)
- DNS queries before HTTP requests
- ICMP packets from ping commands
Click on any packet to see its details. The packet details pane shows each protocol layer, from physical up to application. You can expand each section (like Ethernet, IP, TCP) to see detailed field information. For beginners, pay attention to the source and destination IP addresses, port numbers, and protocol types to understand the communication flow.
Stopping and Saving Your Capture
Click the red square icon to stop capturing. To save your capture for later analysis, go to File > Save As and choose the .pcapng format. This preserves all packet data and timing information.
For your first captures, try capturing traffic while:
- Browsing to different websites
- Pinging another device
- Running
nslookupcommands
What's Next
Now that you can capture network traffic with Wireshark, the next step is learning how to analyze what you've captured. In our next post, we'll explore how to use Wireshark's analysis features to identify common network problems and understand protocol behavior - essential skills for network troubleshooting.