
How to Manage User Accounts in Linux
This beginner-friendly guide walks through the essential Linux user management commands: useradd, usermod, and userdel. It covers how to create, modify, and delete user accounts in Linux with practical terminal examples and explains where Linux stores user information.

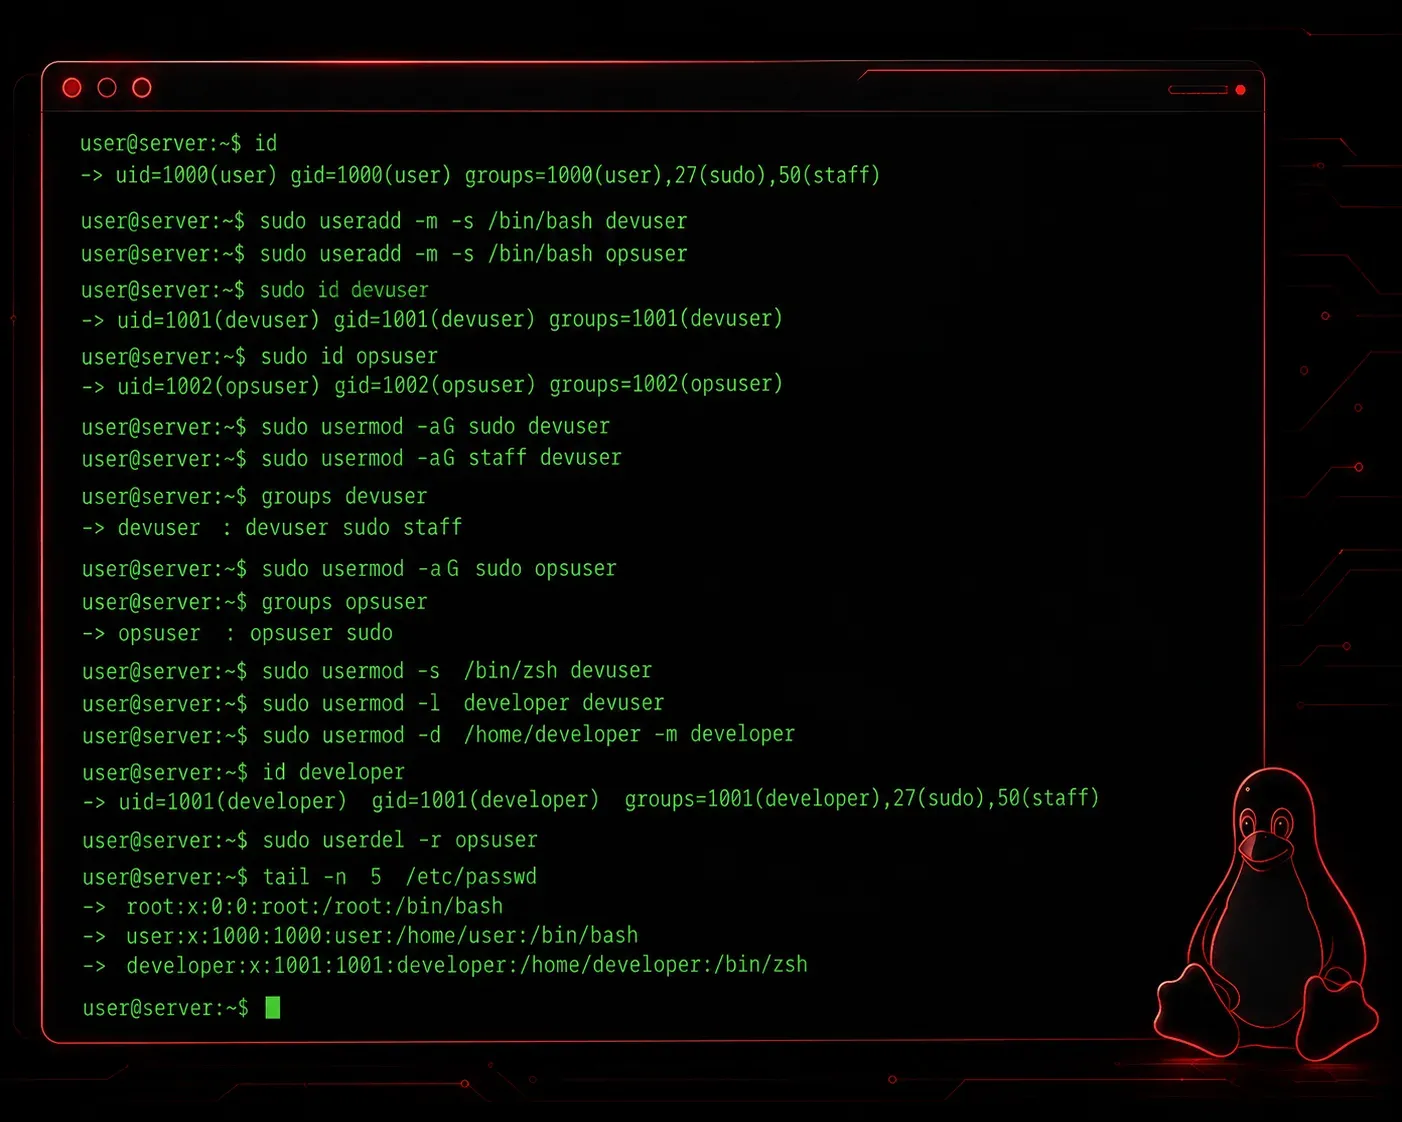
User accounts are the foundation of access control in Linux. Every person, service, or process that interacts with the system needs an identity, and managing those identities correctly is one of the most fundamental skills for any Linux administrator. Whether you are working toward your CompTIA Linux+ certification or just getting started with Linux, understanding how to manage user accounts in Linux will serve you in nearly every real-world scenario.
Let's walk through the core tasks: creating users, modifying accounts, and cleaning up when access is no longer needed.
Understanding How Linux Stores User Information
Before touching any commands, it helps to know where Linux keeps user data. The two key files are:
- /etc/passwd: Stores basic account information like username, user ID (UID), group ID (GID), home directory, and default shell.
- /etc/shadow: Stores hashed passwords and account expiration settings. Only root can read this file.
You can peek at a user's entry in /etc/passwd with a quick grep:
grep jsmith /etc/passwdOutput might look like this:
jsmith:x:1001:1001:John Smith:/home/jsmith:/bin/bashEach field is separated by a colon. The x in the second field means the password hash lives in /etc/shadow.
Creating a User Account
The primary command for creating users on most Linux distributions is useradd. A basic example looks like this:
sudo useradd -m -s /bin/bash jsmithBreaking this down:
- -m: Creates a home directory at
/home/jsmith - -s /bin/bash: Sets the default login shell to Bash
- jsmith: The username
After creating the account, set a password right away:
sudo passwd jsmithYou will be prompted to enter and confirm the new password. The system stores only the hashed version, never the plaintext.
On Debian-based systems like Ubuntu, you may prefer adduser, which is a friendlier interactive wrapper around useradd:
sudo adduser jsmithThis walks you through setting a password, full name, and other optional details in a guided format.
Modifying an Existing User Account
User details change over time. Maybe someone needs a different shell, or their account needs to join an additional group. The usermod command handles these changes.
Add a user to a supplementary group (common for giving sudo access):
sudo usermod -aG sudo jsmithThe -aG flag appends the user to the specified group without removing them from existing groups. Skipping the -a flag would overwrite their group memberships, which is a common mistake to avoid.
Change a user's default shell:
sudo usermod -s /bin/zsh jsmithLock an account temporarily without deleting it:
sudo usermod -L jsmithTo unlock the account later, use -U instead of -L.
Deleting a User Account
When access is no longer needed, remove the account cleanly. The userdel command handles this:
sudo userdel jsmithThis removes the account but leaves the home directory intact. If you want to remove the home directory and mail spool at the same time, add the -r flag:
sudo userdel -r jsmithUse -r with care. Once the home directory is gone, any files stored there are deleted permanently unless you have a backup.
Verifying Your Changes
After any account operation, it is good practice to confirm the result. The id command gives a quick summary of a user's UID, GID, and group memberships:
id jsmithuid=1001(jsmith) gid=1001(jsmith) groups=1001(jsmith),27(sudo)This one-liner confirms the account exists and shows exactly what groups the user belongs to.
What's Next
Now that you can create, modify, and delete user accounts, the logical next step is understanding group management. Groups let you apply permissions to multiple users at once, which is far more efficient than setting permissions individually. In the next post, we will cover how to create and manage groups in Linux and how group membership ties directly into file permissions.
For a deeper dive into user management concepts and Linux+ exam objectives, check out the CompTIA Linux+ Study Guide by Richard Blum. It covers these topics with exam-focused detail that pairs well with hands-on practice.
Tools and resources for this topic
- CompTIA Linux+ Study Guide — Comprehensive Linux+ exam preparation covering system administration, security, and scripting.