
Running Linux in a Virtual Machine with VirtualBox
Learn how to safely run Linux using VirtualBox virtual machines. This guide covers installation, configuration, and setup of Ubuntu in a VM for risk-free Linux learning.

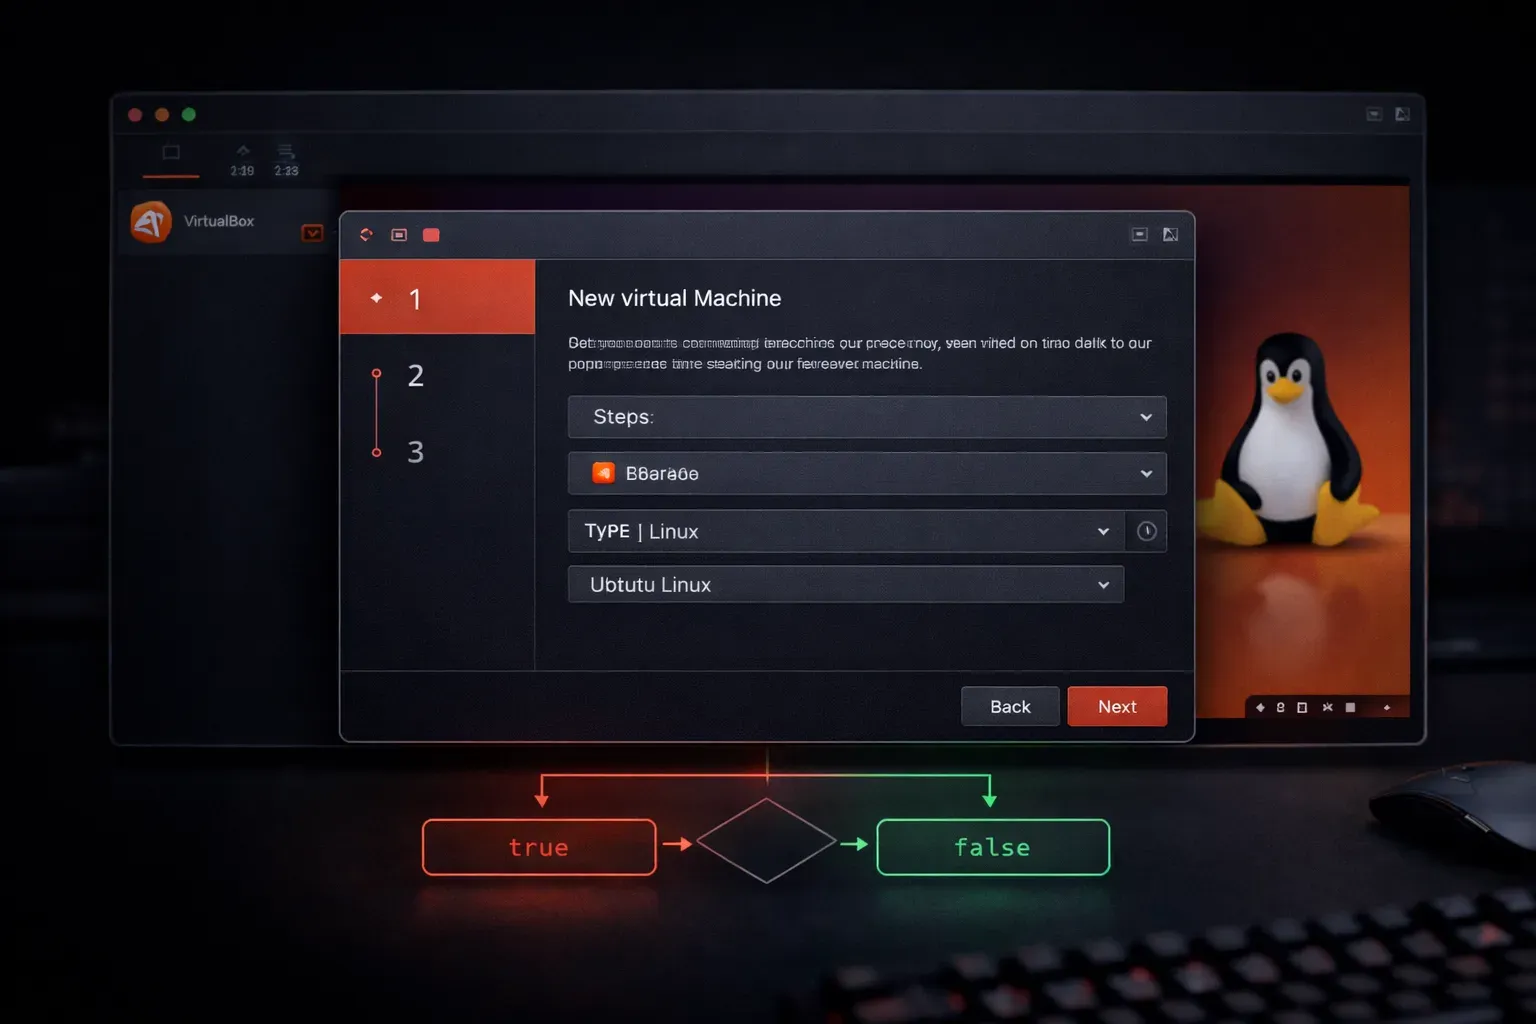
Getting started with Linux can feel overwhelming, especially if you're worried about messing up your current operating system. The good news? You don't need to choose between Windows/macOS and Linux. Virtual machines let you run Linux safely inside your existing system, giving you a risk-free playground to learn and experiment.
VirtualBox is Oracle's free virtualization platform that creates virtual computers inside your physical machine. Think of it as running a computer within a computer; your Linux virtual machine gets its own allocated CPU, memory, and storage, but it's completely isolated from your host operating system.
Why Use a Virtual Machine for Learning Linux?
Virtual machines offer several advantages for Linux beginners:
- Safety first: Mistakes in your VM won't affect your main system
- Snapshots: Save your VM's state and roll back if something breaks
- Multiple distributions: Try Ubuntu, CentOS, or Debian without repartitioning
- Easy cleanup: Delete the VM when you're done – no traces left behind
Installing VirtualBox
Download VirtualBox from virtualbox.org and install it like any regular application. The installation includes the VirtualBox Manager (your control center) and the Extension Pack (adds USB 3.0 support and other features).
After installation, you'll see the VirtualBox Manager; this is where you'll create, configure, and manage your virtual machines.
Creating Your First Linux Virtual Machine
Let's create a VM for Ubuntu, one of the most beginner-friendly Linux distributions:
- Click New in VirtualBox Manager
- Name your VM (e.g., "Ubuntu-Learning") and select Type: Linux, Version: Ubuntu (64-bit)
- Allocate memory – 2GB (2048 MB) minimum, 4GB recommended if you have 8GB+ RAM on your host
- Create a virtual hard disk – choose VDI (VirtualBox Disk Image)
- Select Dynamically allocated – the disk grows as needed
- Set disk size to 25GB minimum (it won't immediately use this space)
Configuring Your Virtual Machine
Before starting your VM, optimize these settings by right-clicking your VM and selecting Settings:
System Settings
- Processor: Assign 2 CPU cores if your host has 4+ cores
- Enable VT-x/AMD-V: Ensure hardware virtualization is enabled
Display Settings
- Video Memory: Increase to 128MB for better graphics
- Enable 3D Acceleration: Improves desktop performance
Network Settings
The default NAT configuration works fine for learning; your VM gets internet access and stays isolated from your network.
Installing Ubuntu Linux
Download the Ubuntu Desktop ISO from ubuntu.com/download. In VirtualBox:
- Select your VM and click Start
- VirtualBox will prompt for a startup disk – browse to your Ubuntu ISO file
- Follow Ubuntu's installation wizard (choose Erase disk and install Ubuntu – remember, this is just your virtual disk)
- Create your user account and set a password
The installation takes 15-30 minutes. When complete, your VM will reboot into a fresh Ubuntu desktop.
Essential Post-Installation Steps
After Ubuntu boots, install VirtualBox Guest Additions for better integration:
sudo apt update
sudo apt install virtualbox-guest-additions-iso
Or use the VirtualBox menu: Devices > Insert Guest Additions CD image, then run the installer.
Guest Additions provides:
- Automatic screen resolution adjustment
- Seamless mouse movement between host and VM
- Shared clipboard functionality
- File sharing between host and VM
Taking Your First Snapshot
Before you start experimenting, take a snapshot of your fresh installation:
- With your VM powered off, go to Machine > Take Snapshot
- Name it "Fresh Ubuntu Install"
- Add a description like "Clean Ubuntu installation with Guest Additions"
Now you can experiment fearlessly – if you break something, restore this snapshot and you're back to a working system in minutes.
What's Next
With your Linux virtual machine running, you're ready to explore the command line interface. In our next post, we'll cover opening the terminal and running your first Linux commands, starting with navigation and basic file operations.