Using Rsync for Efficient Backups on Linux
Learn how to use rsync for efficient incremental backups on Linux systems. This guide covers basic commands, essential options, automation scripts, and advanced backup strategies with practical examples.

Backing up your Linux systems is crucial for disaster recovery and data protection. While there are many backup solutions available, rsync stands out as one of the most efficient and versatile tools for creating incremental backups. Let's explore how to use rsync for reliable backup operations that will serve you well in both personal and professional environments.
What Makes Rsync Special
Rsync (remote synchronization) is a powerful utility that synchronizes files and directories between locations. What makes it particularly effective for backups is its ability to perform incremental transfers, copying only the differences between source and destination files. This approach saves significant time and bandwidth compared to full backups every time.
The tool works by calculating checksums for file blocks and transferring only the changed portions. This means your first backup might take hours, but subsequent backups complete in minutes.
Basic Rsync Backup Commands
Let's start with fundamental rsync syntax and build up to more complex backup scenarios. The basic structure is:
rsync [options] source destinationFor a simple local backup of your home directory:
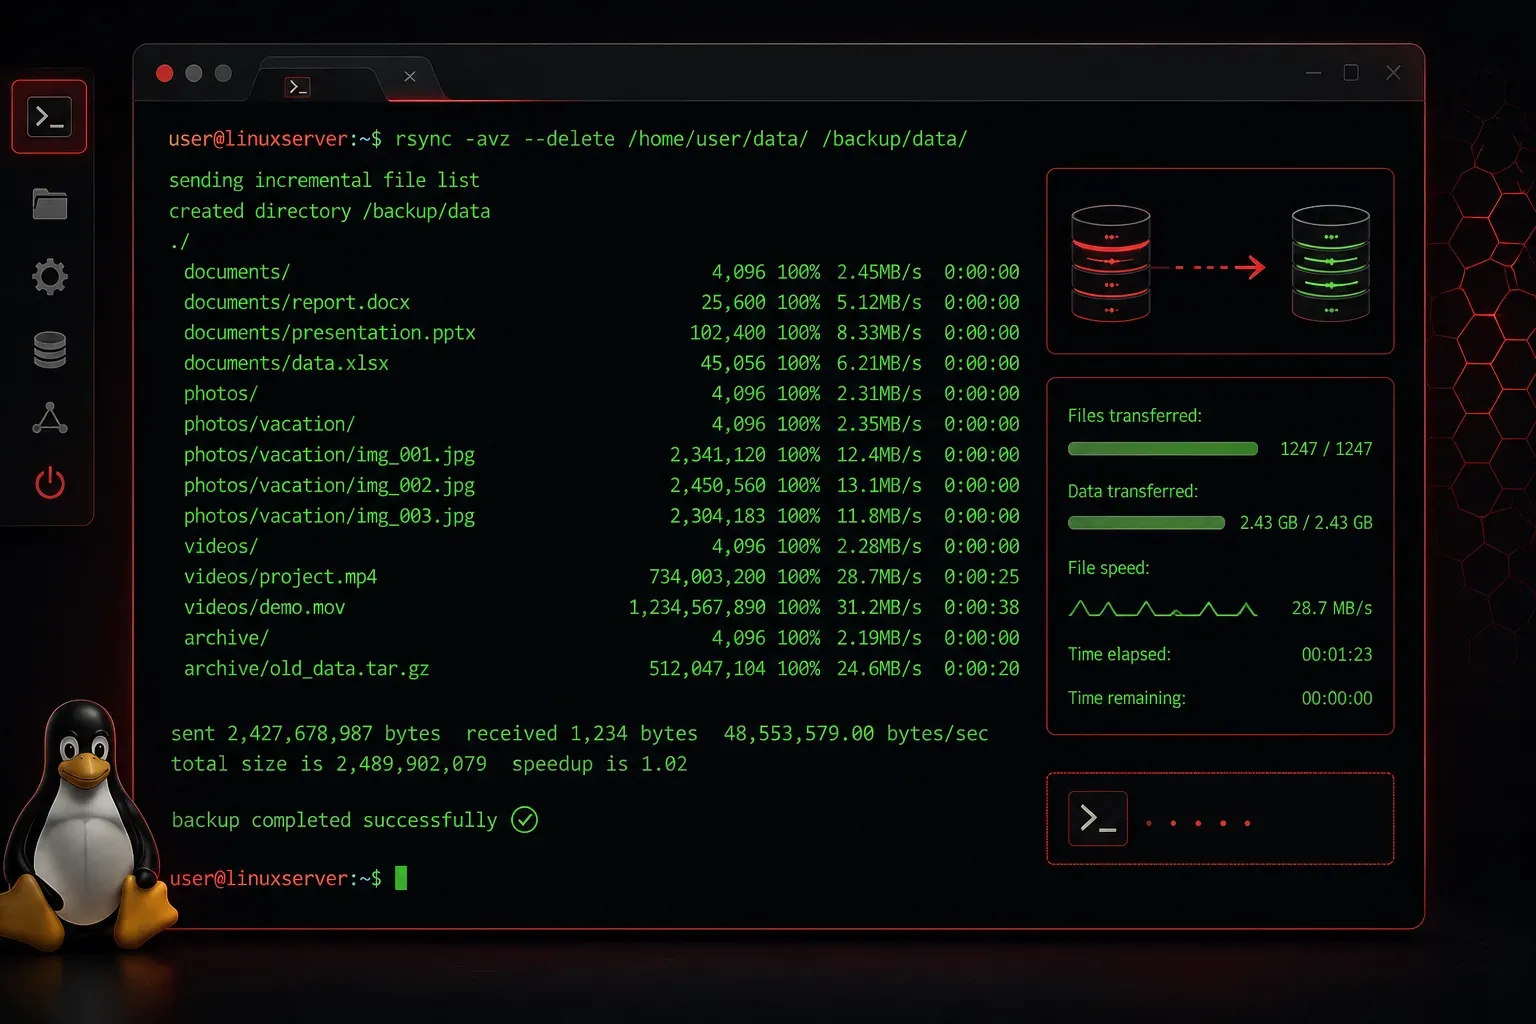
rsync -av /home/username/ /backup/home-backup/The -a flag enables archive mode, preserving file permissions, timestamps, and symbolic links. The -v flag provides verbose output so you can see what's being copied.
For remote backups over SSH:
rsync -av /home/username/ user@backup-server:/backups/home-backup/Essential Rsync Options for Backups
Several options make rsync particularly powerful for backup scenarios:
--delete- Removes files from destination that no longer exist in source--exclude- Skips specified files or directories--dry-run- Shows what would be transferred without actually doing it--progress- Displays transfer progress for each file--backup- Creates backups of files that would be overwritten
Here's a comprehensive backup command incorporating these options:
rsync -av --delete --exclude='*.tmp' --exclude='.cache/' --progress /home/username/ /backup/home-backup/Creating Incremental Backup Scripts
For backup automation, create a simple script that handles the heavy lifting. Here's a practical example:
#!/bin/bash
# Daily backup script

SOURCE="/home/username"
DEST="/backup/daily"
DATE=$(date +%Y%m%d_%H%M%S)
LOG="/var/log/backup.log"

echo "Starting backup at $(date)" >> $LOG

rsync -av --delete \
    --exclude='*.tmp' \
    --exclude='.cache/' \
    --exclude='Downloads/' \
    --log-file=$LOG \
    $SOURCE/ $DEST/

if [ $? -eq 0 ]; then
    echo "Backup completed successfully at $(date)" >> $LOG
else
    echo "Backup failed at $(date)" >> $LOG
fi
Save this script as /usr/local/bin/daily-backup.sh, make it executable with chmod +x /usr/local/bin/daily-backup.sh, and schedule it with cron for automated backups.
Advanced Backup Strategies
For more sophisticated backup operations, consider implementing a rotation strategy. You can create dated backup directories and maintain multiple backup generations:
# Create timestamped backup with hard links to save space
rsync -av --delete --link-dest=/backup/last-backup /home/username/ /backup/backup-$(date +%Y%m%d)/

# Update the 'last-backup' symlink
ln -sfn /backup/backup-$(date +%Y%m%d) /backup/last-backup
The --link-dest option creates hard links for unchanged files, dramatically reducing storage requirements for multiple backup generations.
Monitoring and Verification
Always verify your backups work correctly. Test restoration procedures regularly:
# Verify backup integrity
rsync -av --dry-run --delete /backup/home-backup/ /tmp/restore-test/
Monitor backup logs and set up alerts for failed backups. Consider using tools like logwatch or custom scripts that email you backup status reports.
What's Next
Now that you understand rsync backup fundamentals, the next logical step is exploring automated backup scheduling with cron and systemd timers. We'll also cover advanced topics like encrypted remote backups and integrating rsync with cloud storage solutions for comprehensive disaster recovery strategies.
Tools and resources for this topic
- CompTIA Linux+ Study Guide — Comprehensive Linux+ exam preparation covering system administration, security, and scripting.